Information
Taping ankle part 2 - Tips

K-Active

K-Active

Combination technique
K-Active
12 tape strips:
Up to 7 days
12 tape strips:
Up to 7 days

Information
How does K-Active® Tape help against ankle pain?
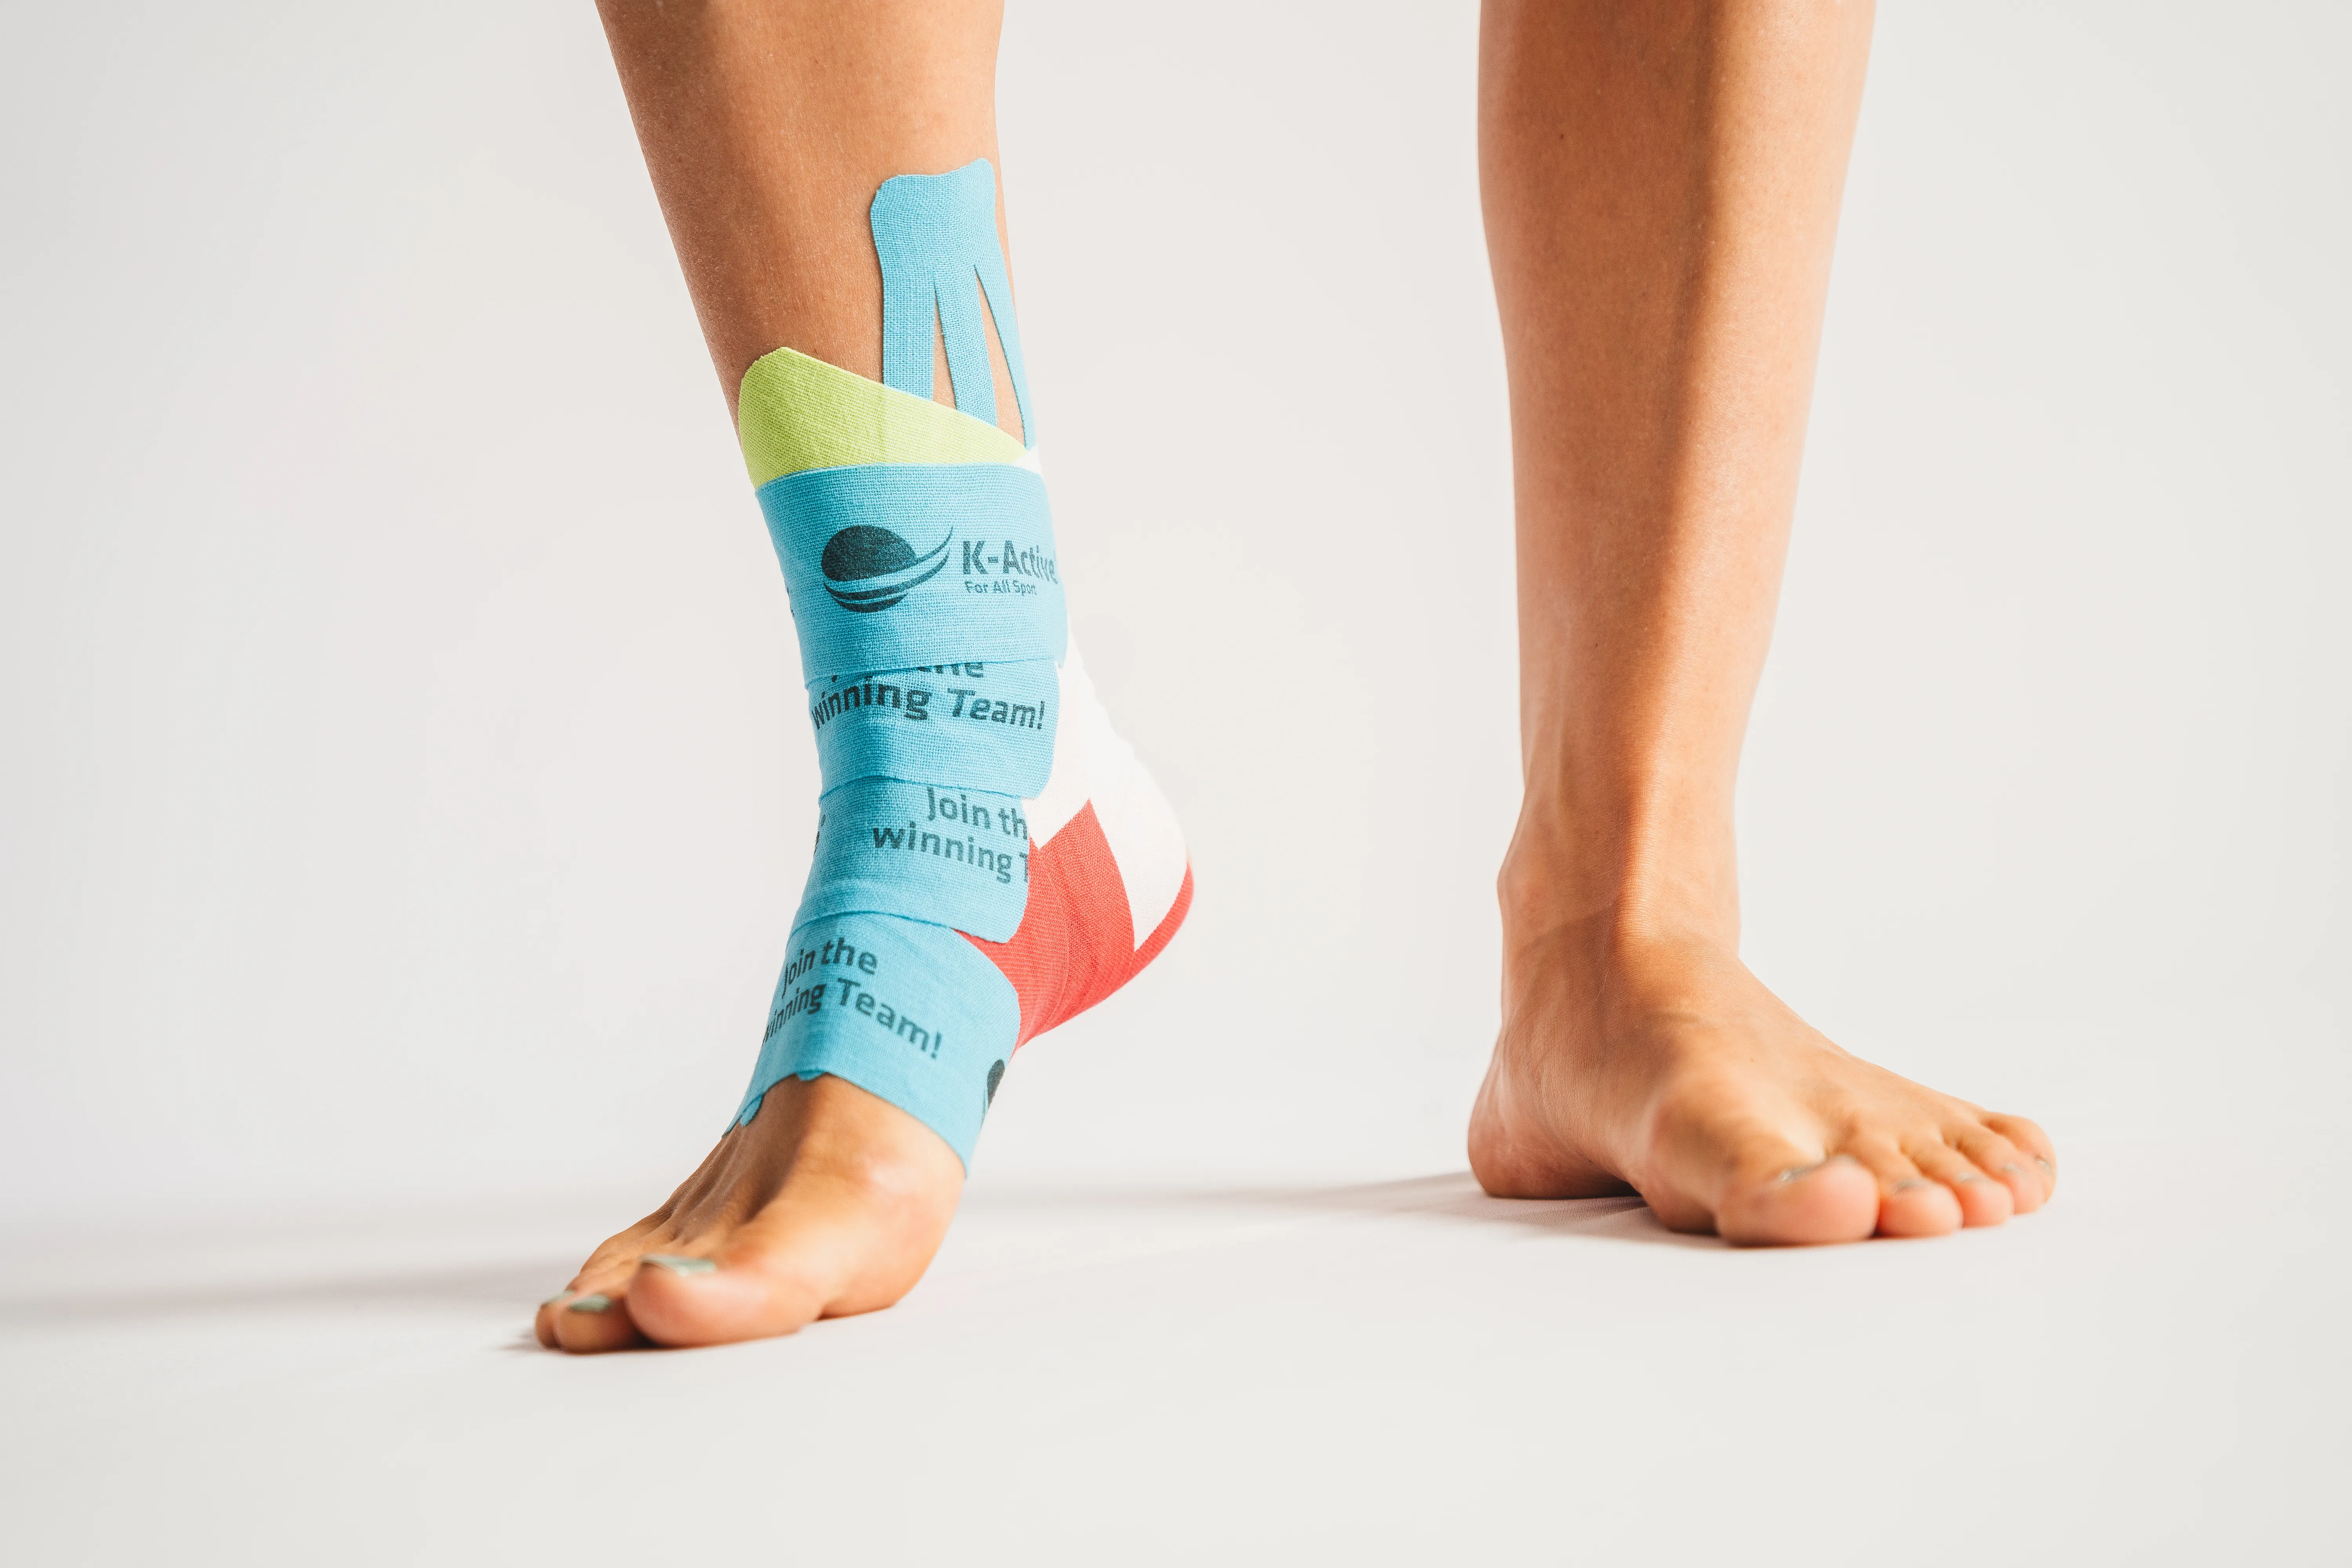
The K-Active® Tape application on the ankle with the held technology fulfills several important functions. On the one hand, the tape provides additional stability by providing an outer layer that supports the joint. This can help reduce the strain on the ankle and maintain proper alignment during movements. By using the tape in combination with the lymphatic technique, lymphatic circulation can be stimulated, which can drain excess fluid from the affected area and thus reduce swelling. The combination of stabilization and swelling reduction can thus contribute to pain relief.



Apply before activity

Apply before activity

Dry & clean skin

Round off tape edges

Rub over tape after applying

Do not wear for more than 7 days
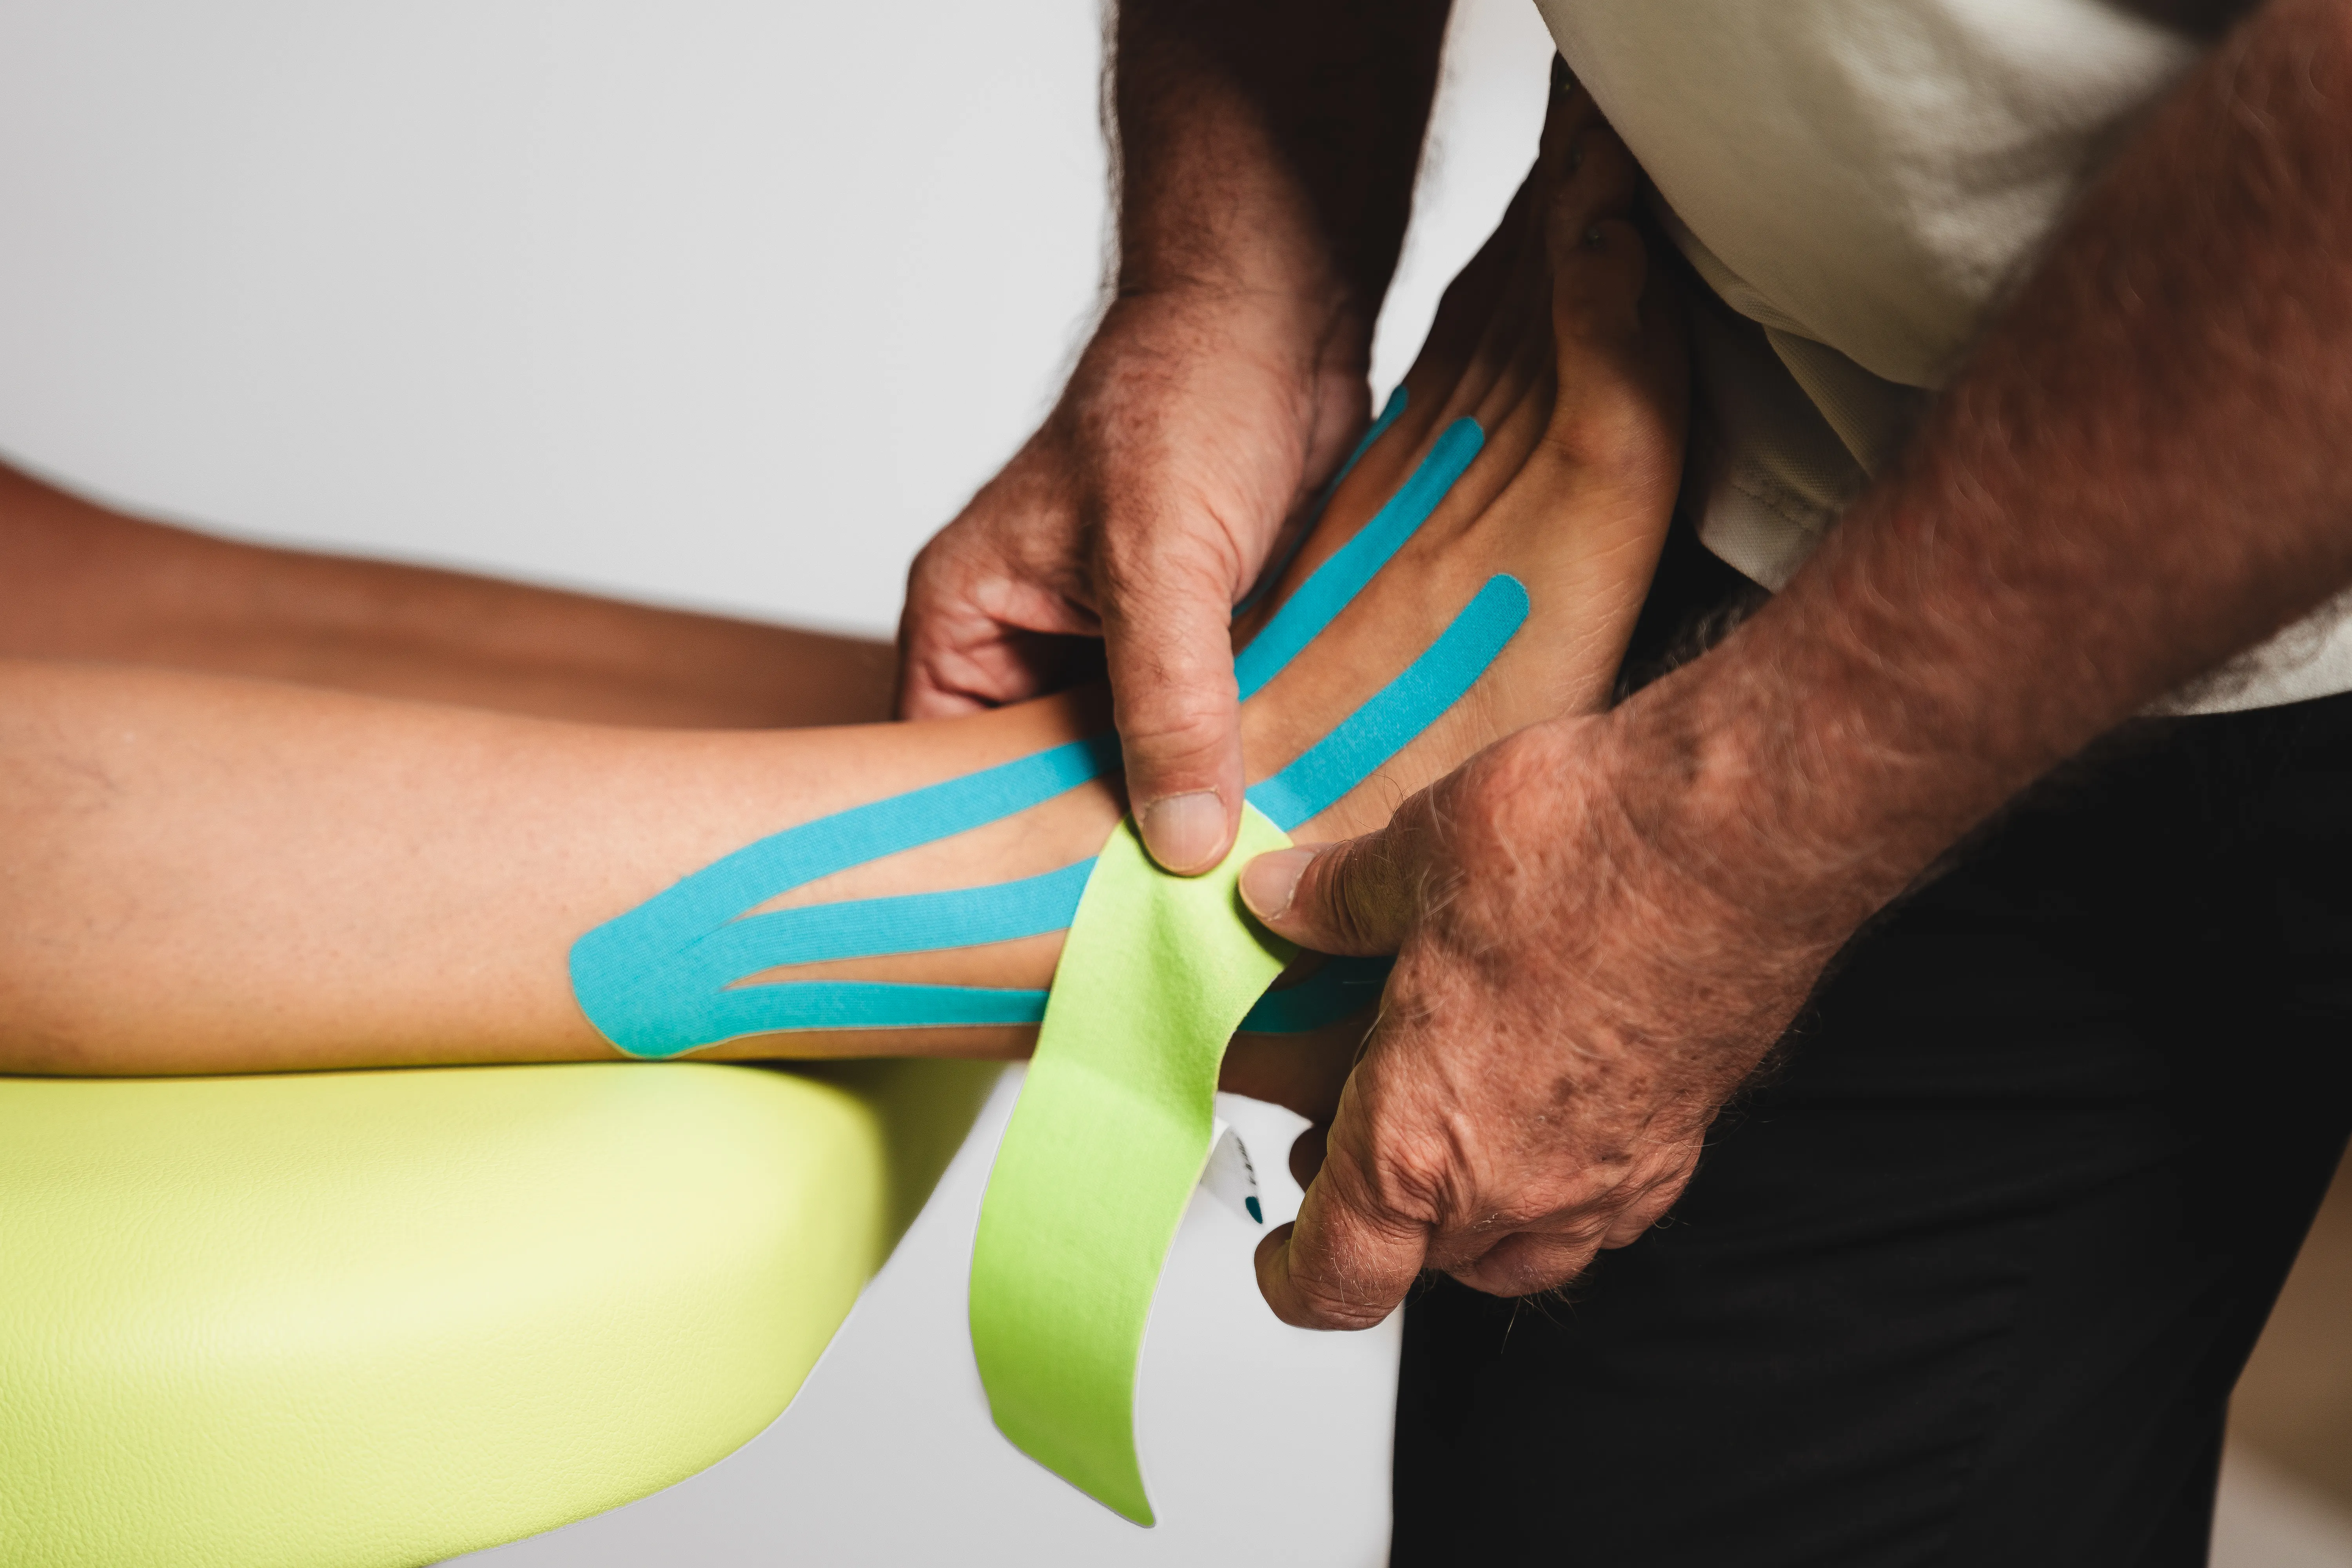
➾ 1.
Apply the base of the green tape to the outer ankle (Malleolus lateralis).
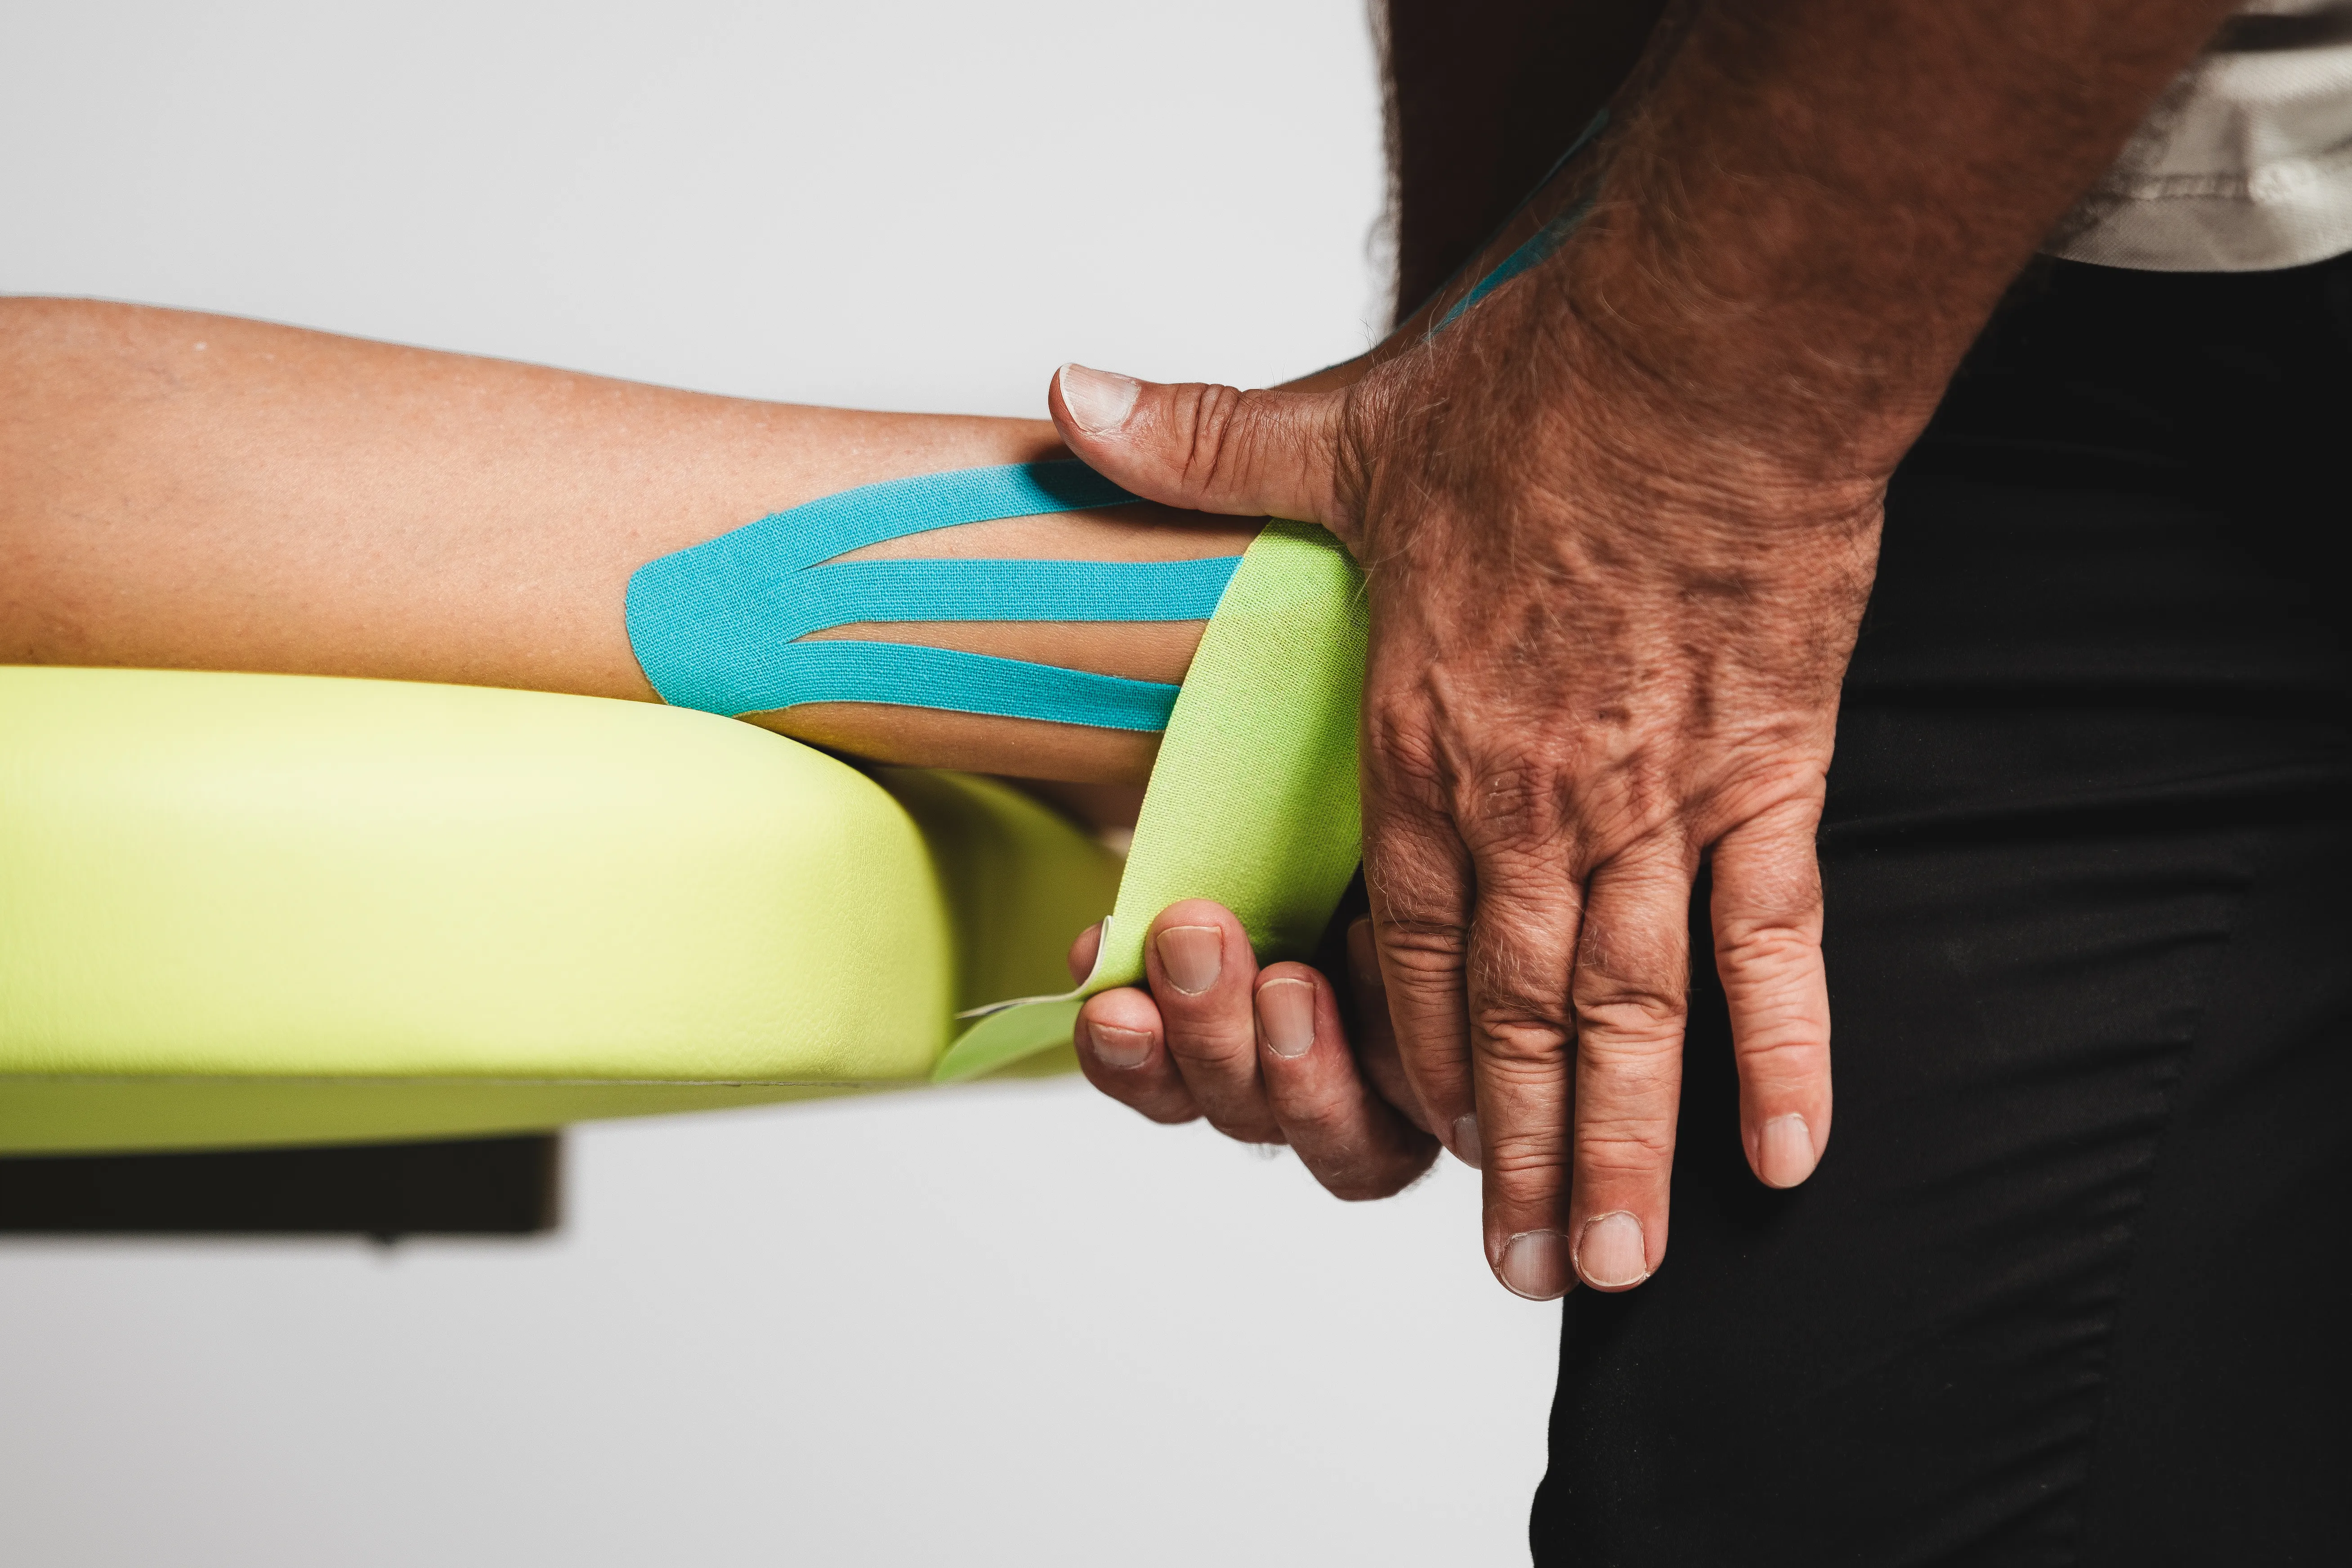
➾ 2.
The position of the outer ankle is stabilized by the hand of the therapist. Stretch the tape (50% stretch) and apply it along the outer ankle to the achilles tendon.
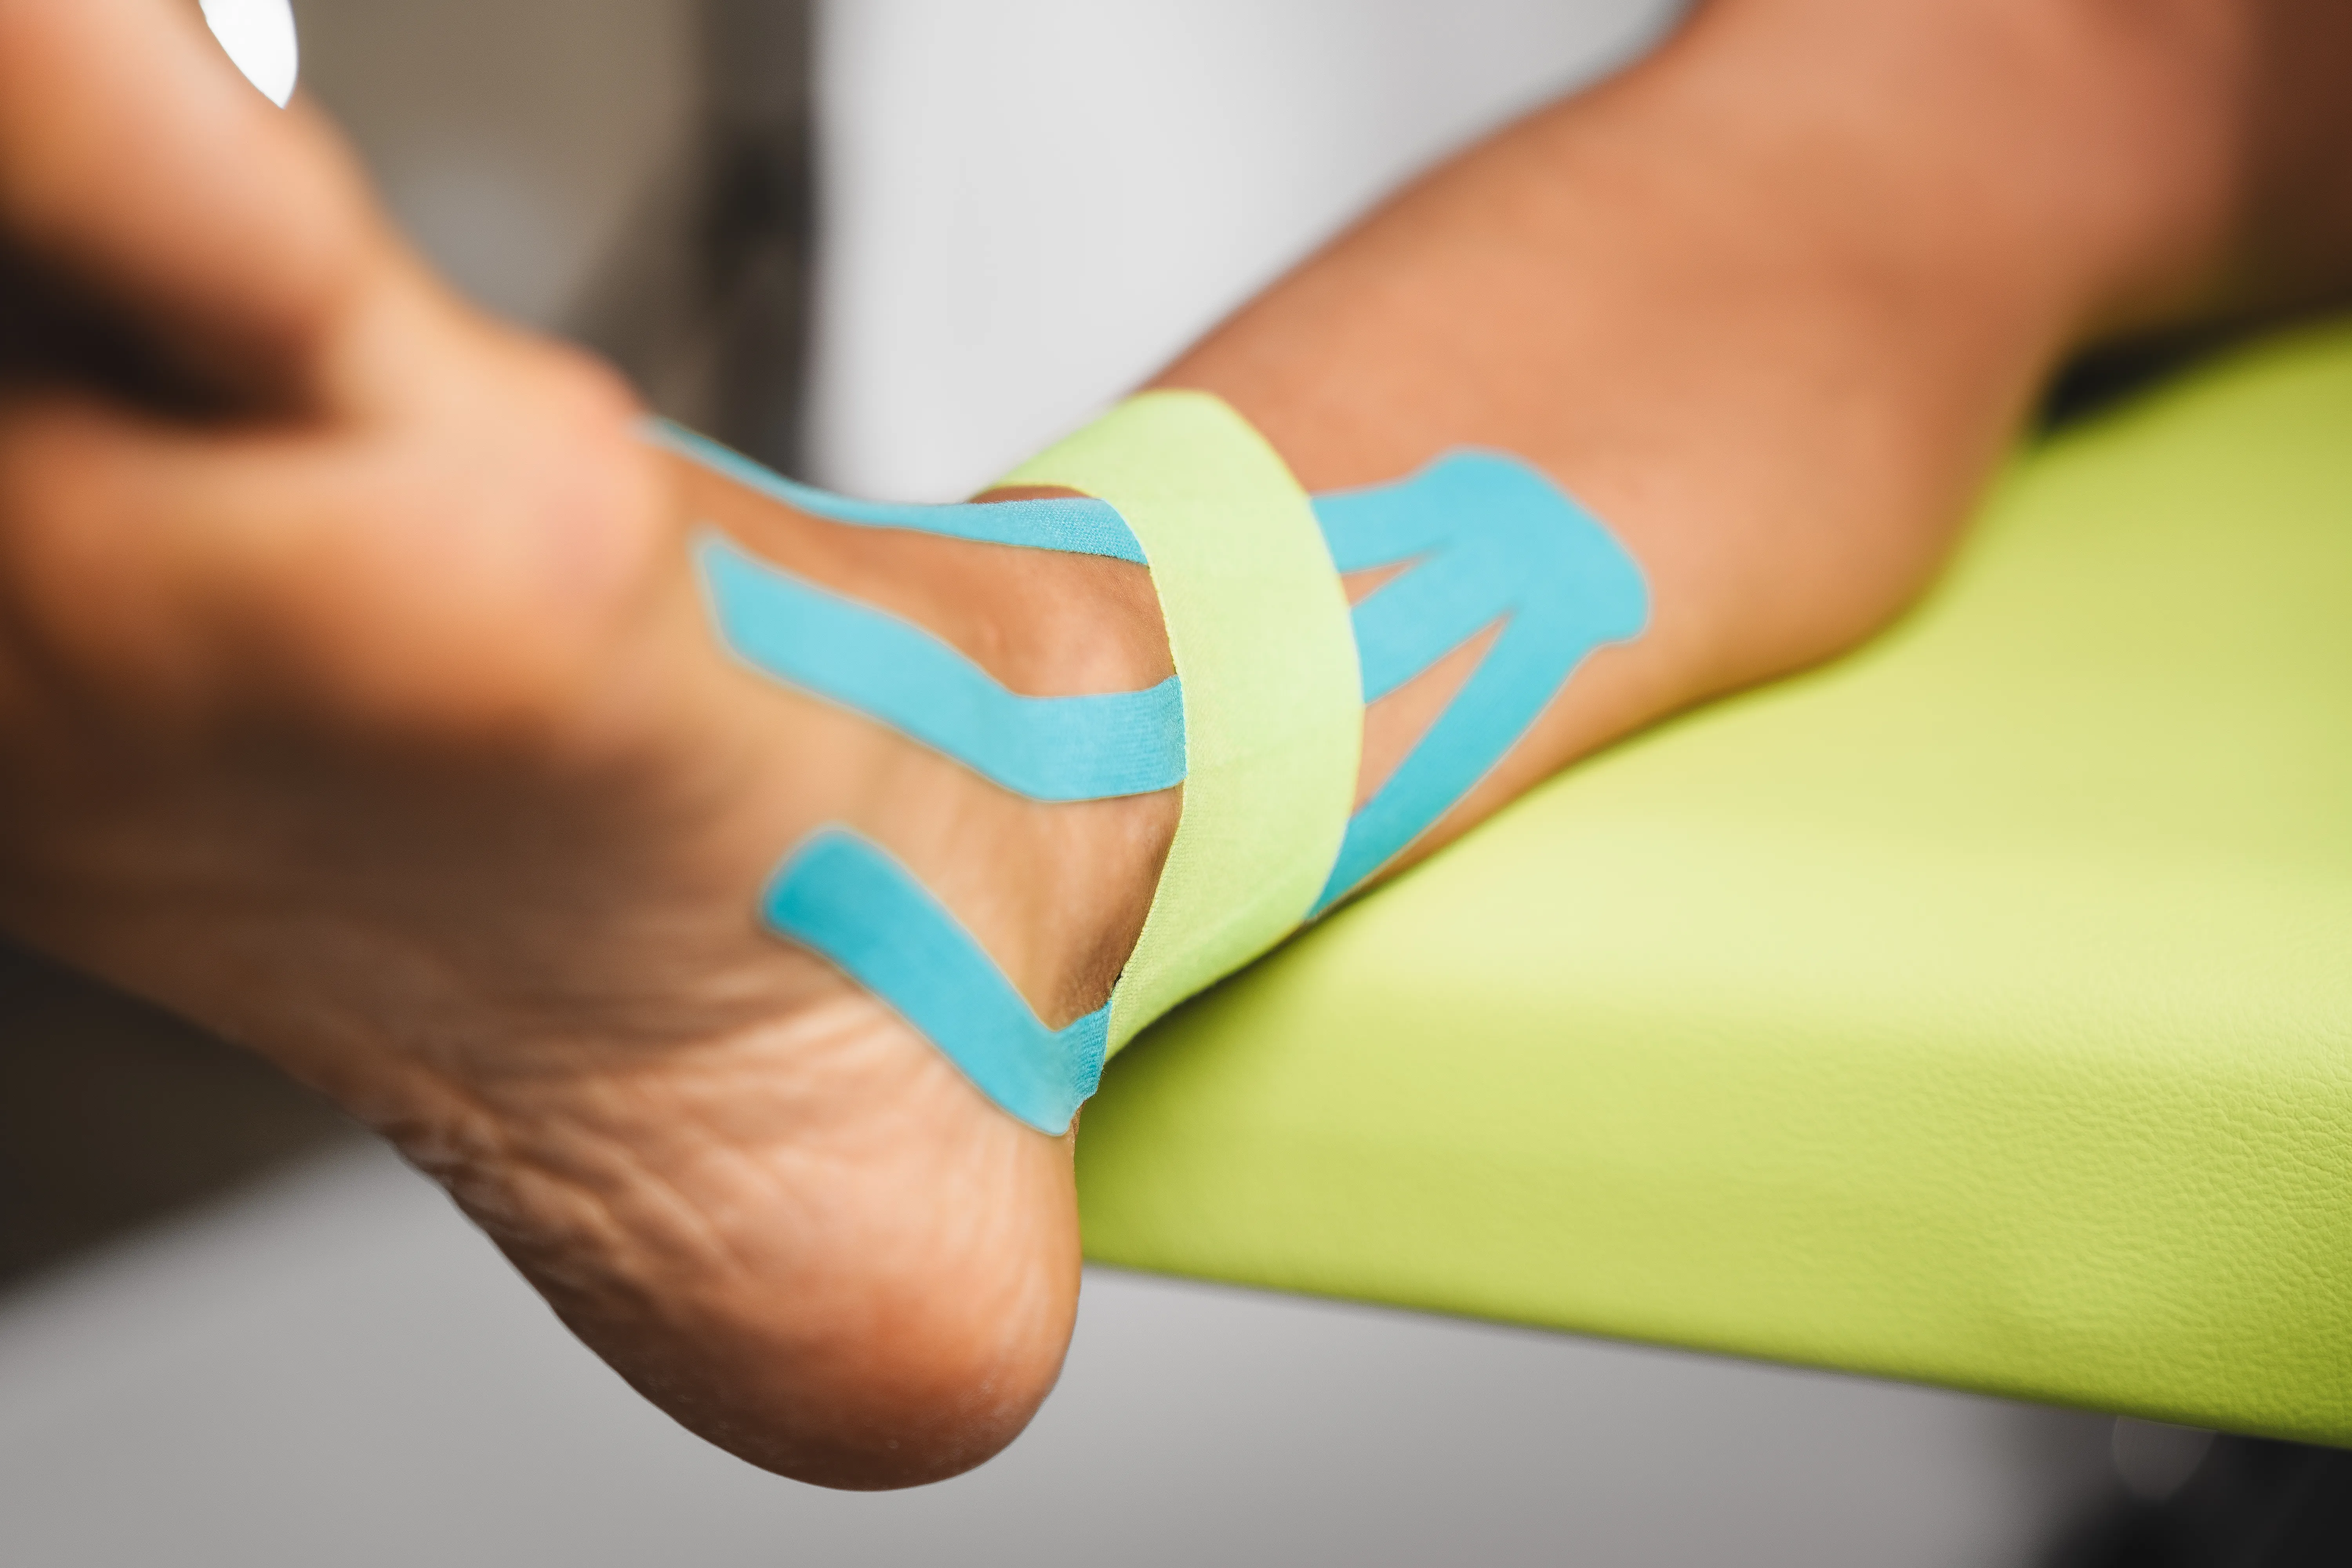
➾ 3.
😁 The application of the green tape is finished.

➾ 1.
Apply the base of the green tape to the outer ankle (Malleolus lateralis).

➾ 2.
The position of the outer ankle is stabilized by the hand of the therapist. Stretch the tape (50% stretch) and apply it along the outer ankle to the achilles tendon.

➾ 3.
😁 The application of the green tape is finished.
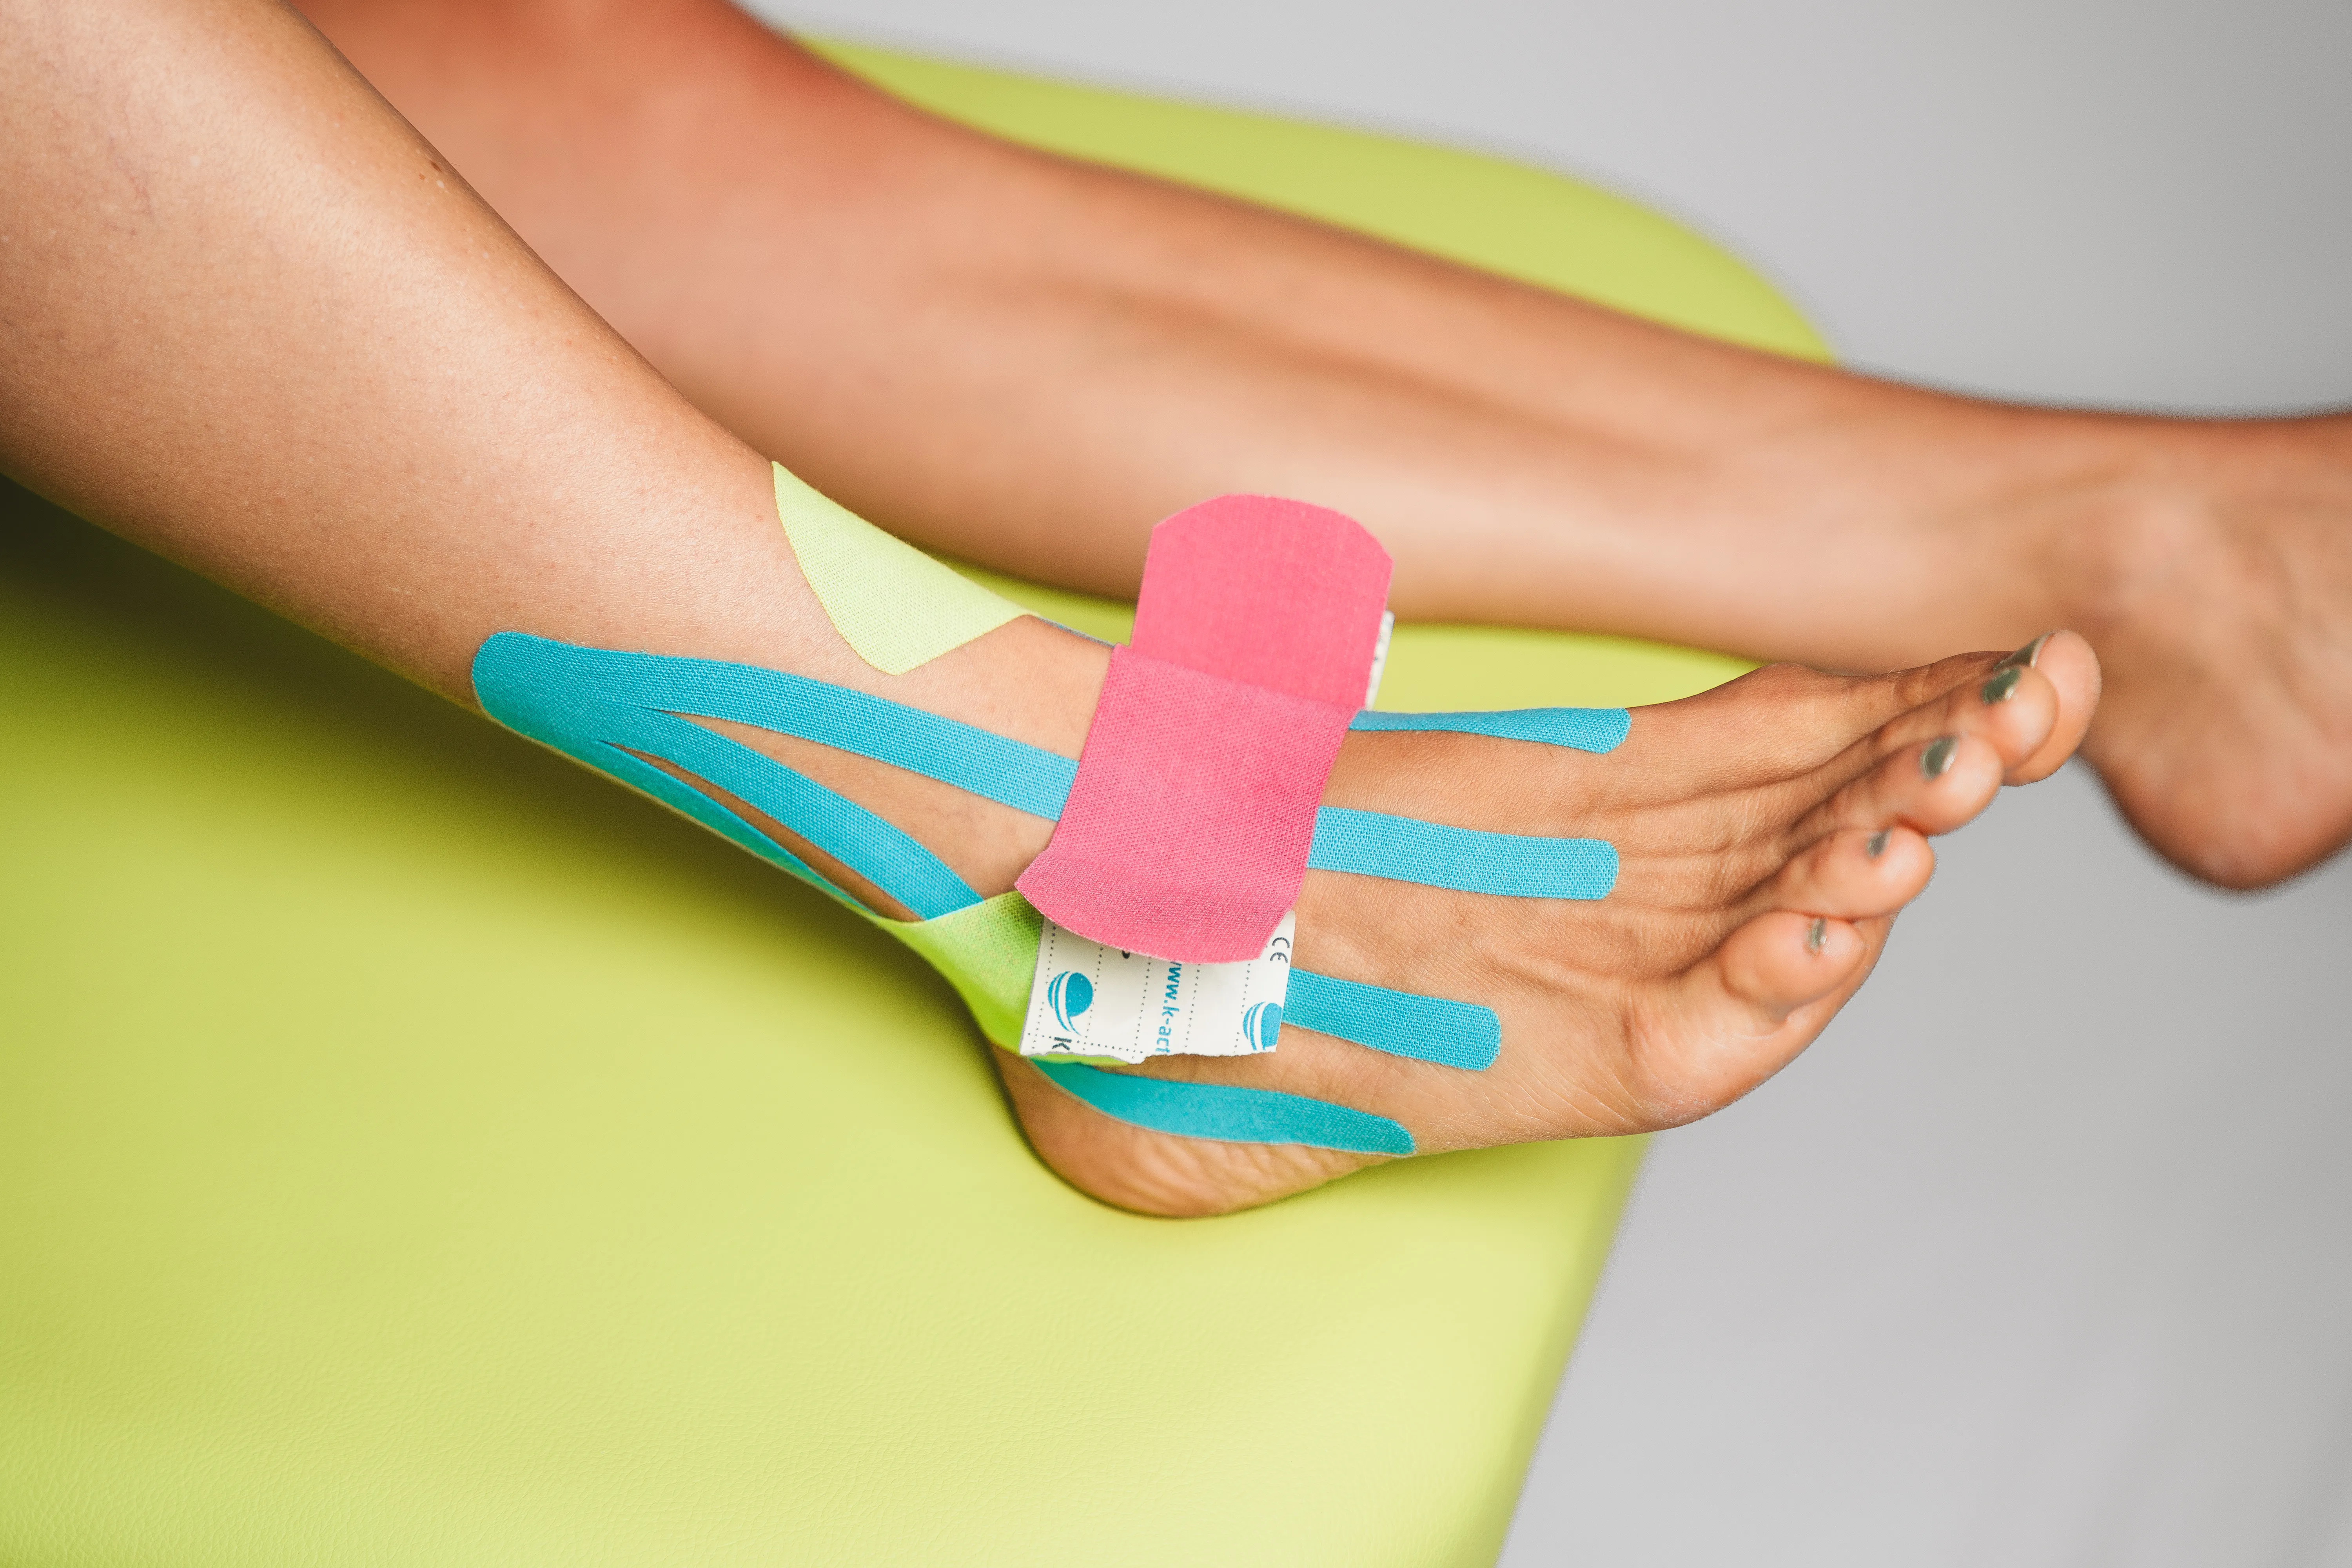
➾ 4.
Place the base of the pink tape over the joint gap
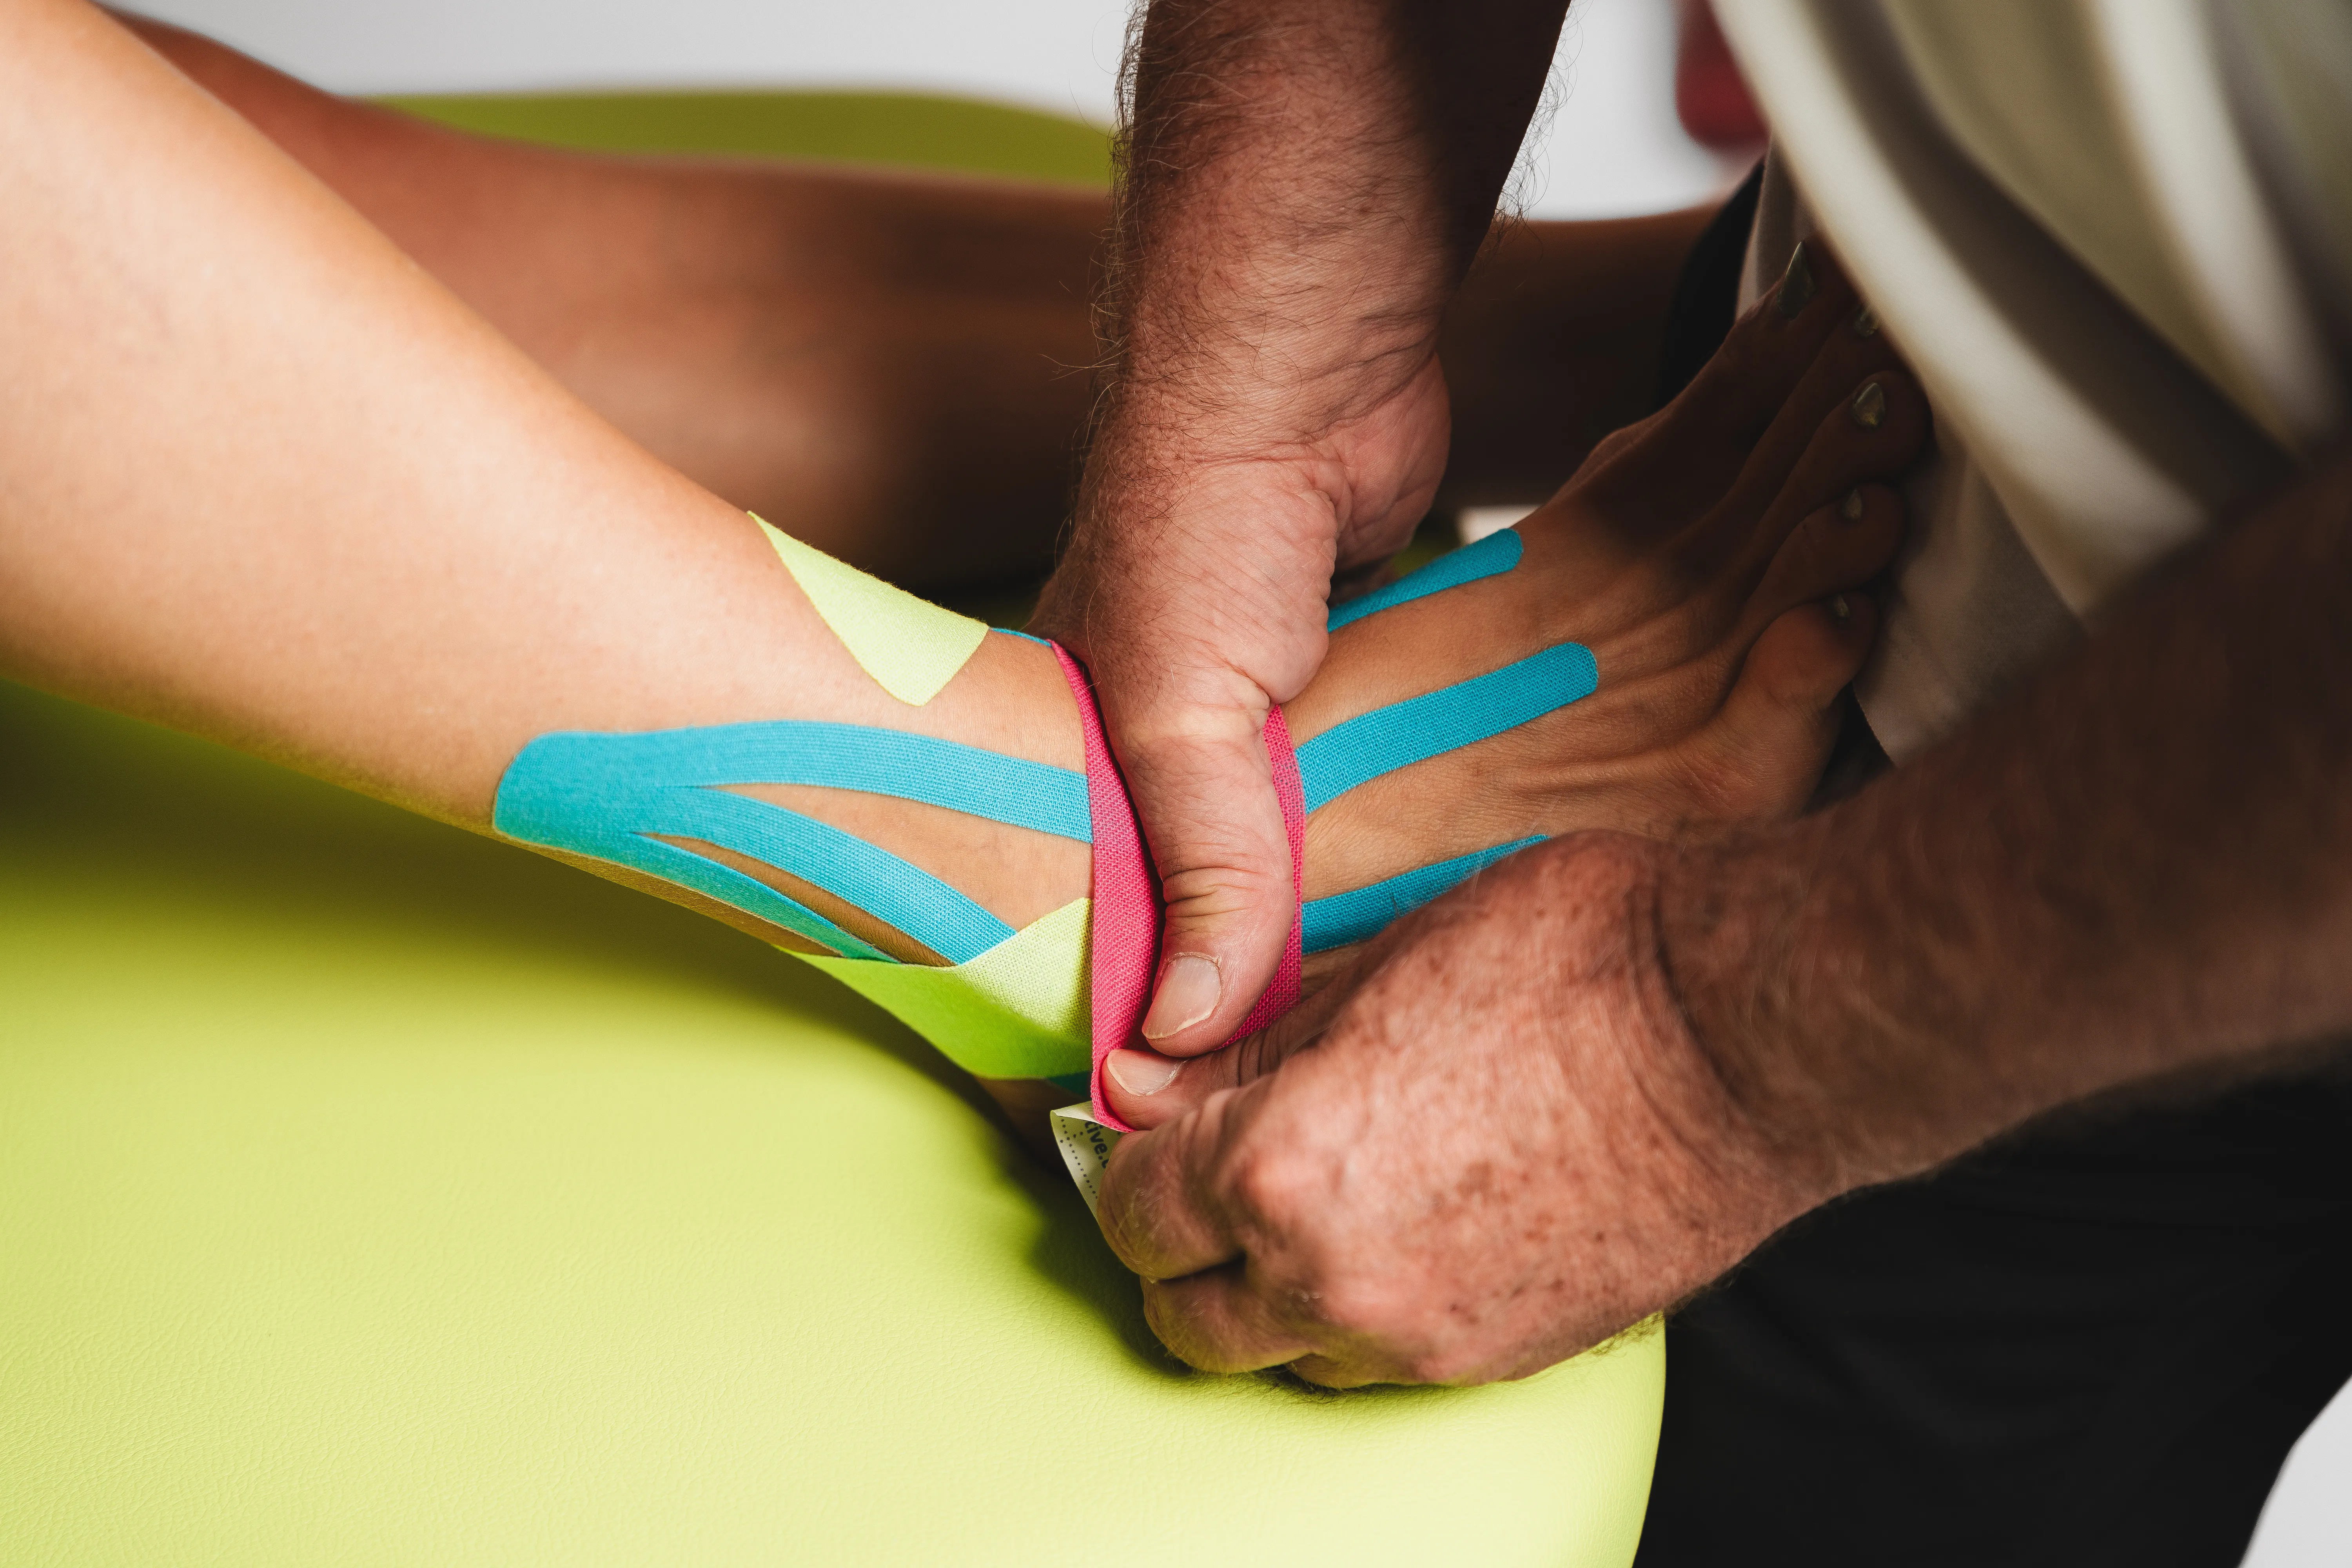
➾ 5.
The talus is mobilized towards the dorsal (back of the foot). The position is fixed by the stretched tape on the lateral side (away from the center of the body).
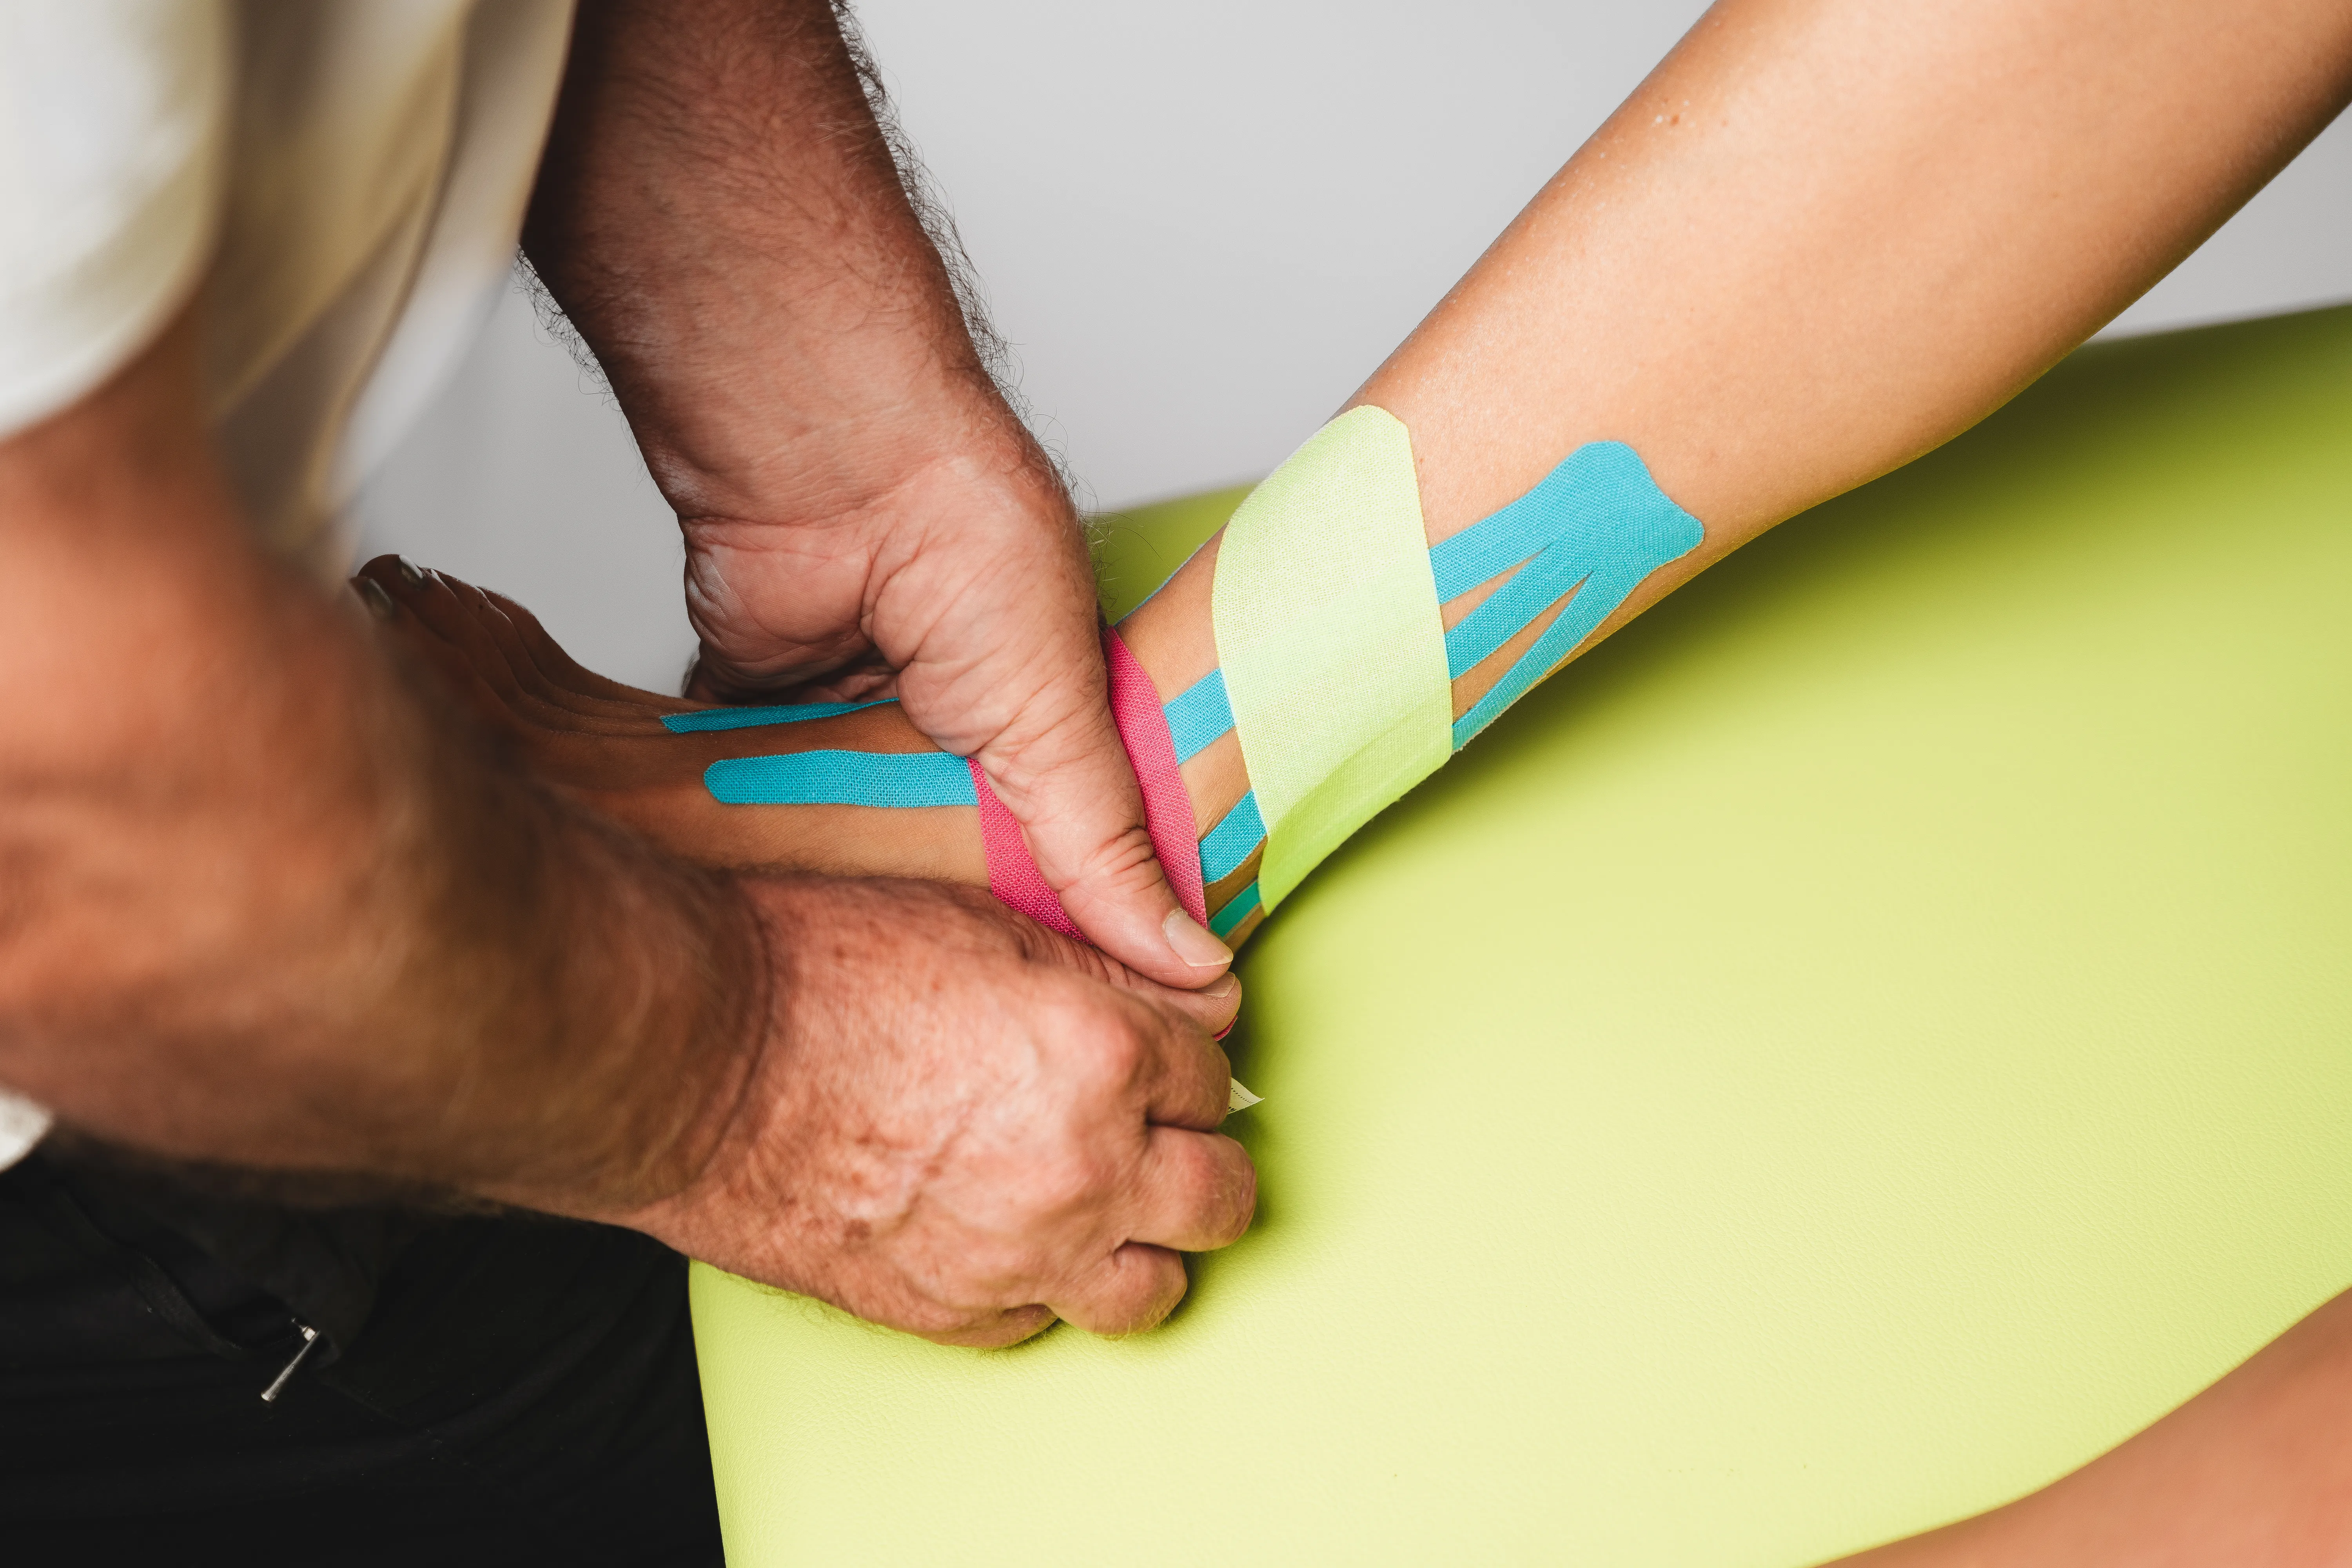
➾ 6.
The talus is mobilized towards the dorsal (back of the foot). The position is fixed by the stretched tape on the medial side (internal side of the foot).

➾ 4.
Place the base of the pink tape over the joint gap

➾ 5.
The talus is mobilized towards the dorsal (back of the foot). The position is fixed by the stretched tape on the lateral side (away from the center of the body).

➾ 6.
The talus is mobilized towards the dorsal (back of the foot). The position is fixed by the stretched tape on the medial side (internal side of the foot).
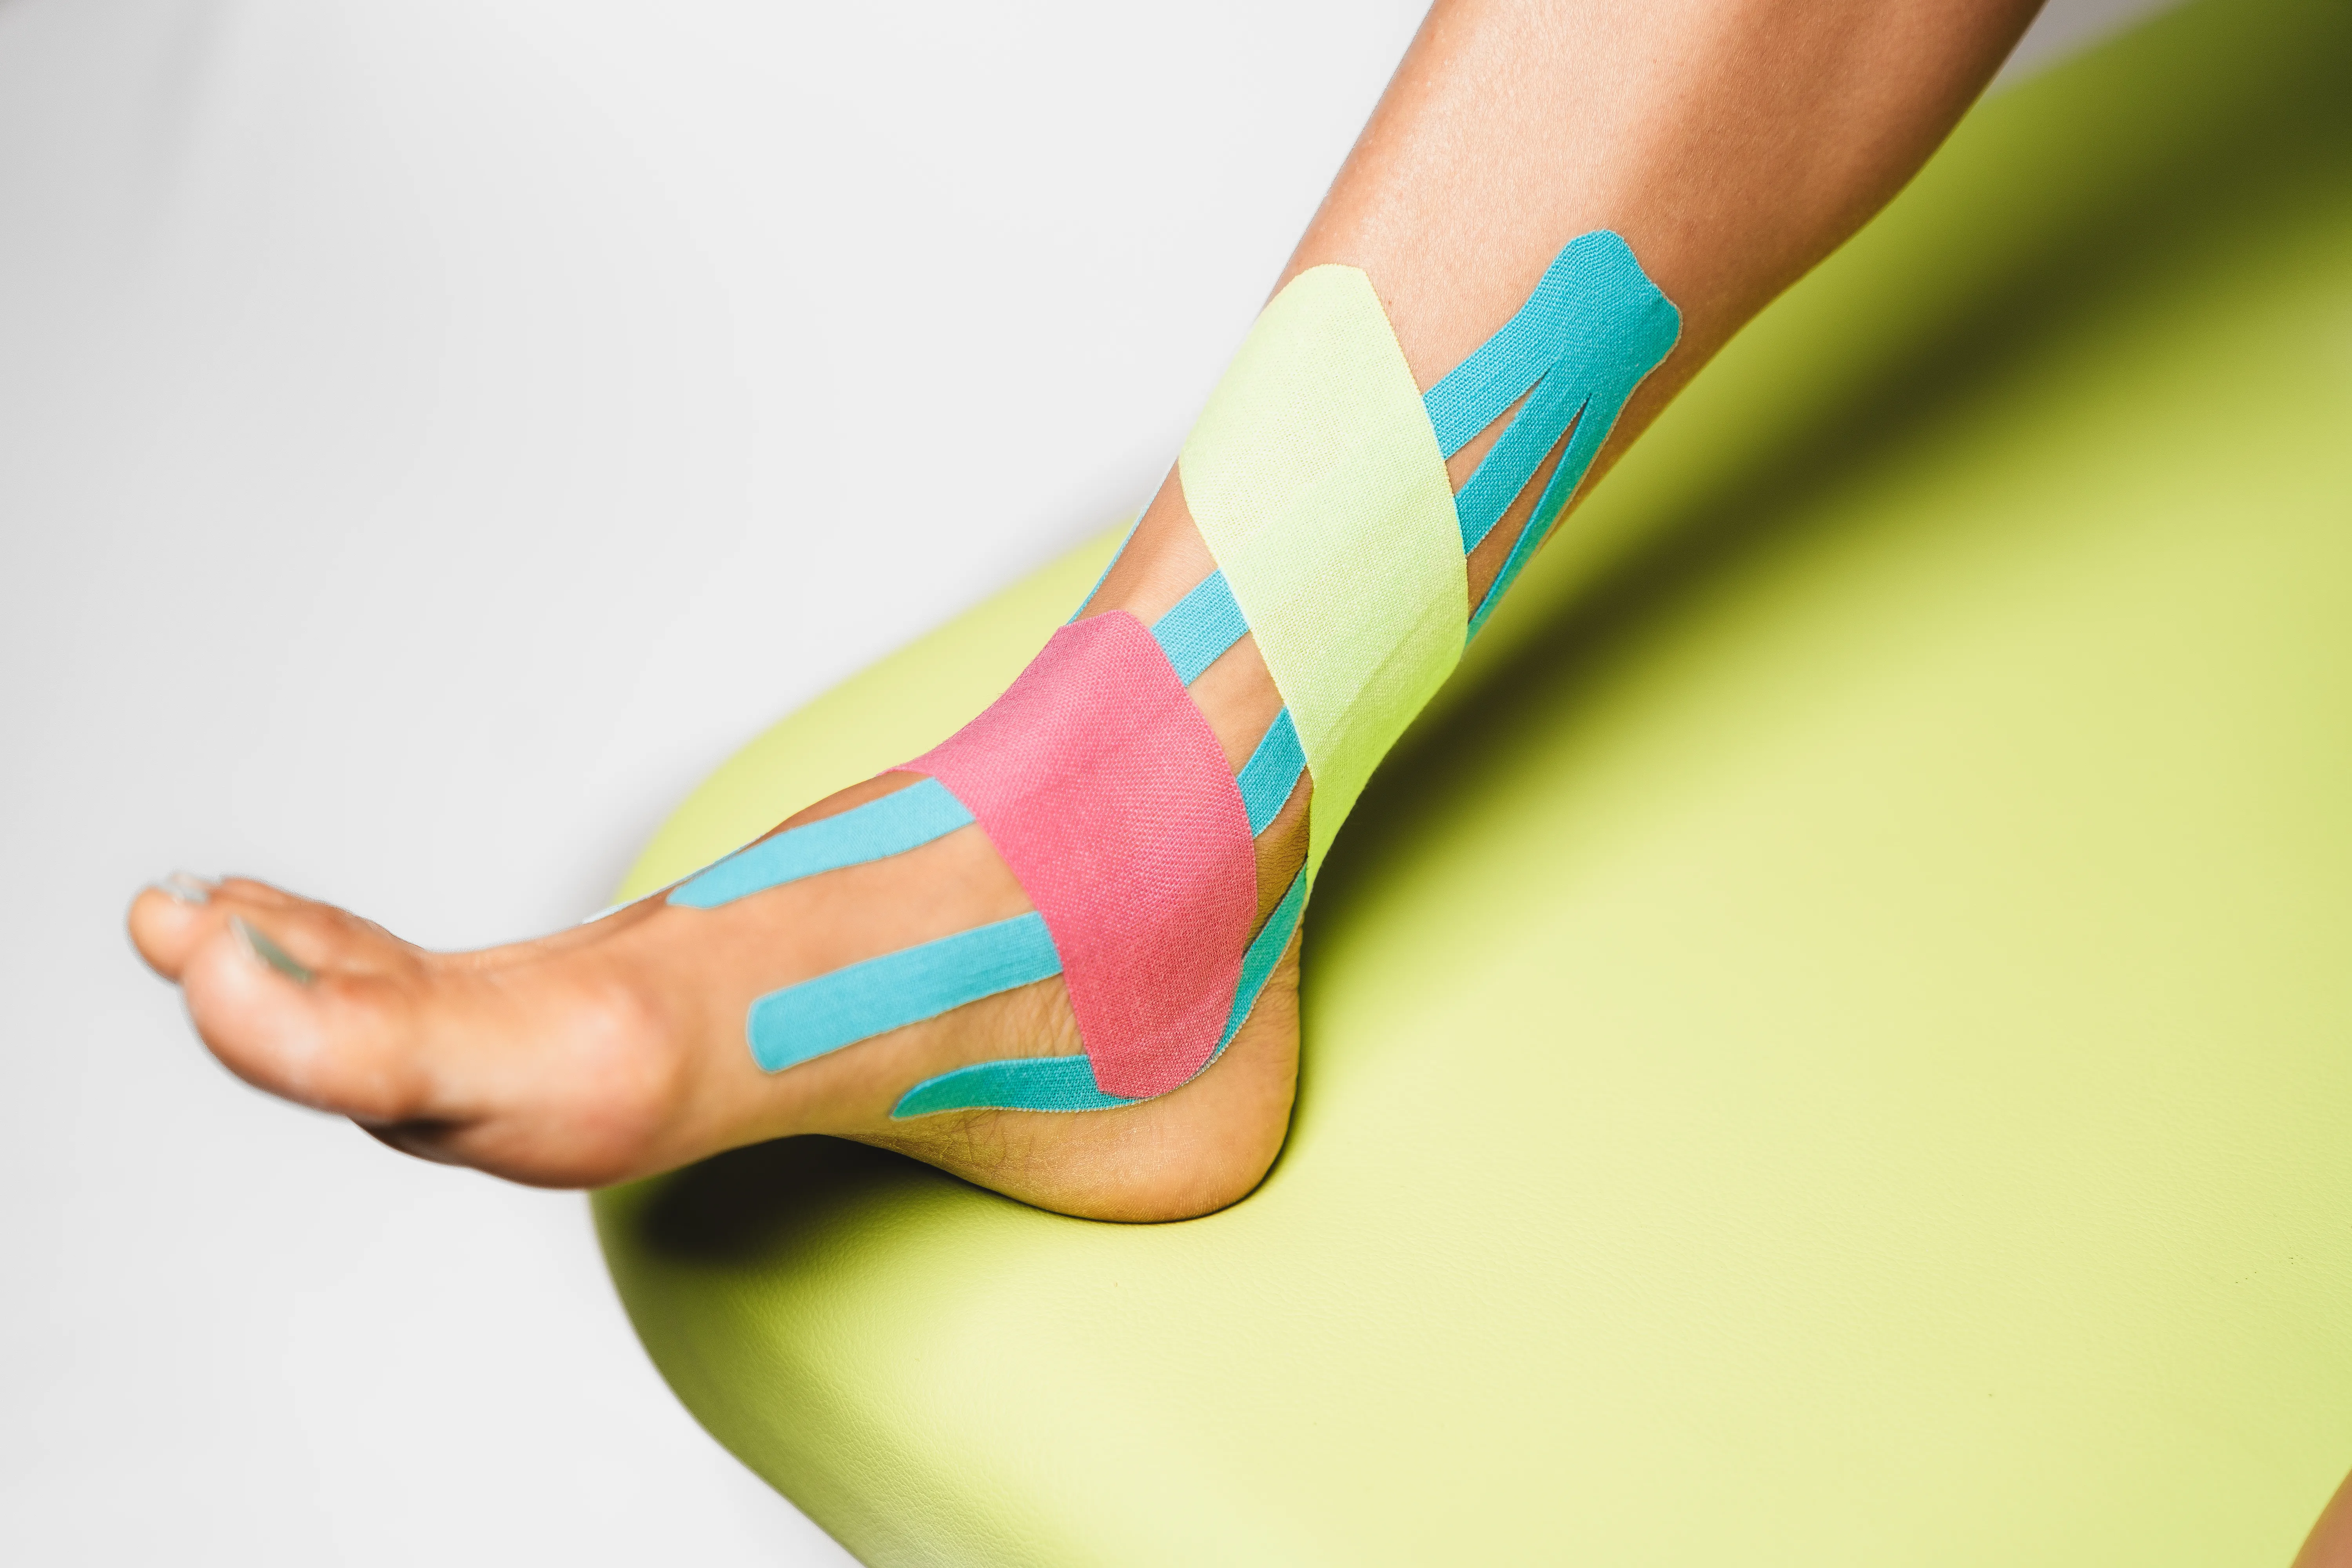
➾ 7.
The starting position is step 6.
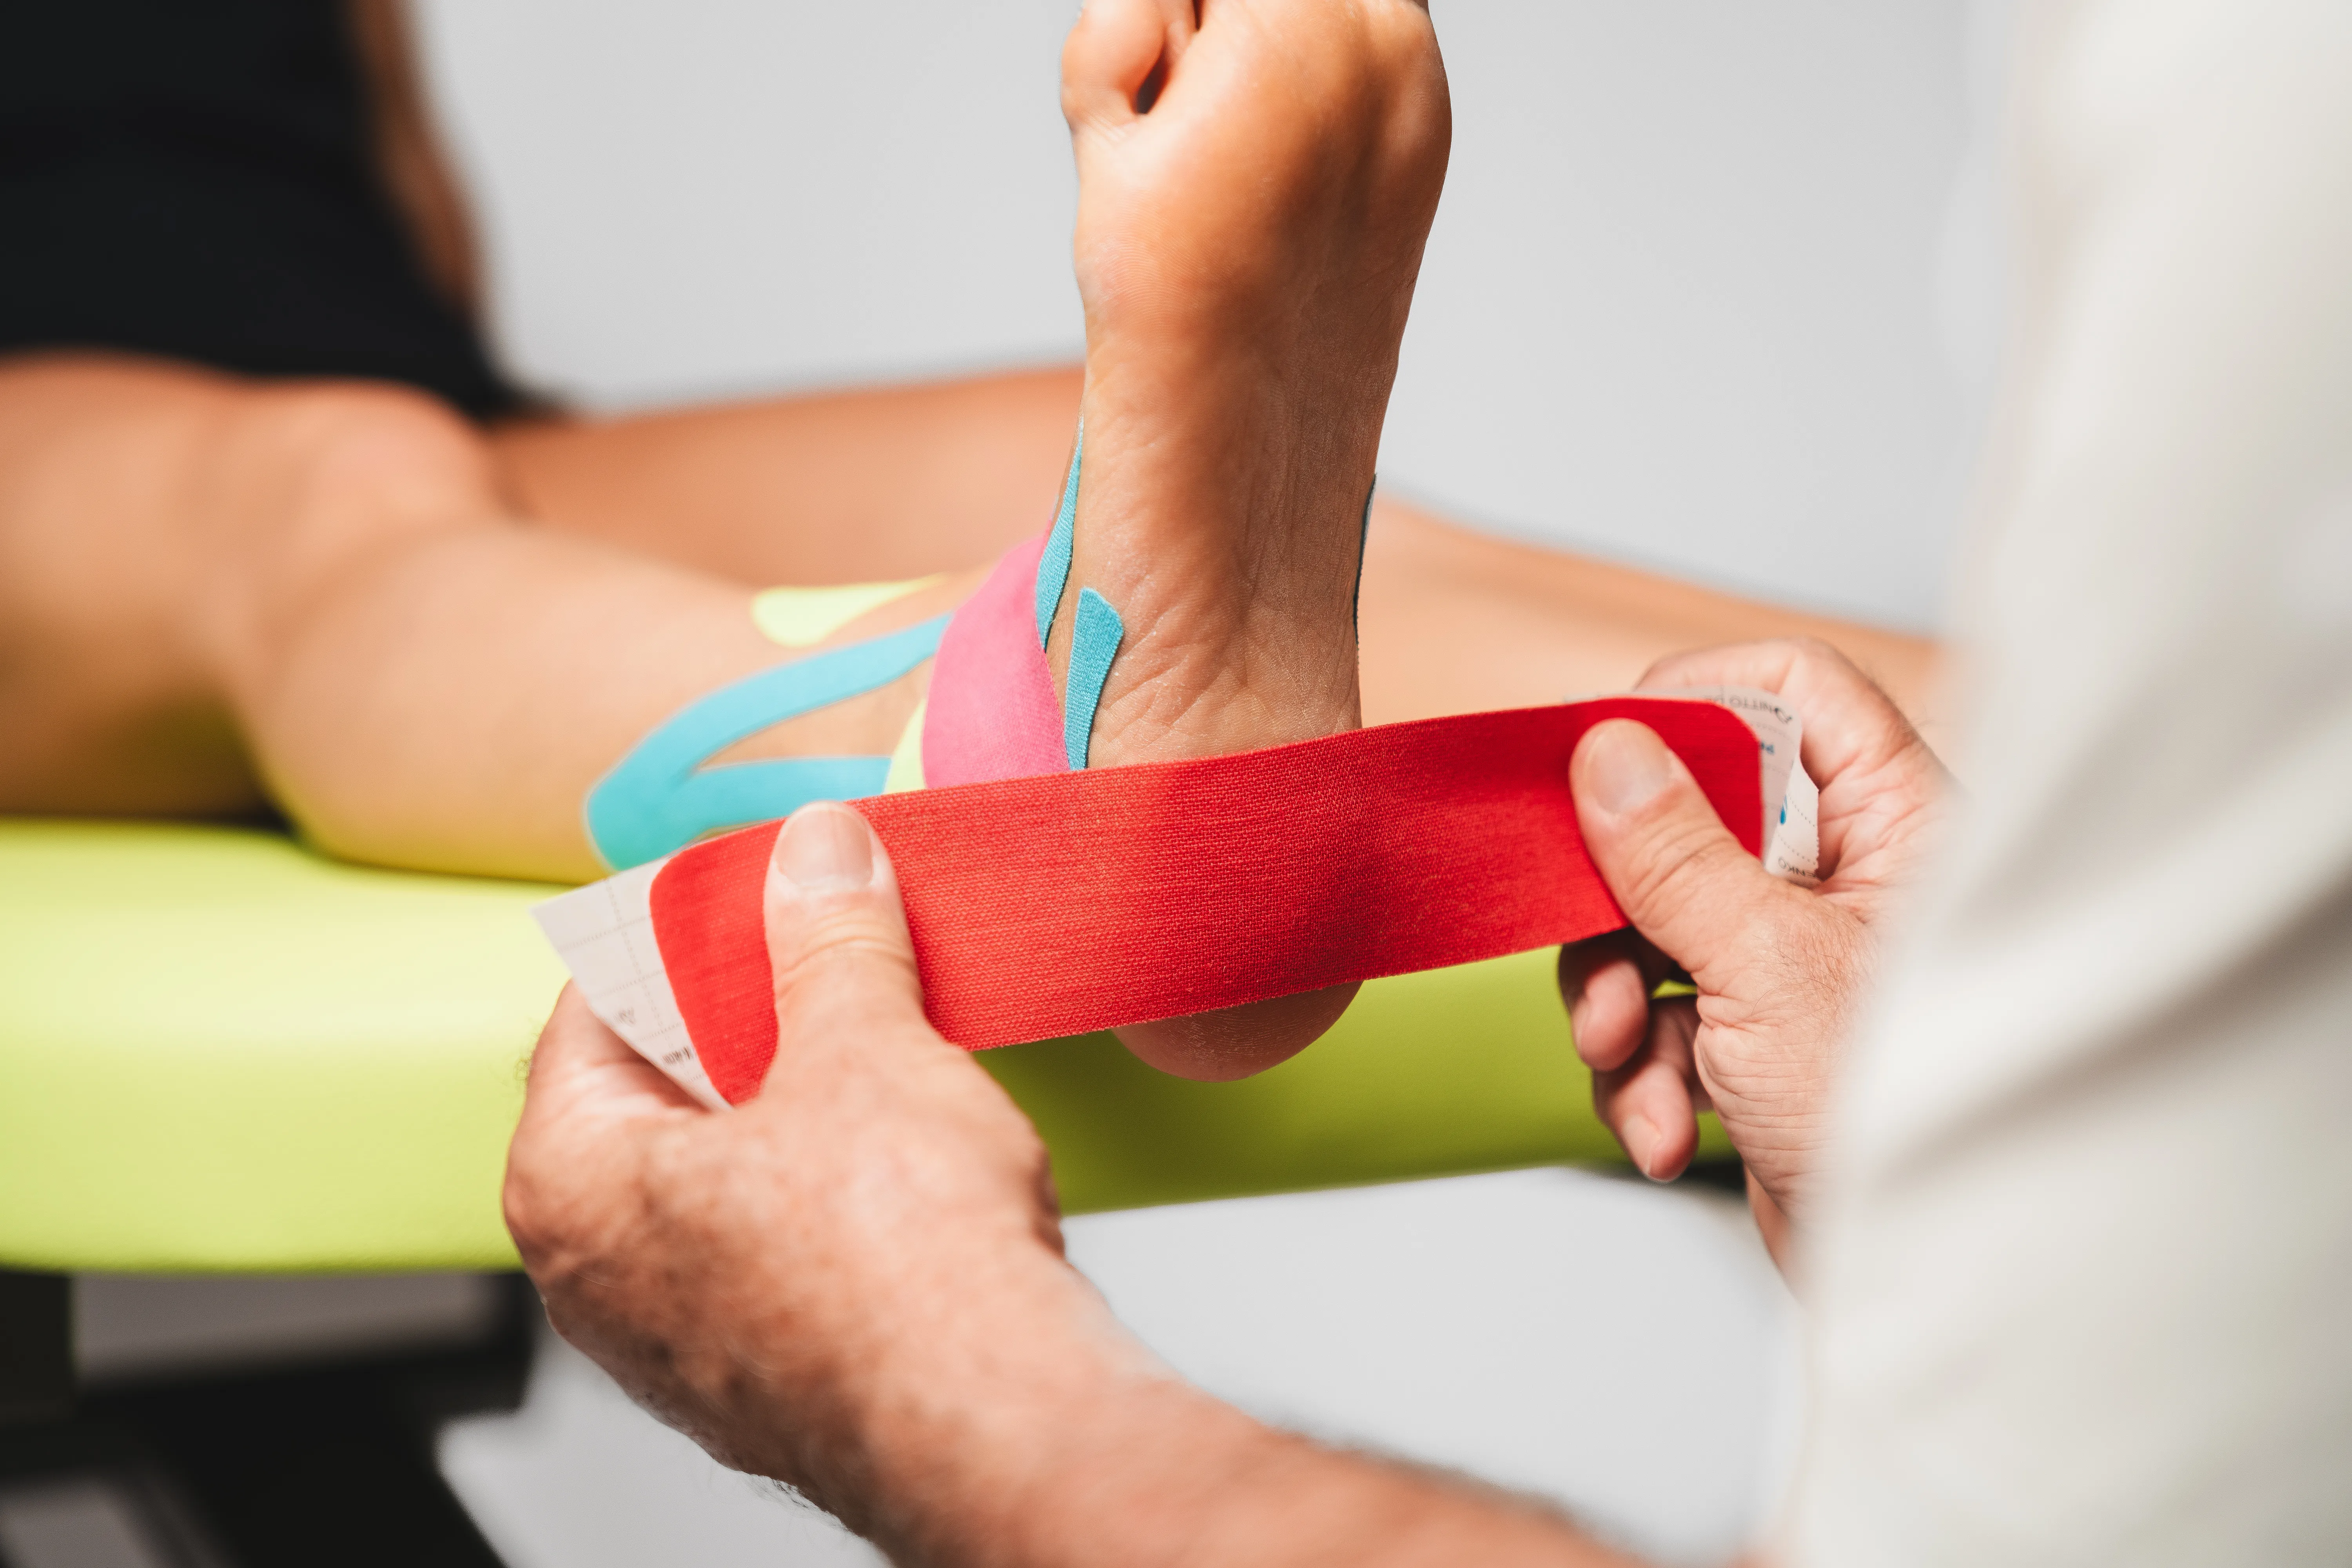
➾ 8.
Apply the base of the red sports tape in the area of the sole of the foot without any tension. Apply the tape with a light stretch towards the body (stirrup).
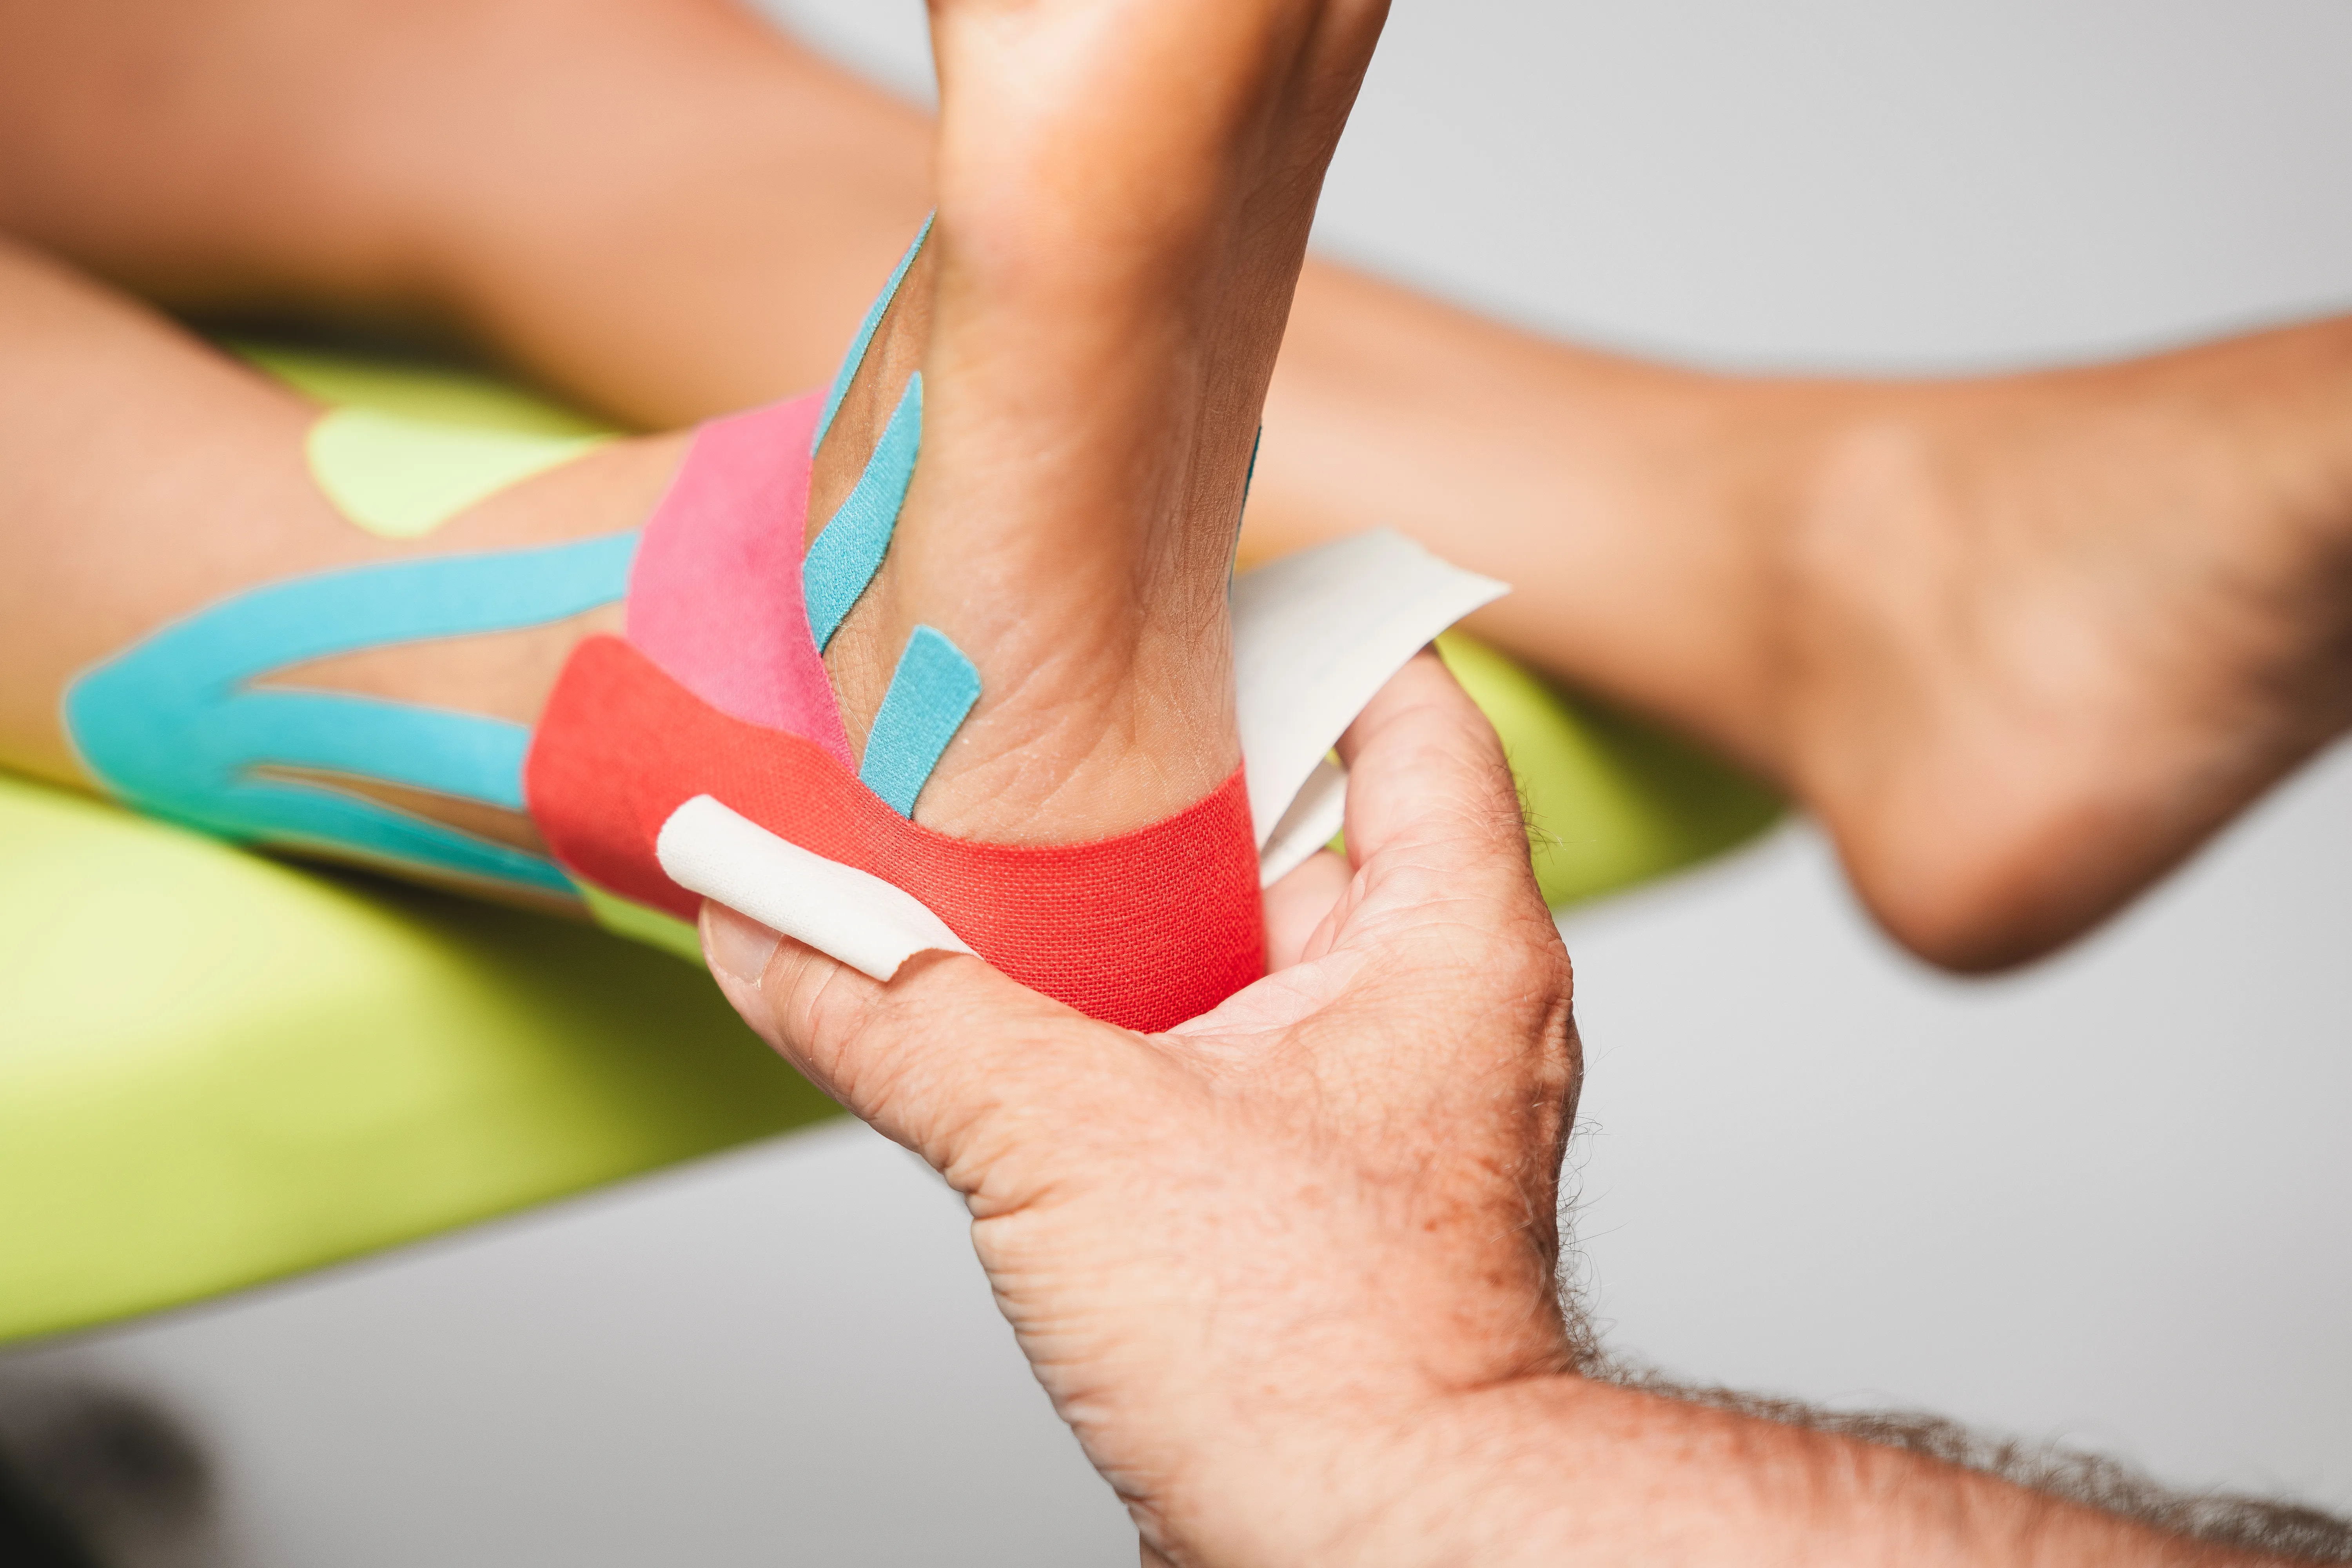
➾ 9.
Attach the base of the white sports tape to the achilles tendon area without stretch. Lay the tape ends forward with slight tension.

➾ 7.
The starting position is step 6.

➾ 8.
Apply the base of the red sports tape in the area of the sole of the foot without any tension. Apply the tape with a light stretch towards the body (stirrup).

➾ 9.
Attach the base of the white sports tape to the achilles tendon area without stretch. Lay the tape ends forward with slight tension.
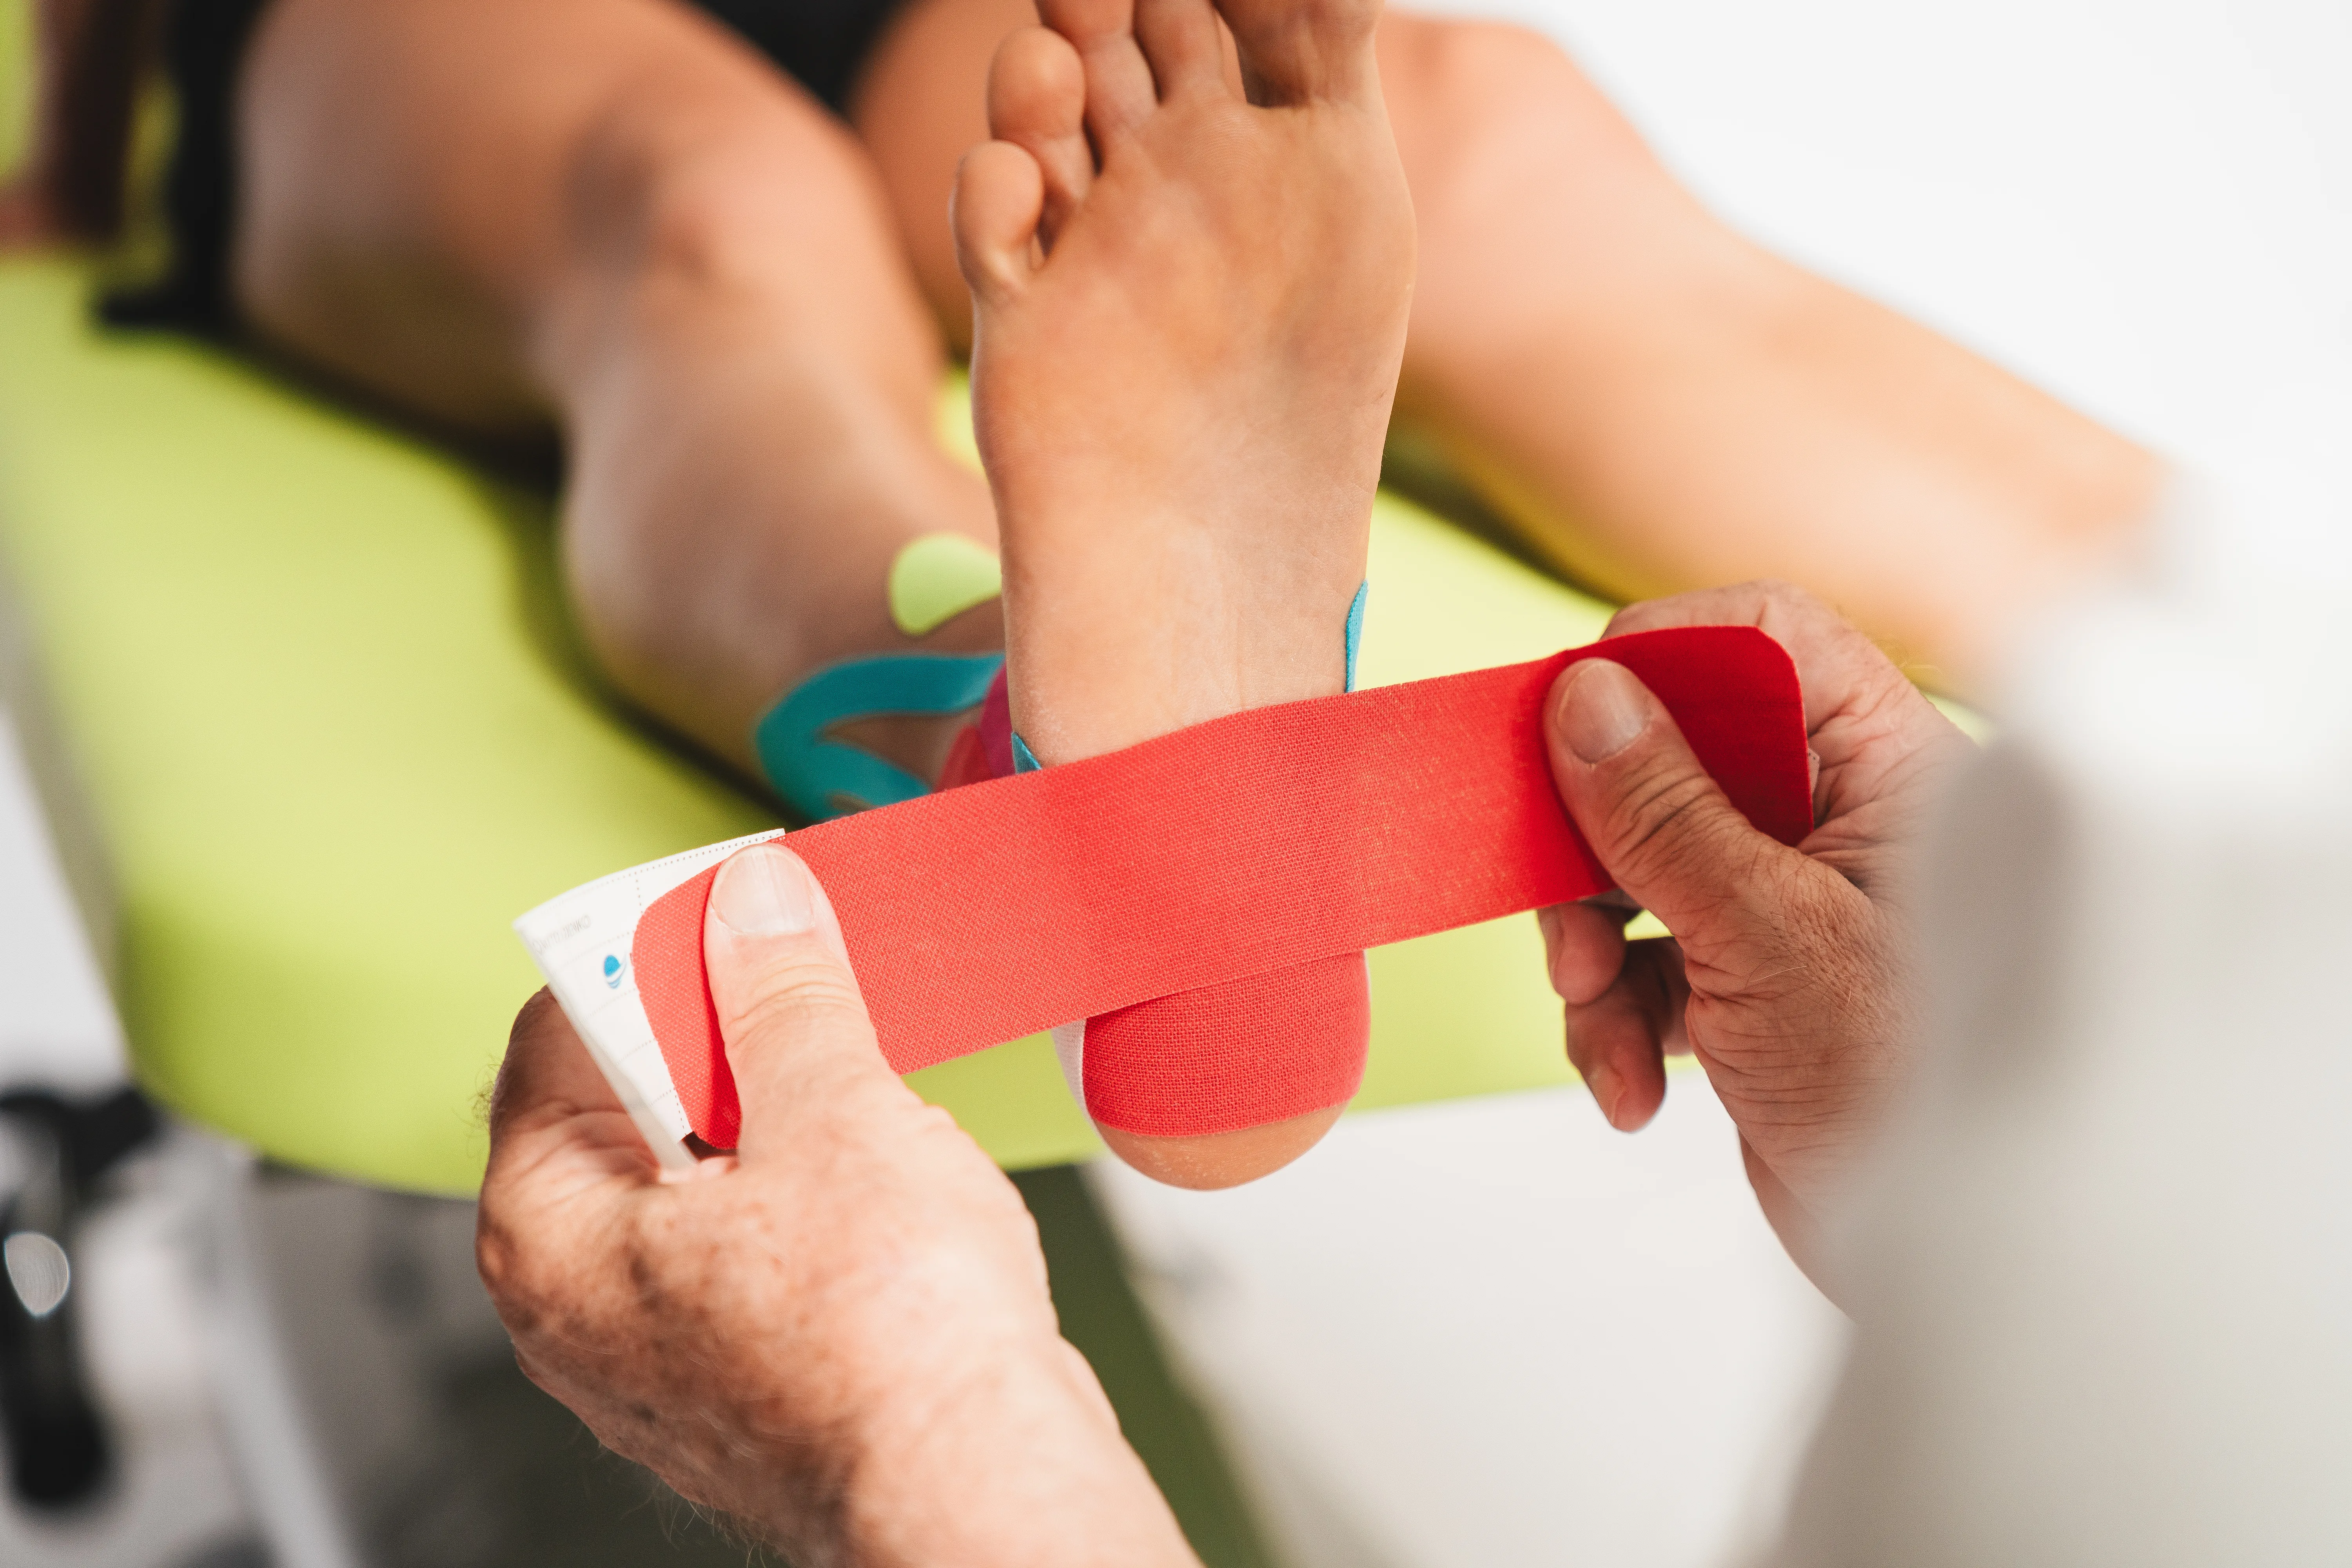
➾ 10.
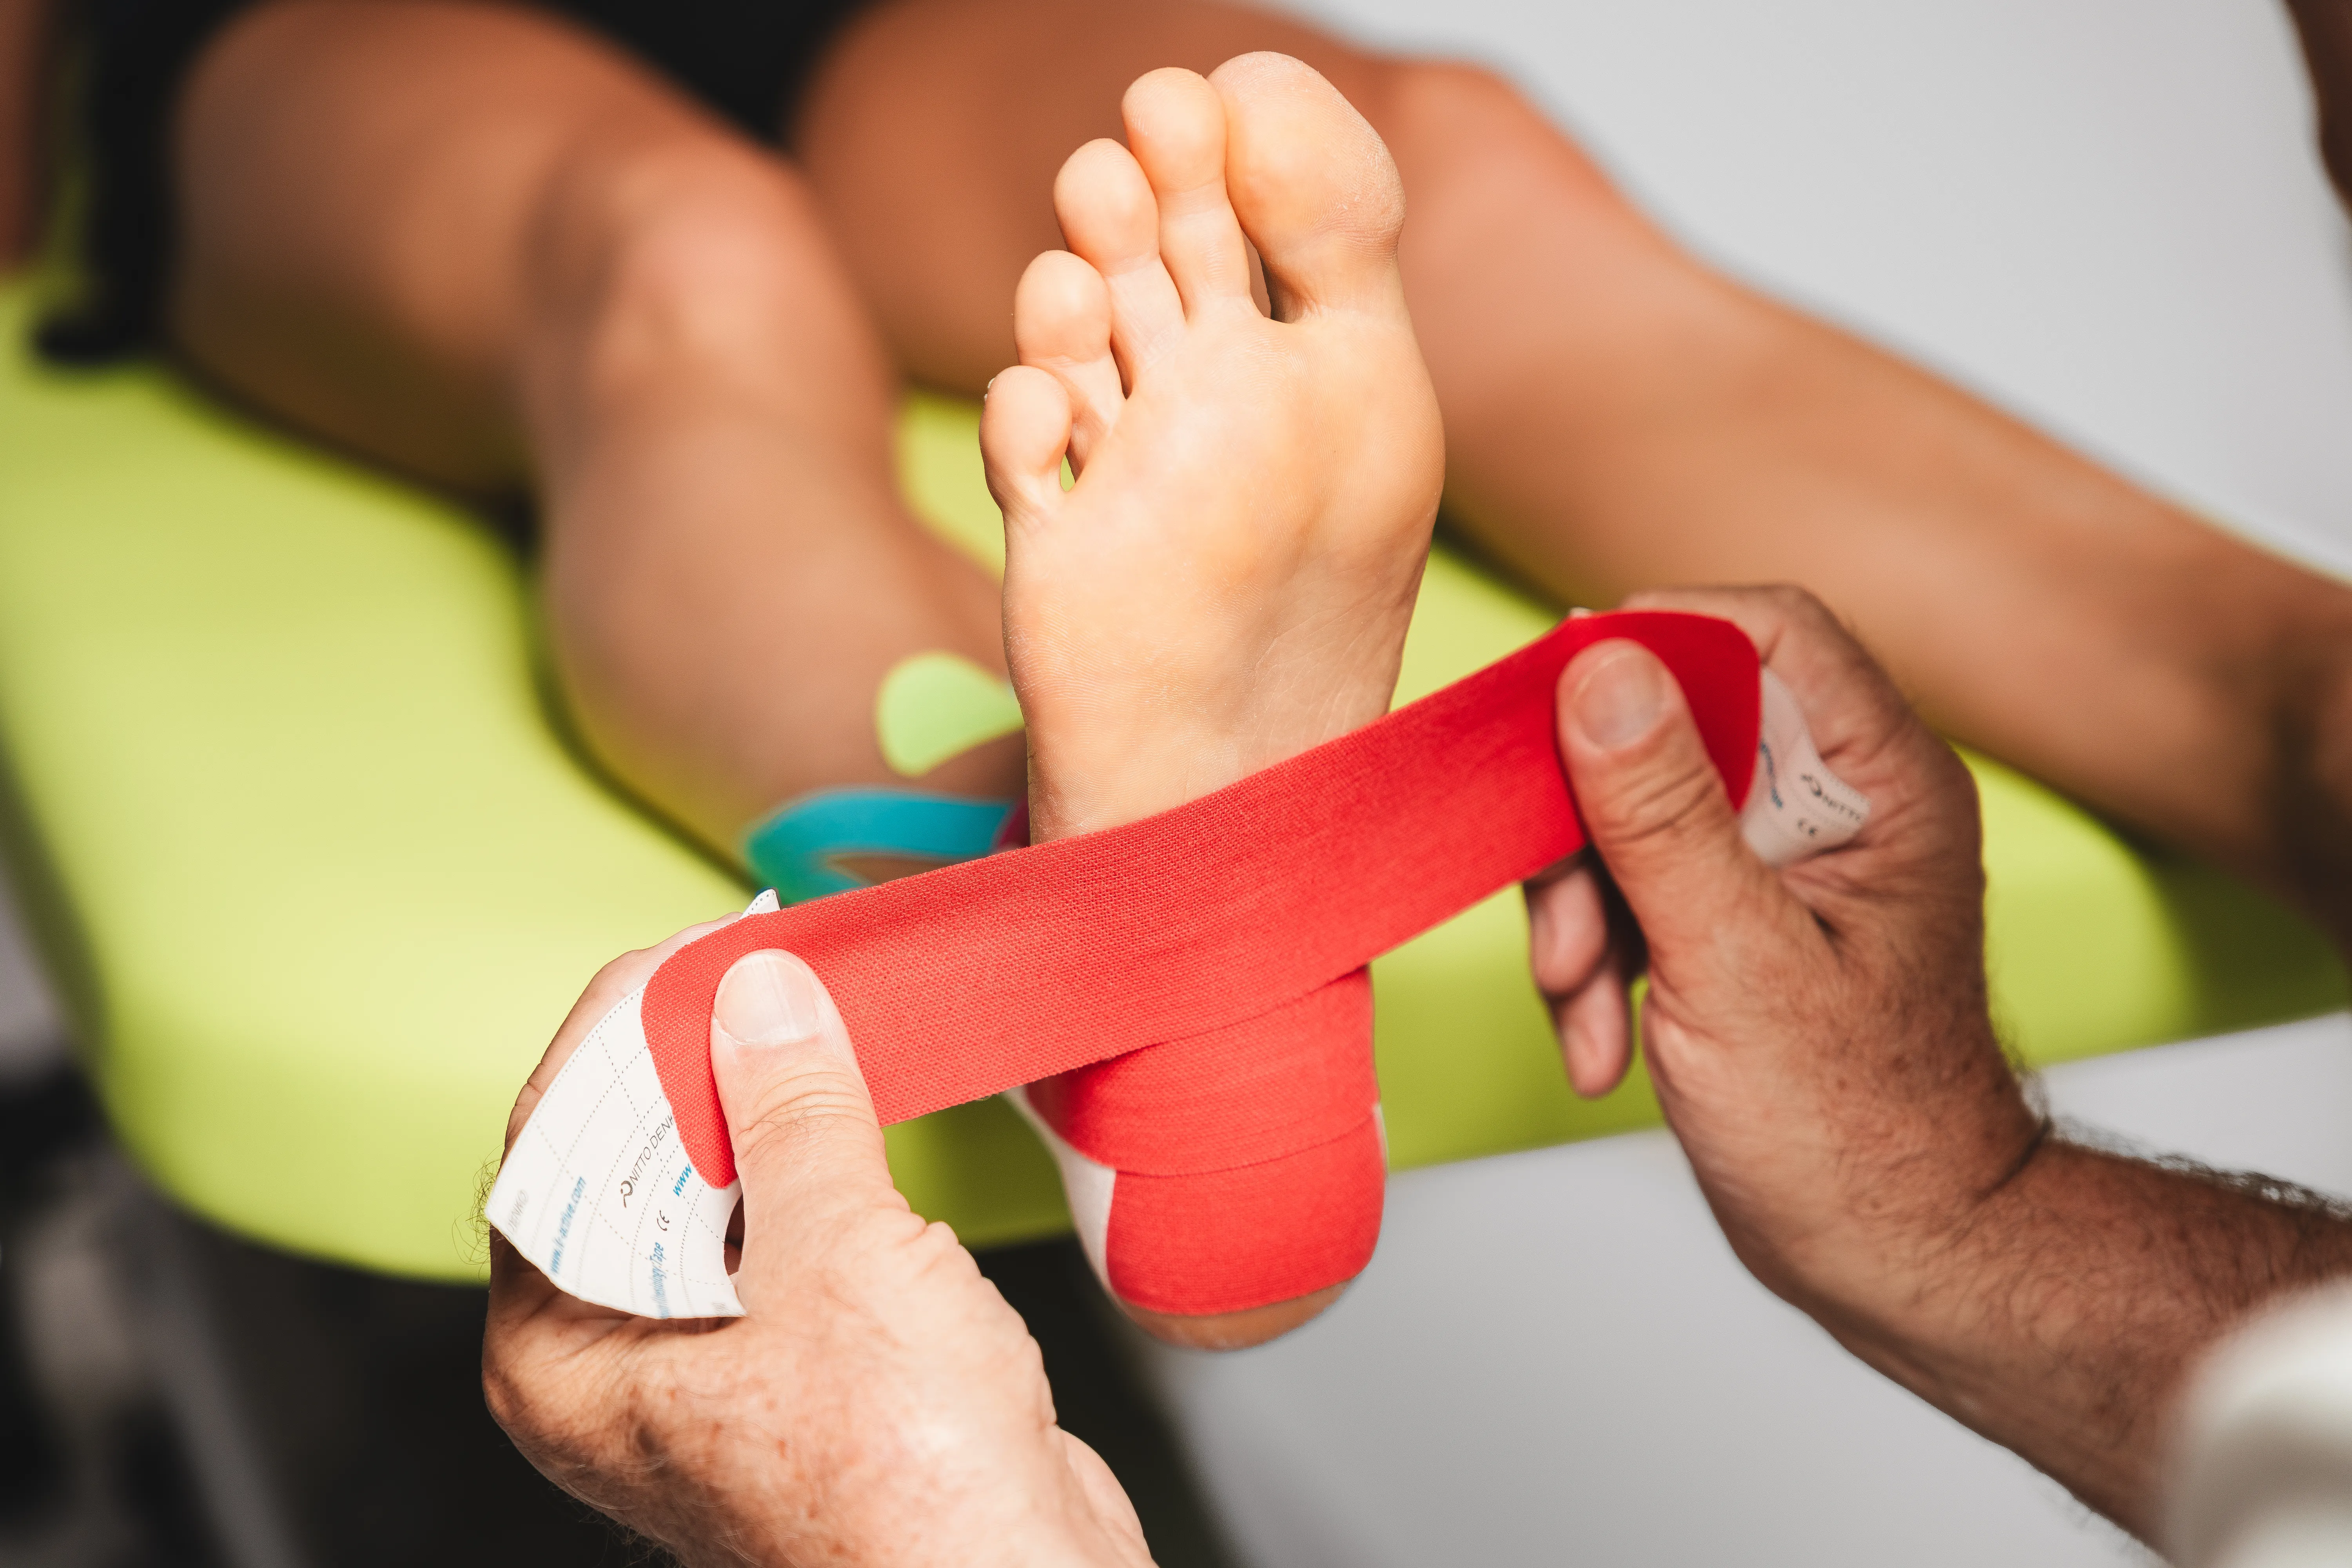
Apply the second red tape (stirrup) slightly offset.
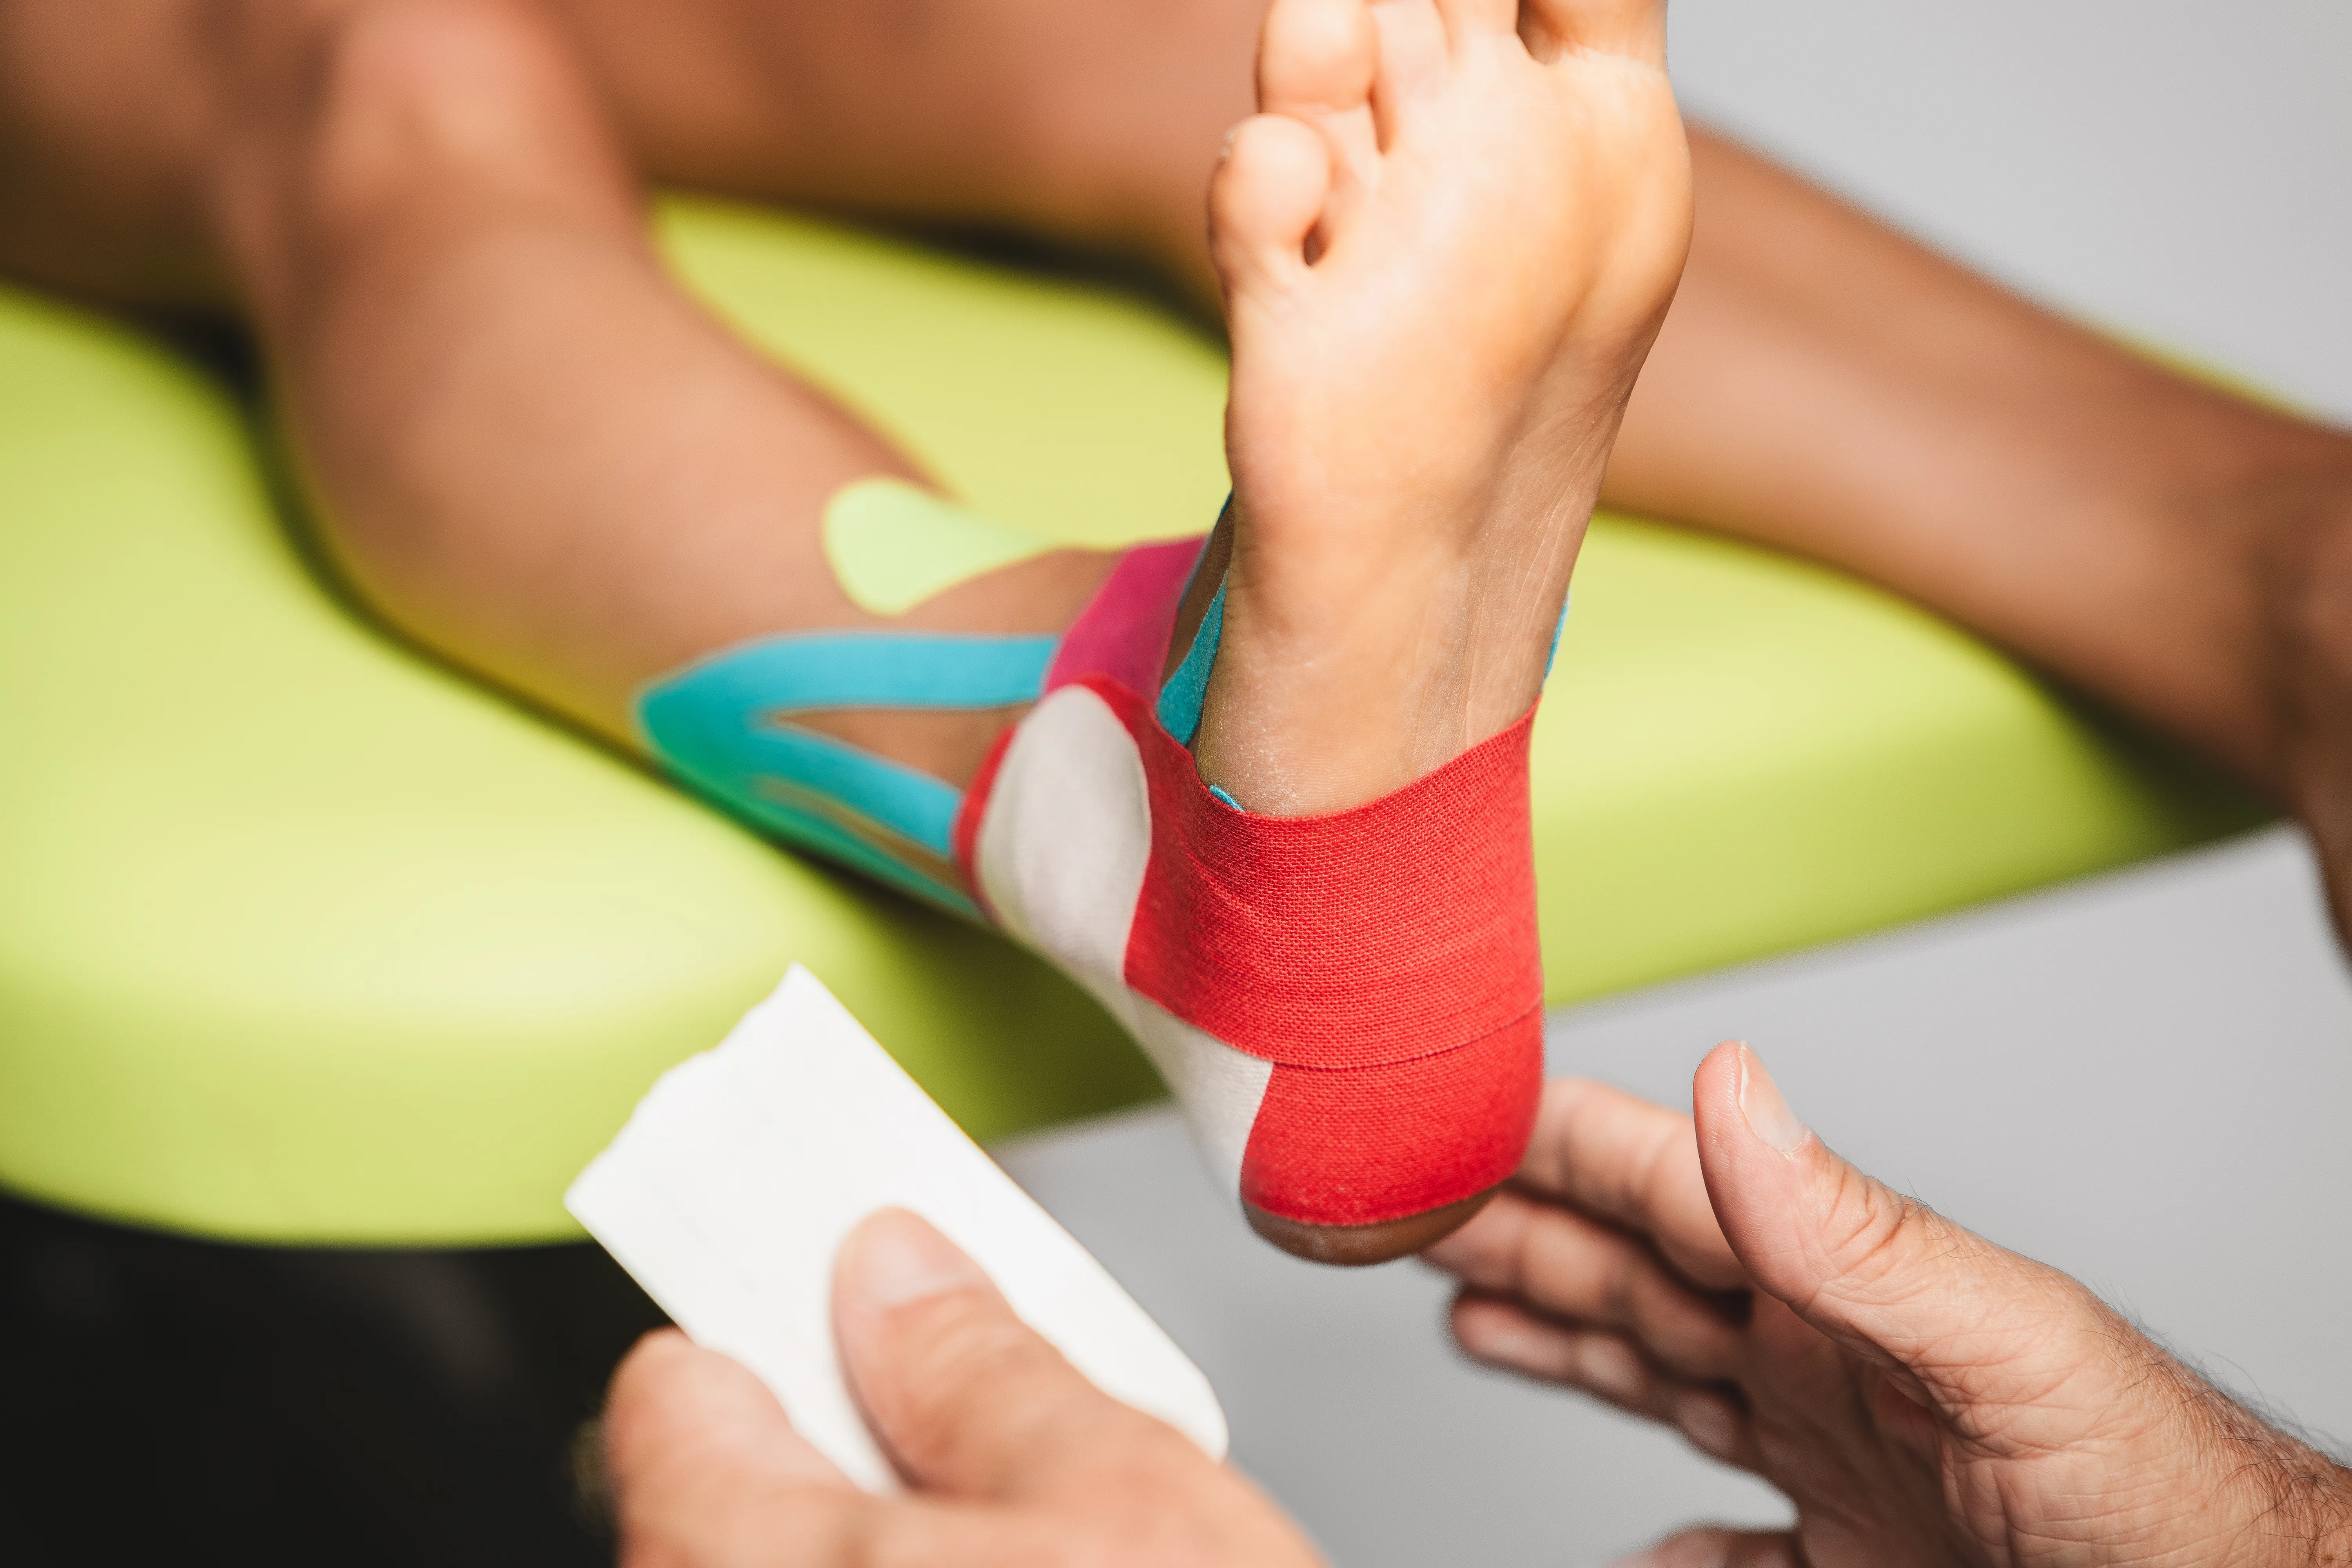
➾ 11.
Attach the second transverse white tape offset.
➾ 12.
Repeat step 11 for the third red tape.

➾ 10.
Apply the second red tape (stirrup) slightly offset.

➾ 11.
Attach the second transverse white tape offset.

➾ 12.
Repeat step 11 for the third red tape.
➾ 13.
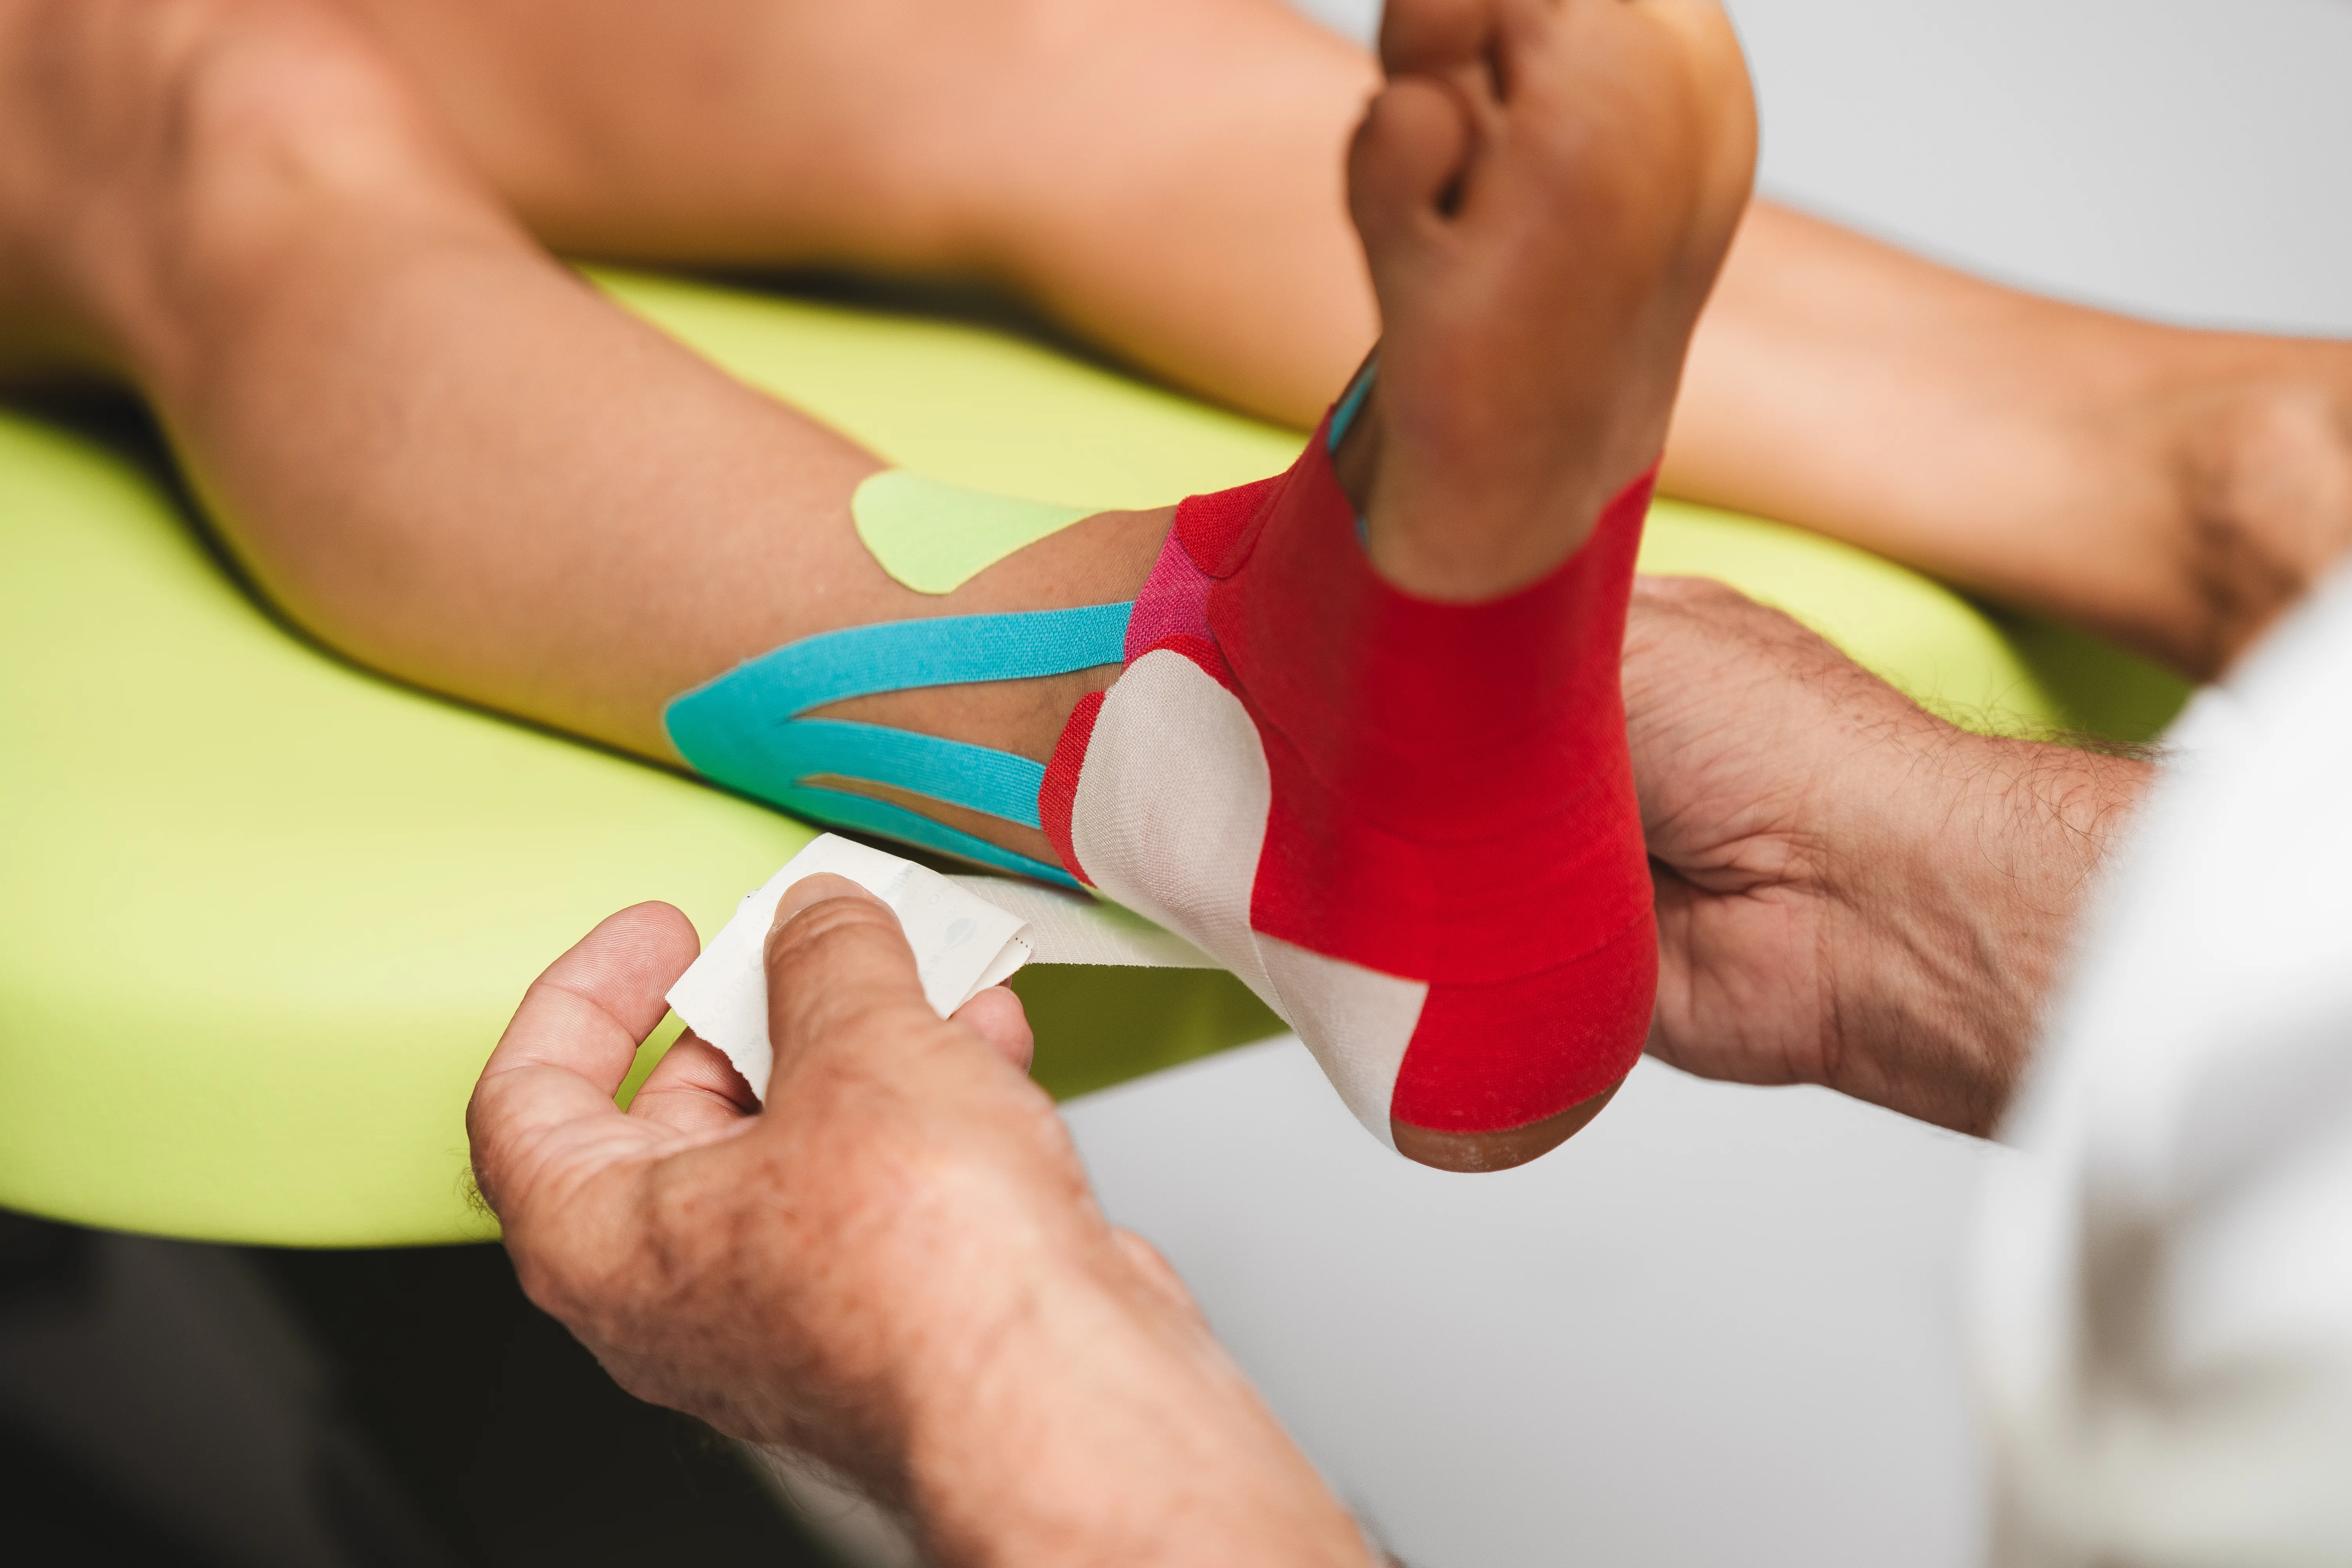
Place the third white tape strip (transverse technique) offset.
➾ 14.
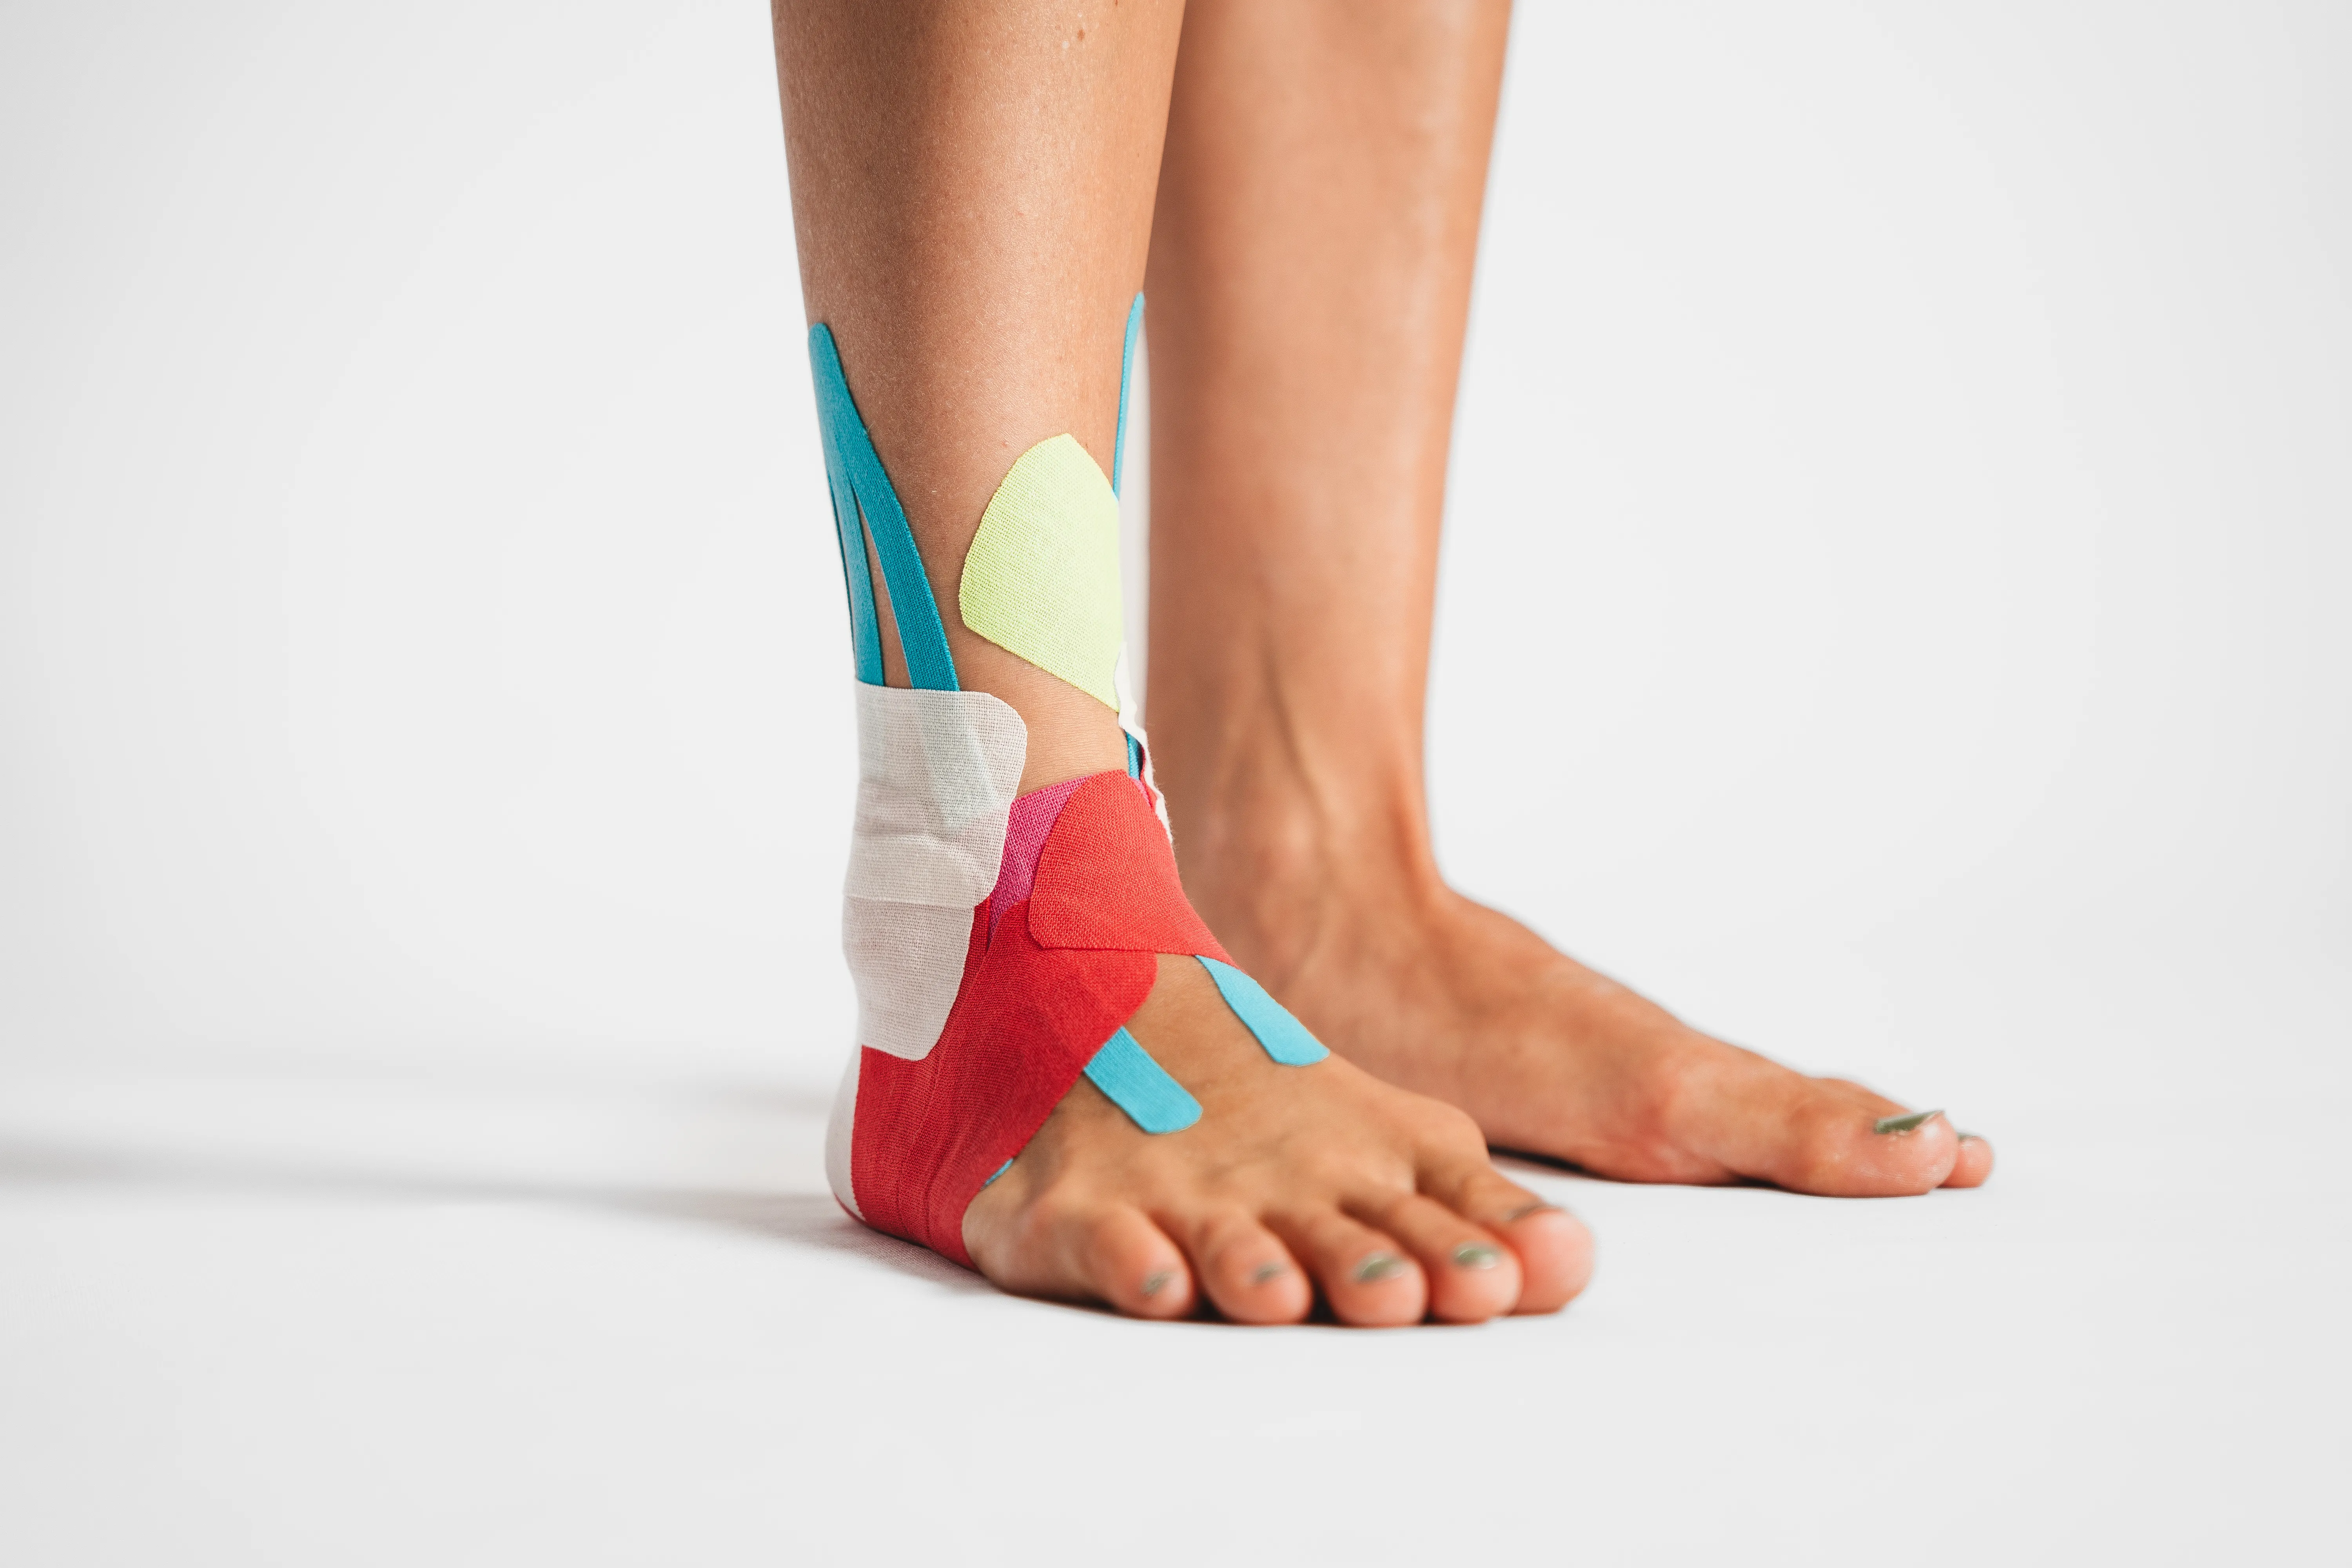
😁 The first fairing is completed.


➾ 13.
Place the third white tape strip (transverse technique) offset.

➾ 14.
😁 The first fairing is completed.

➾ 15.
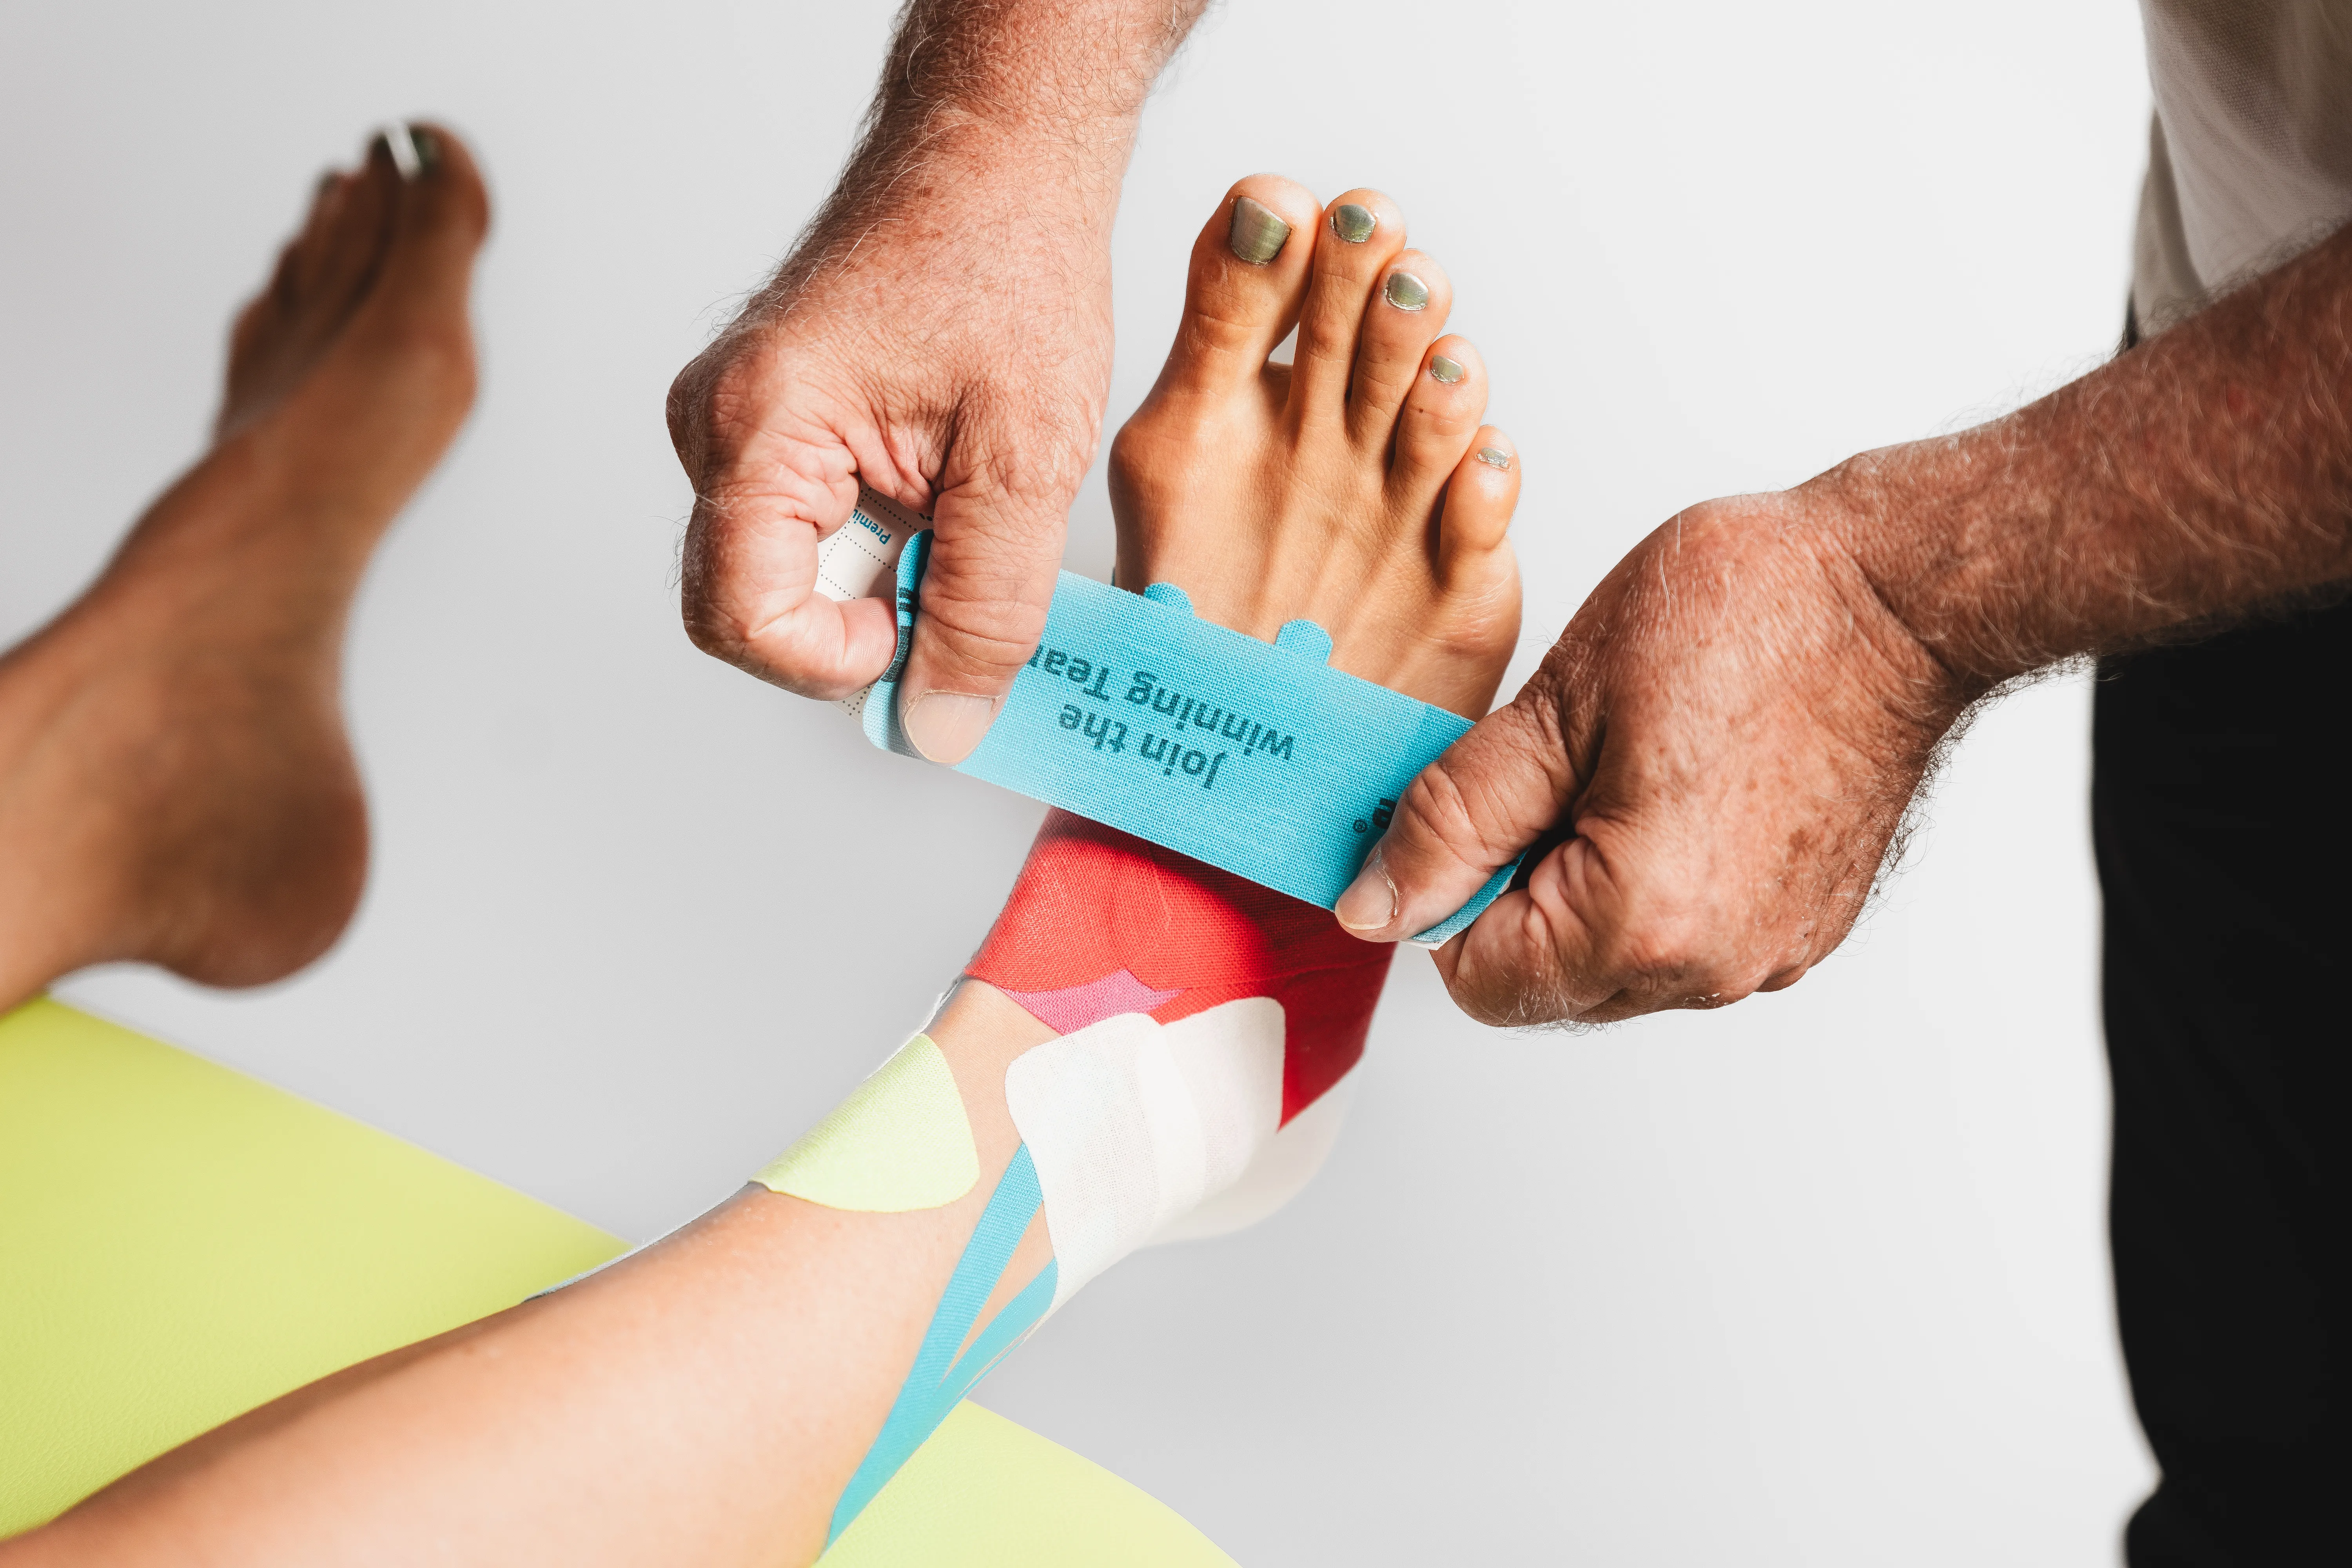
Apply the blue tape to the back of the foot with a slight stretch and increased contact pressure.
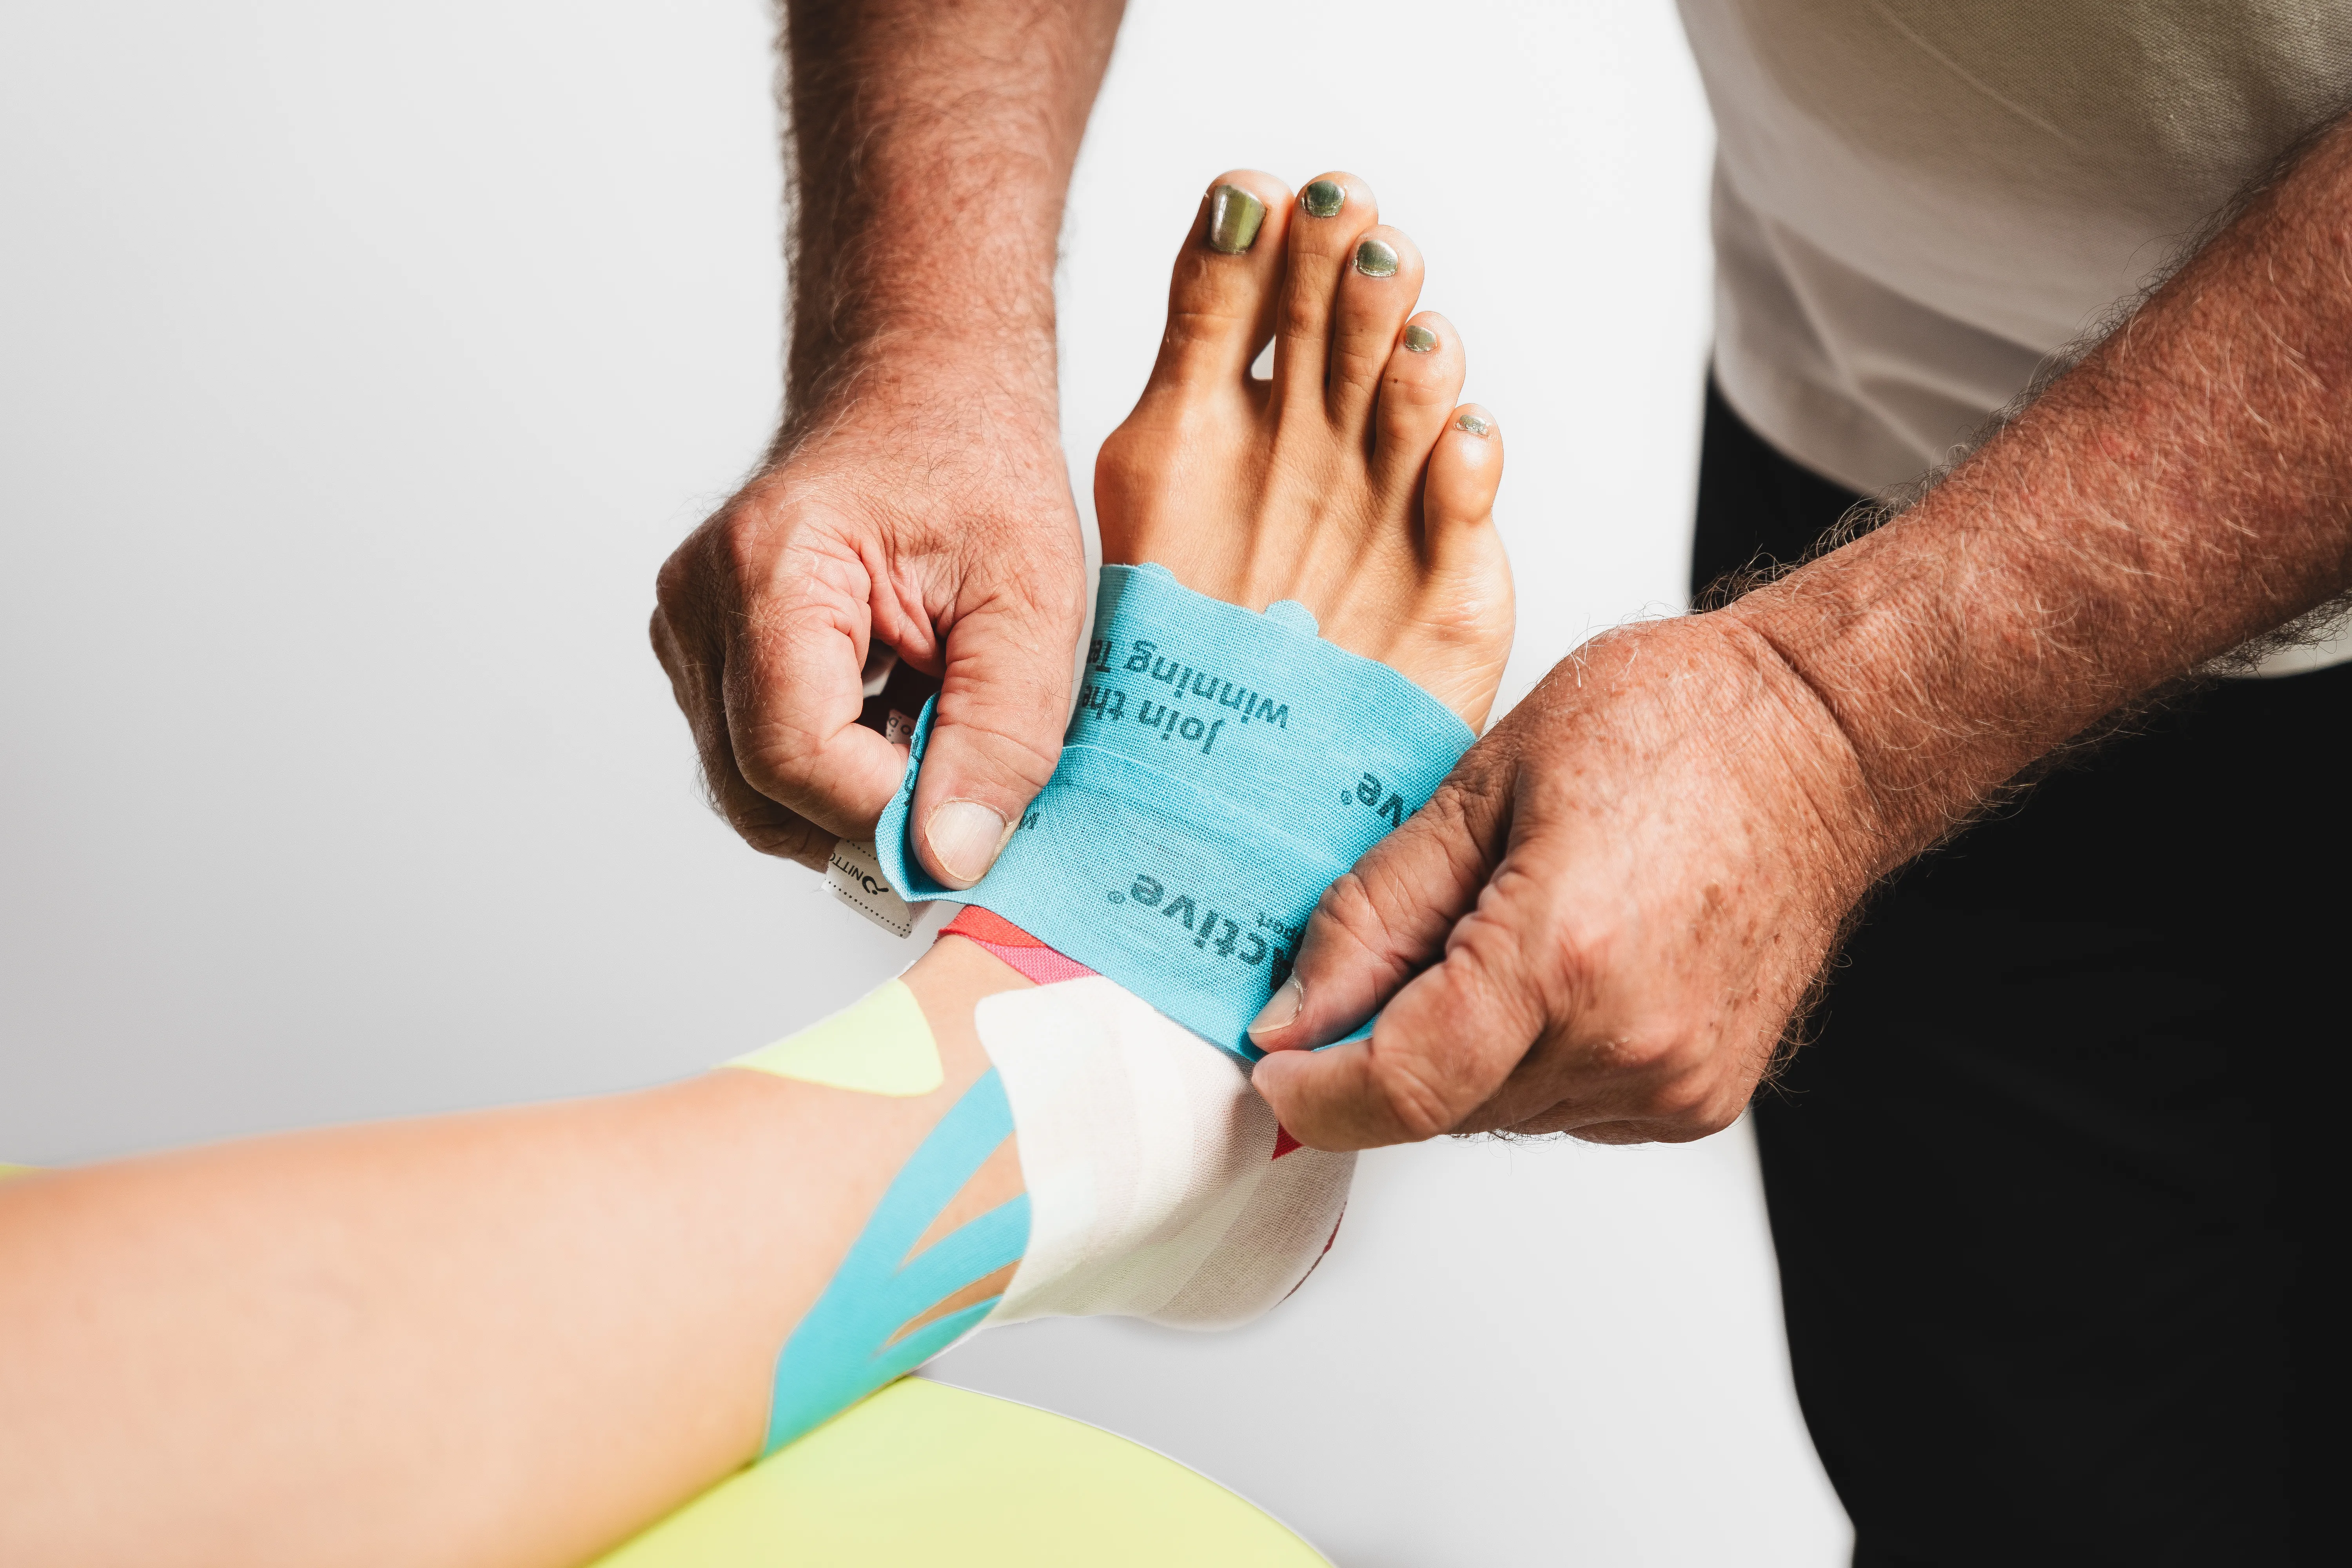
➾ 16.
Attach the second blue tape with the same technique and slightly reduced contact pressure.
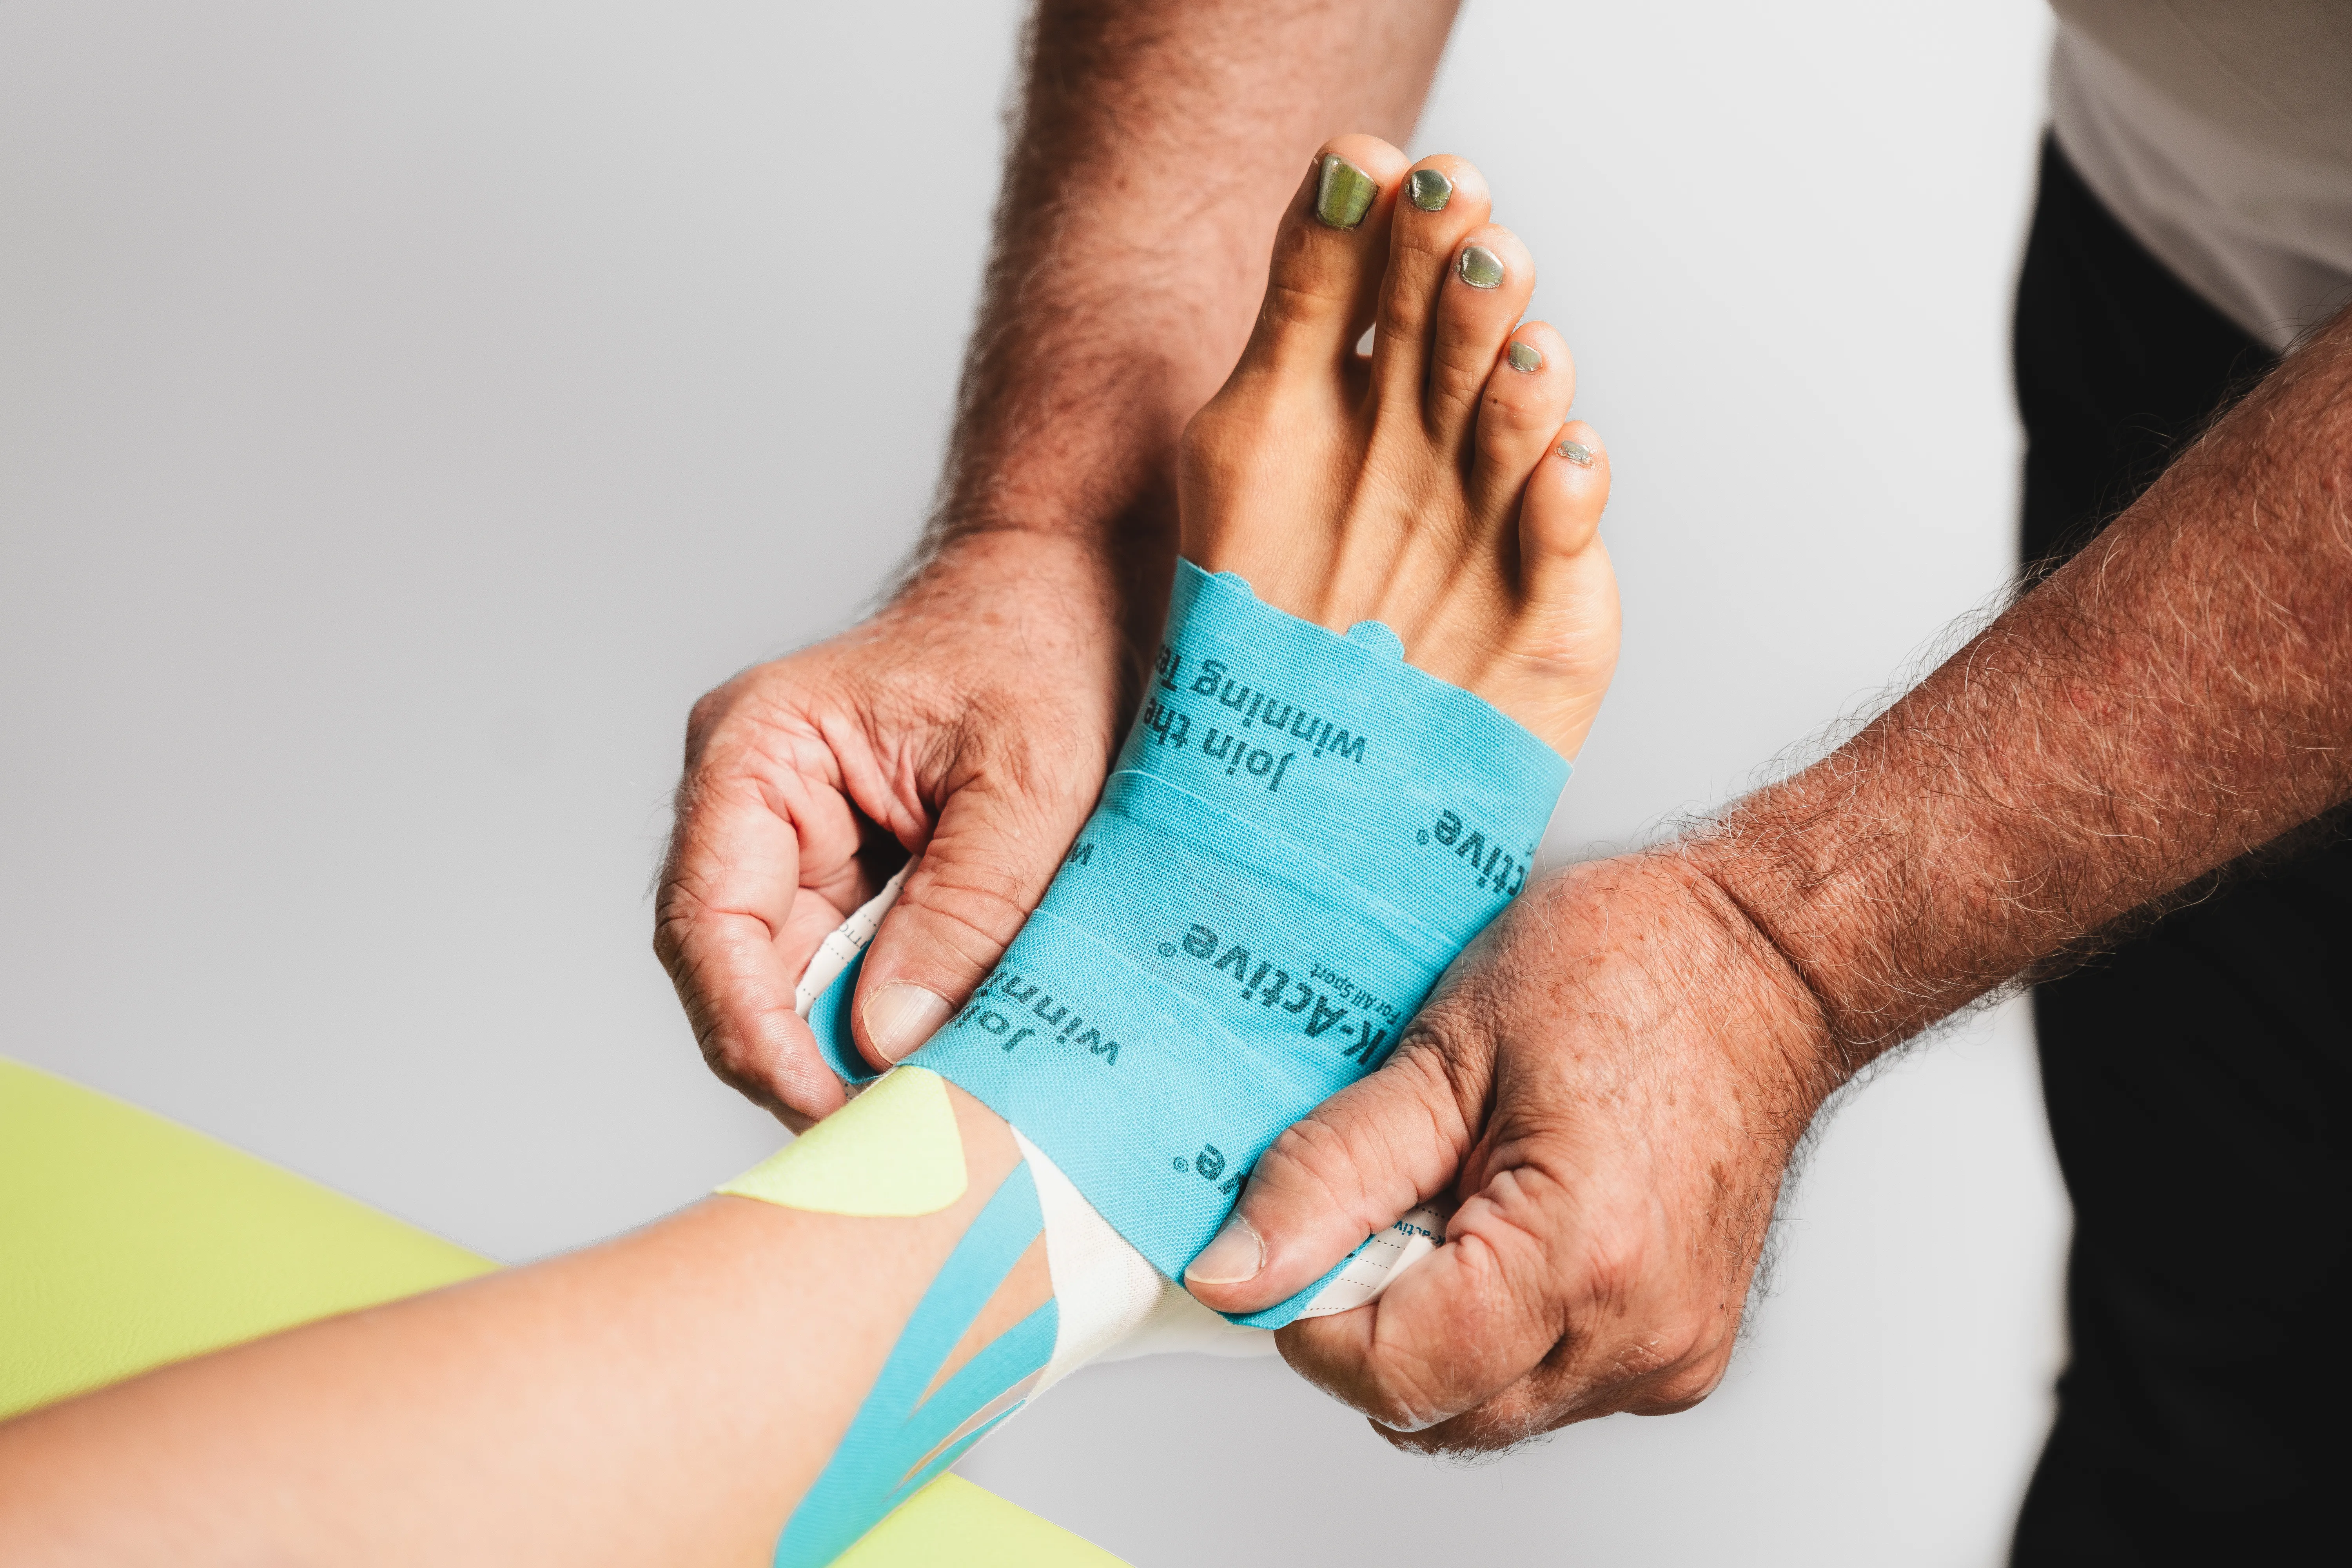
➾ 17.
Do the same with the third blue tape.

➾ 15.
Apply the blue tape to the back of the foot with a slight stretch and increased contact pressure.

➾ 16.
Attach the second blue tape with the same technique and slightly reduced contact pressure.

➾ 17.
Do the same with the third blue tape.
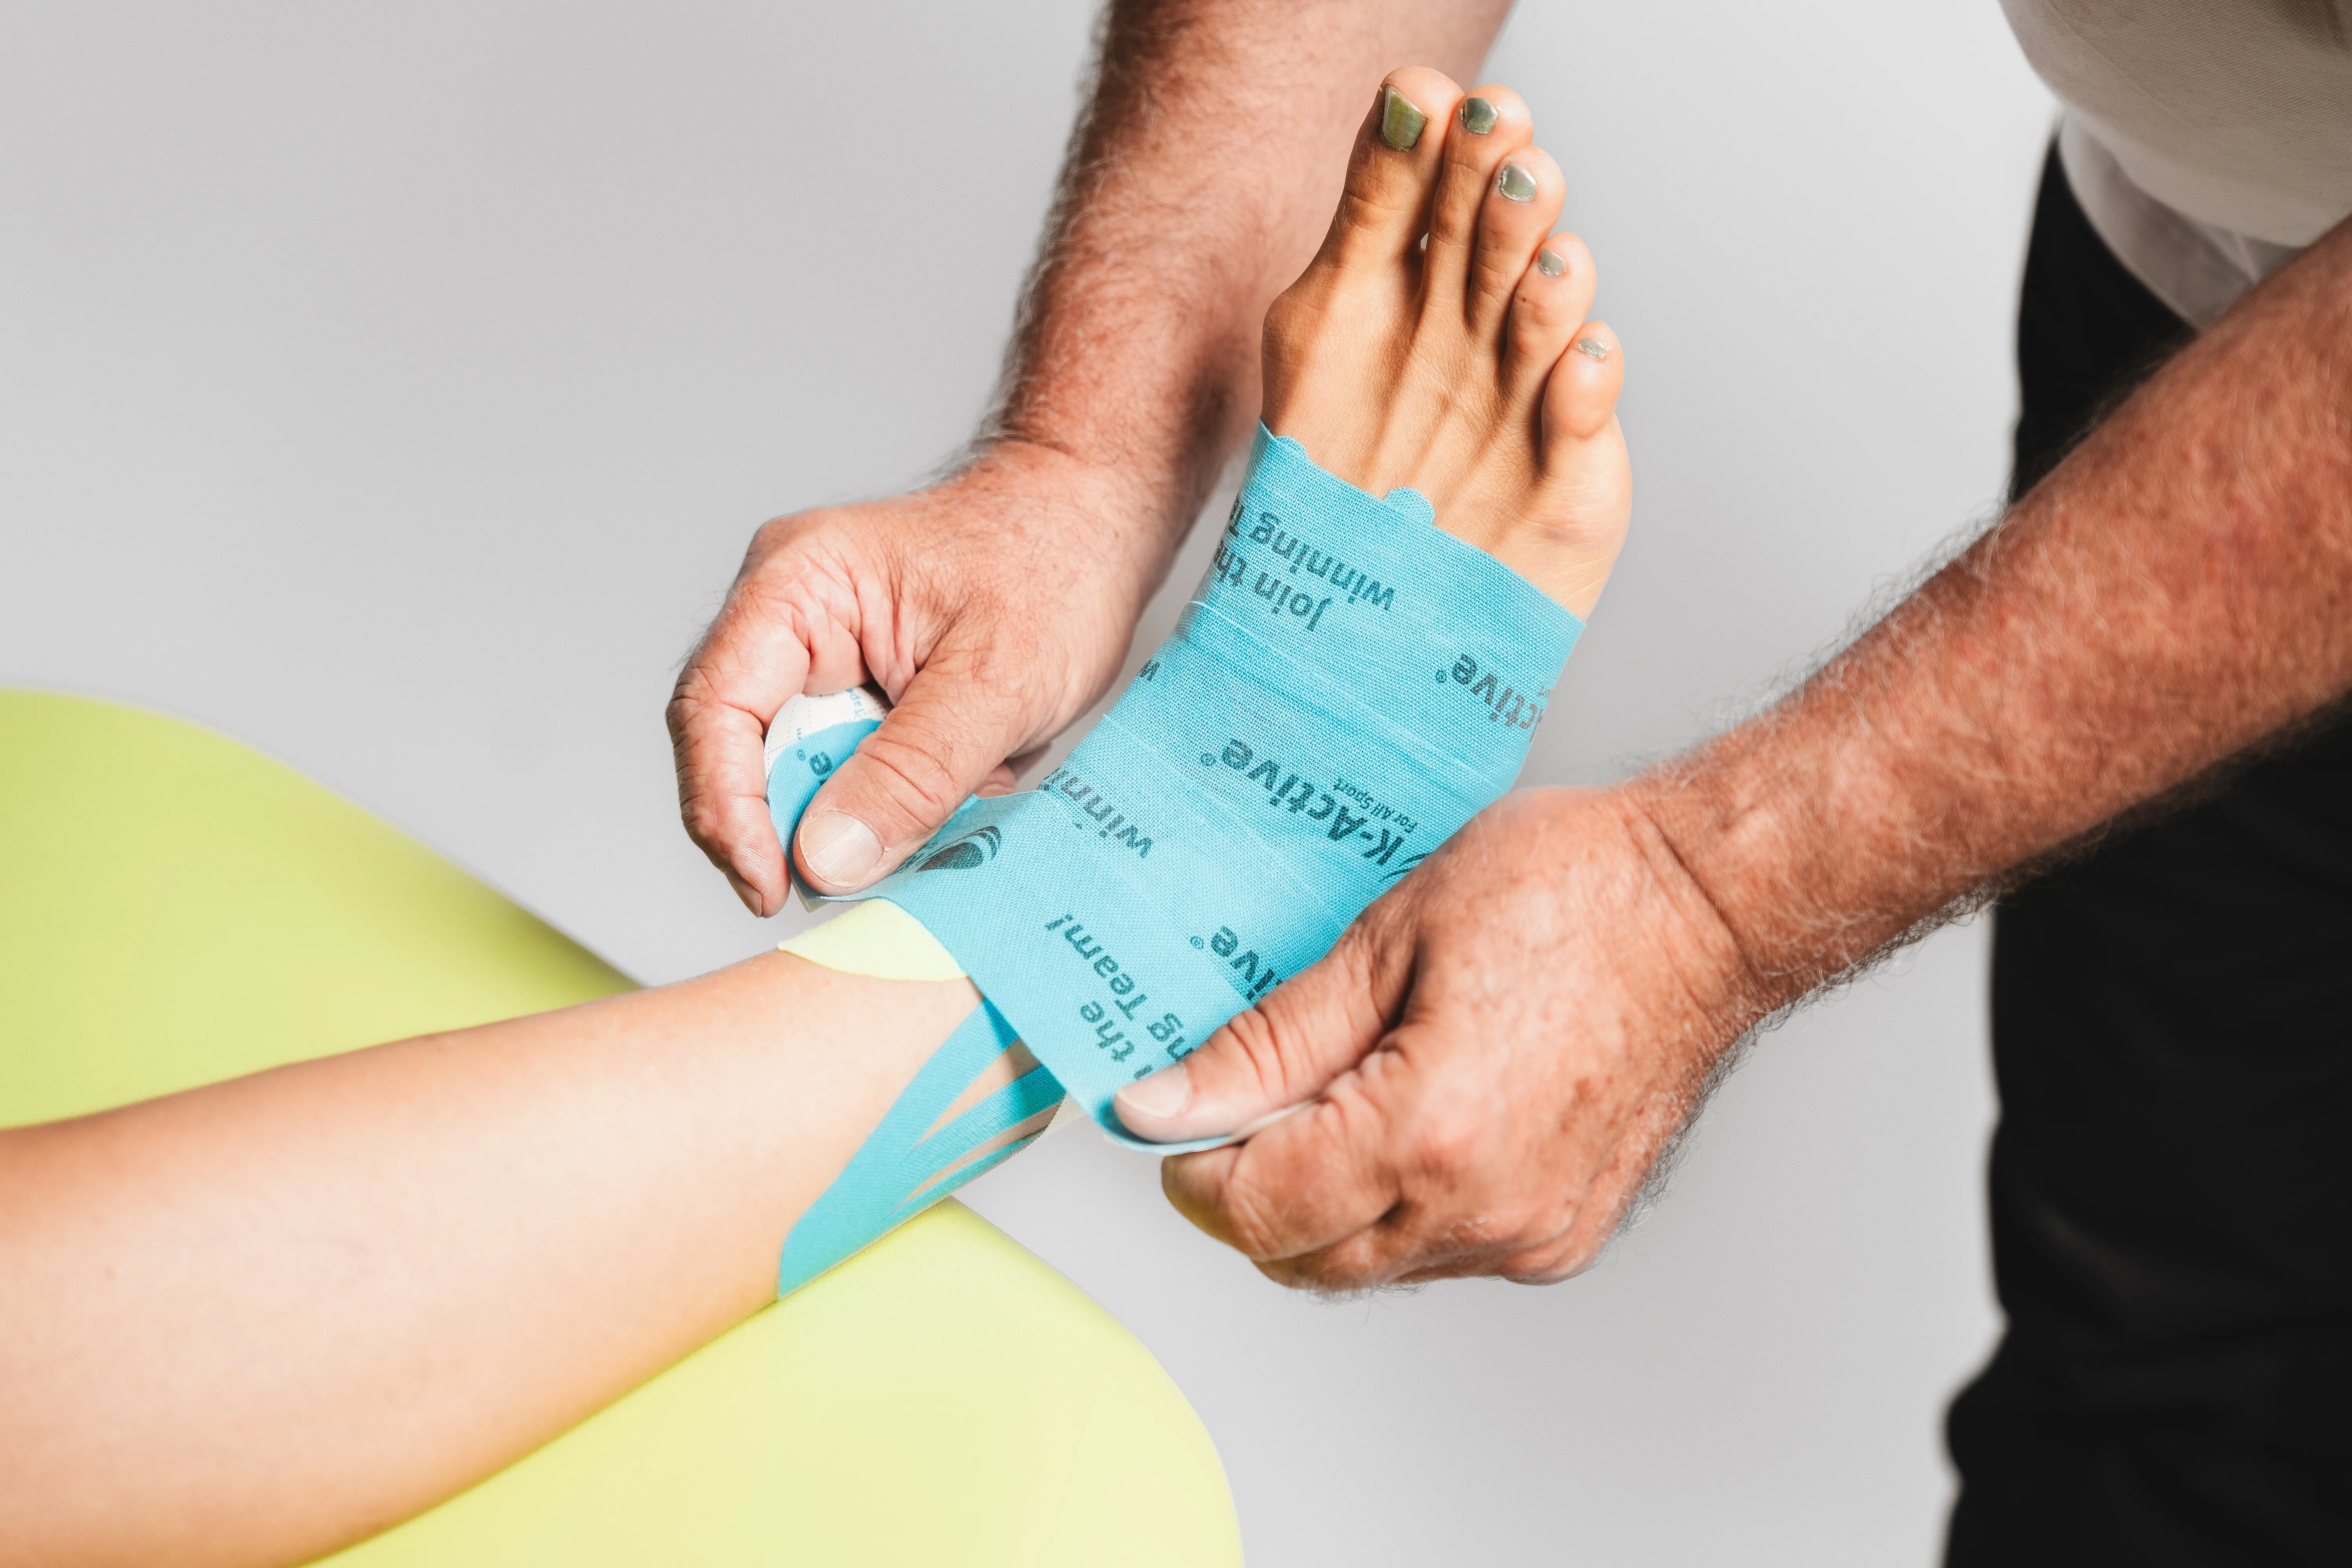
➾ 18.
Apply the fourth strip of blue tape as well.
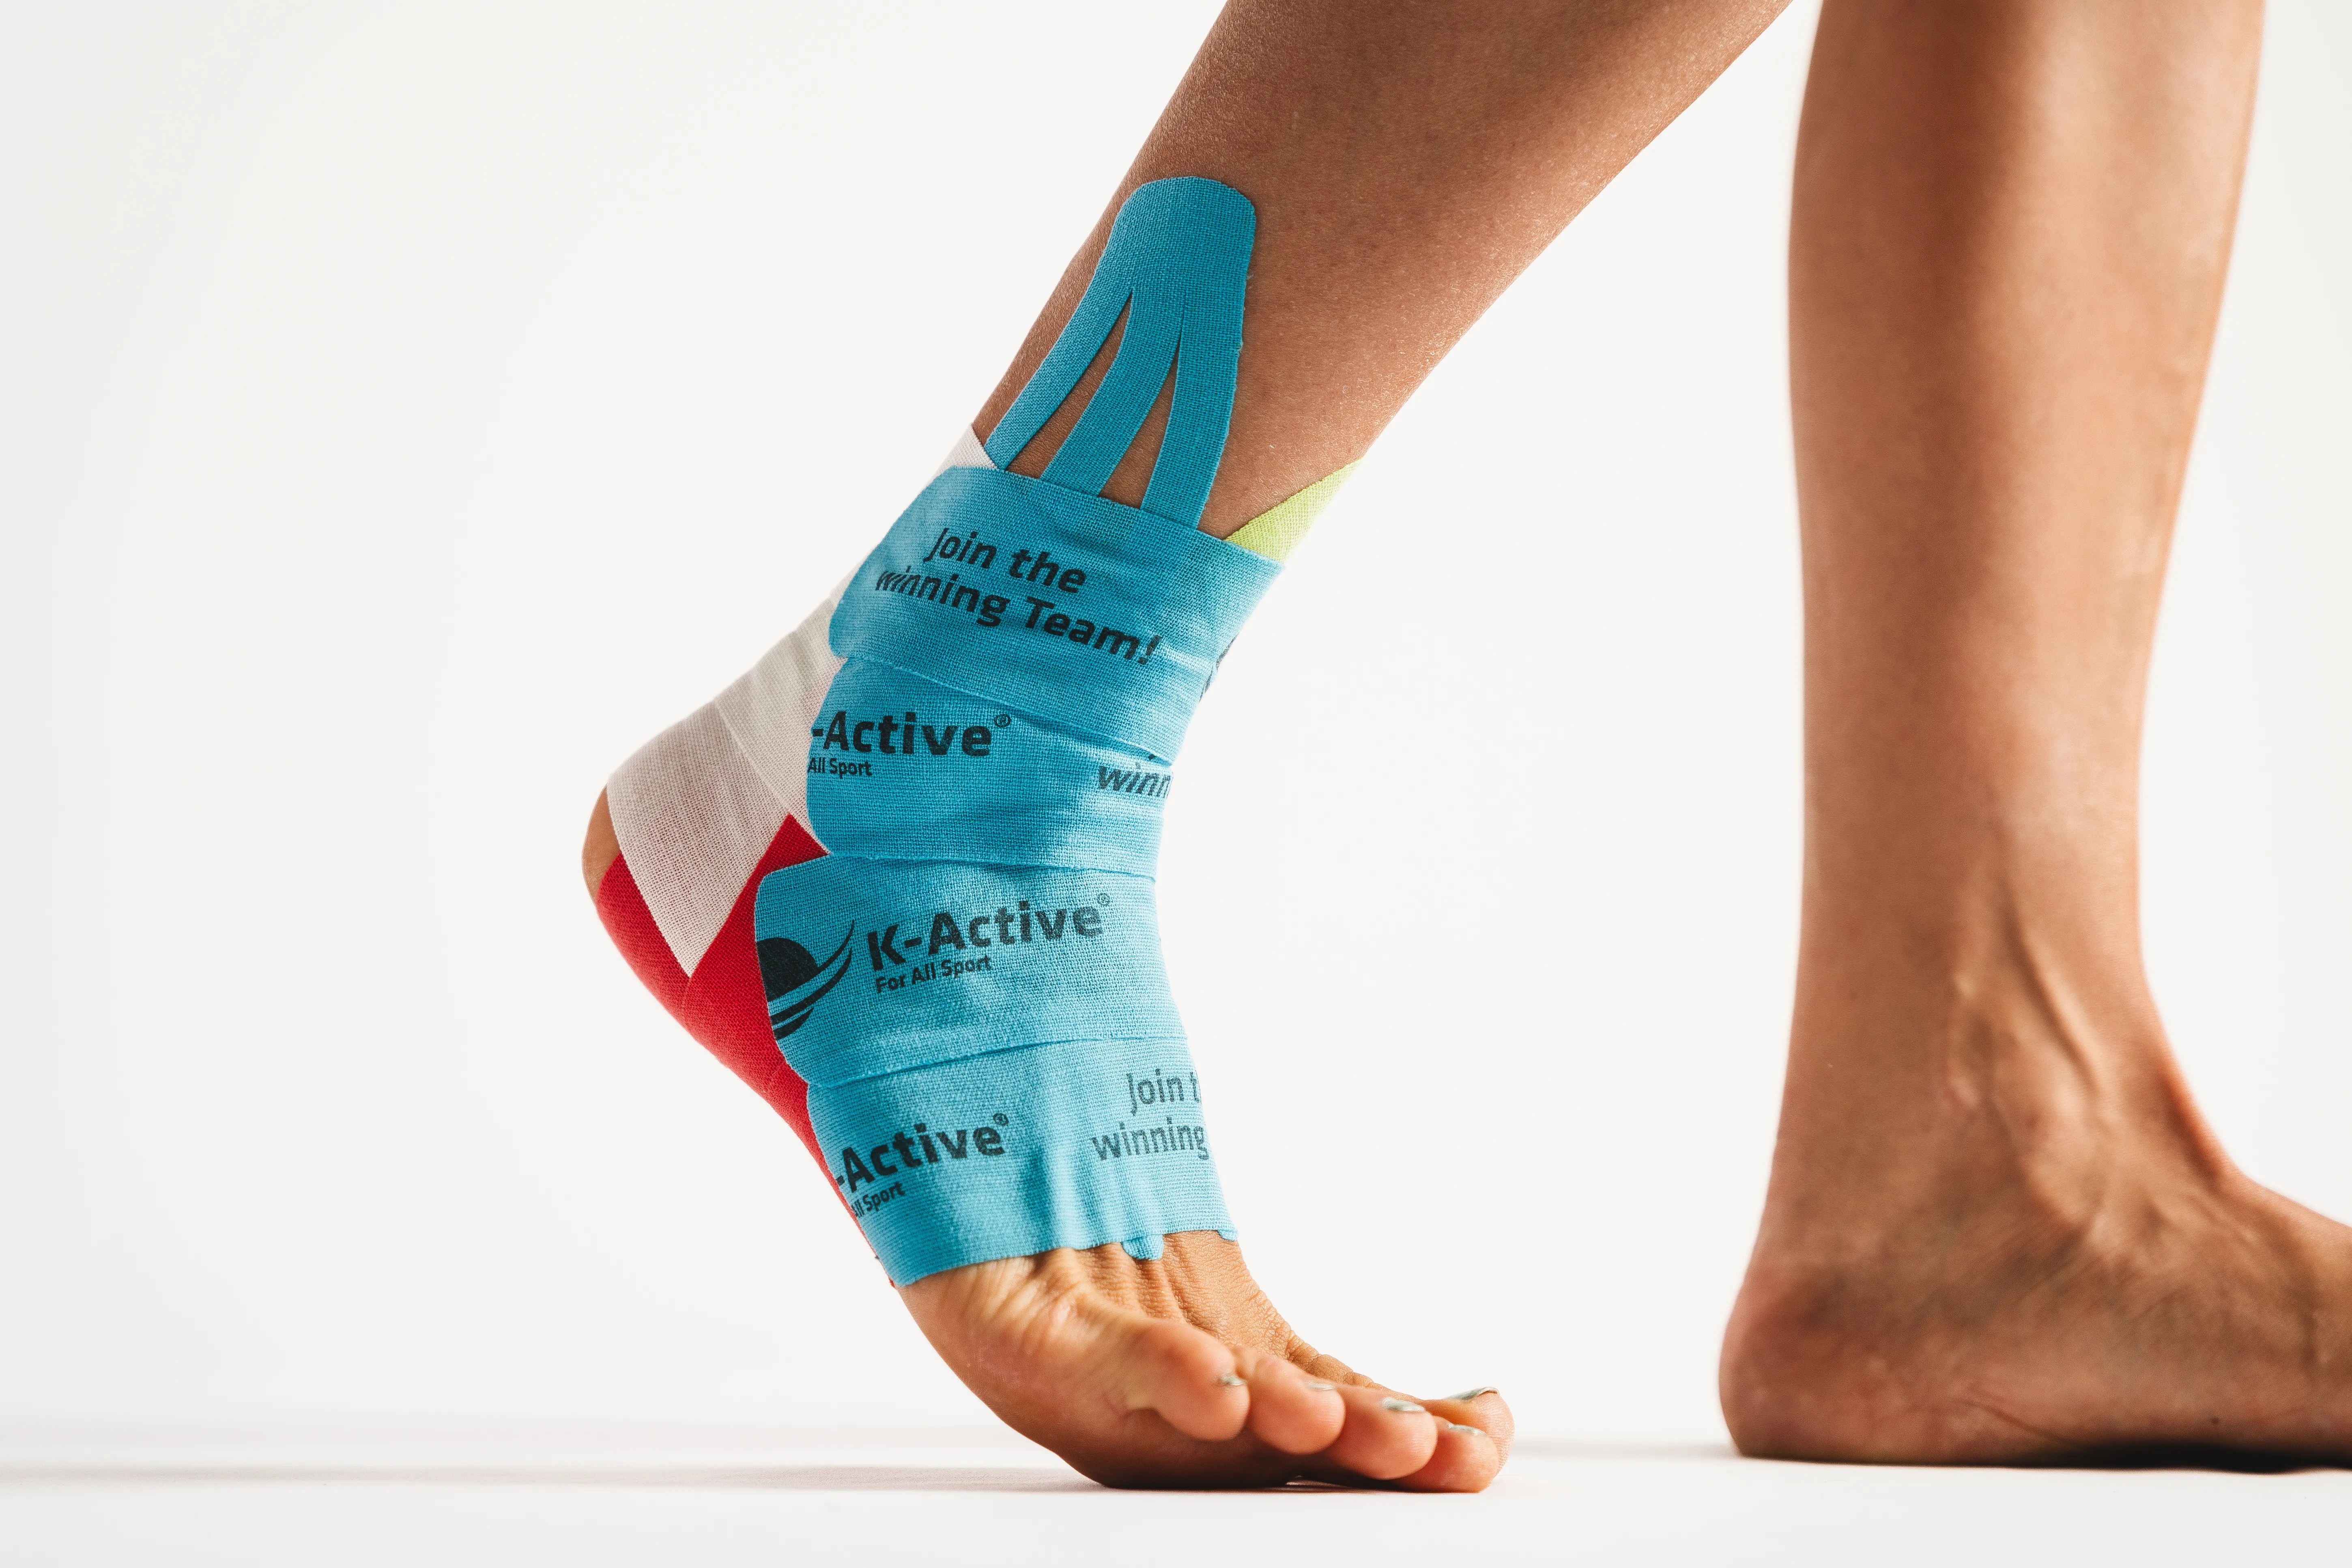
➾ 19.
😁 The application is completed!


➾ 18.
Apply the fourth strip of blue tape as well.

➾ 19.
😁 The application is completed!


