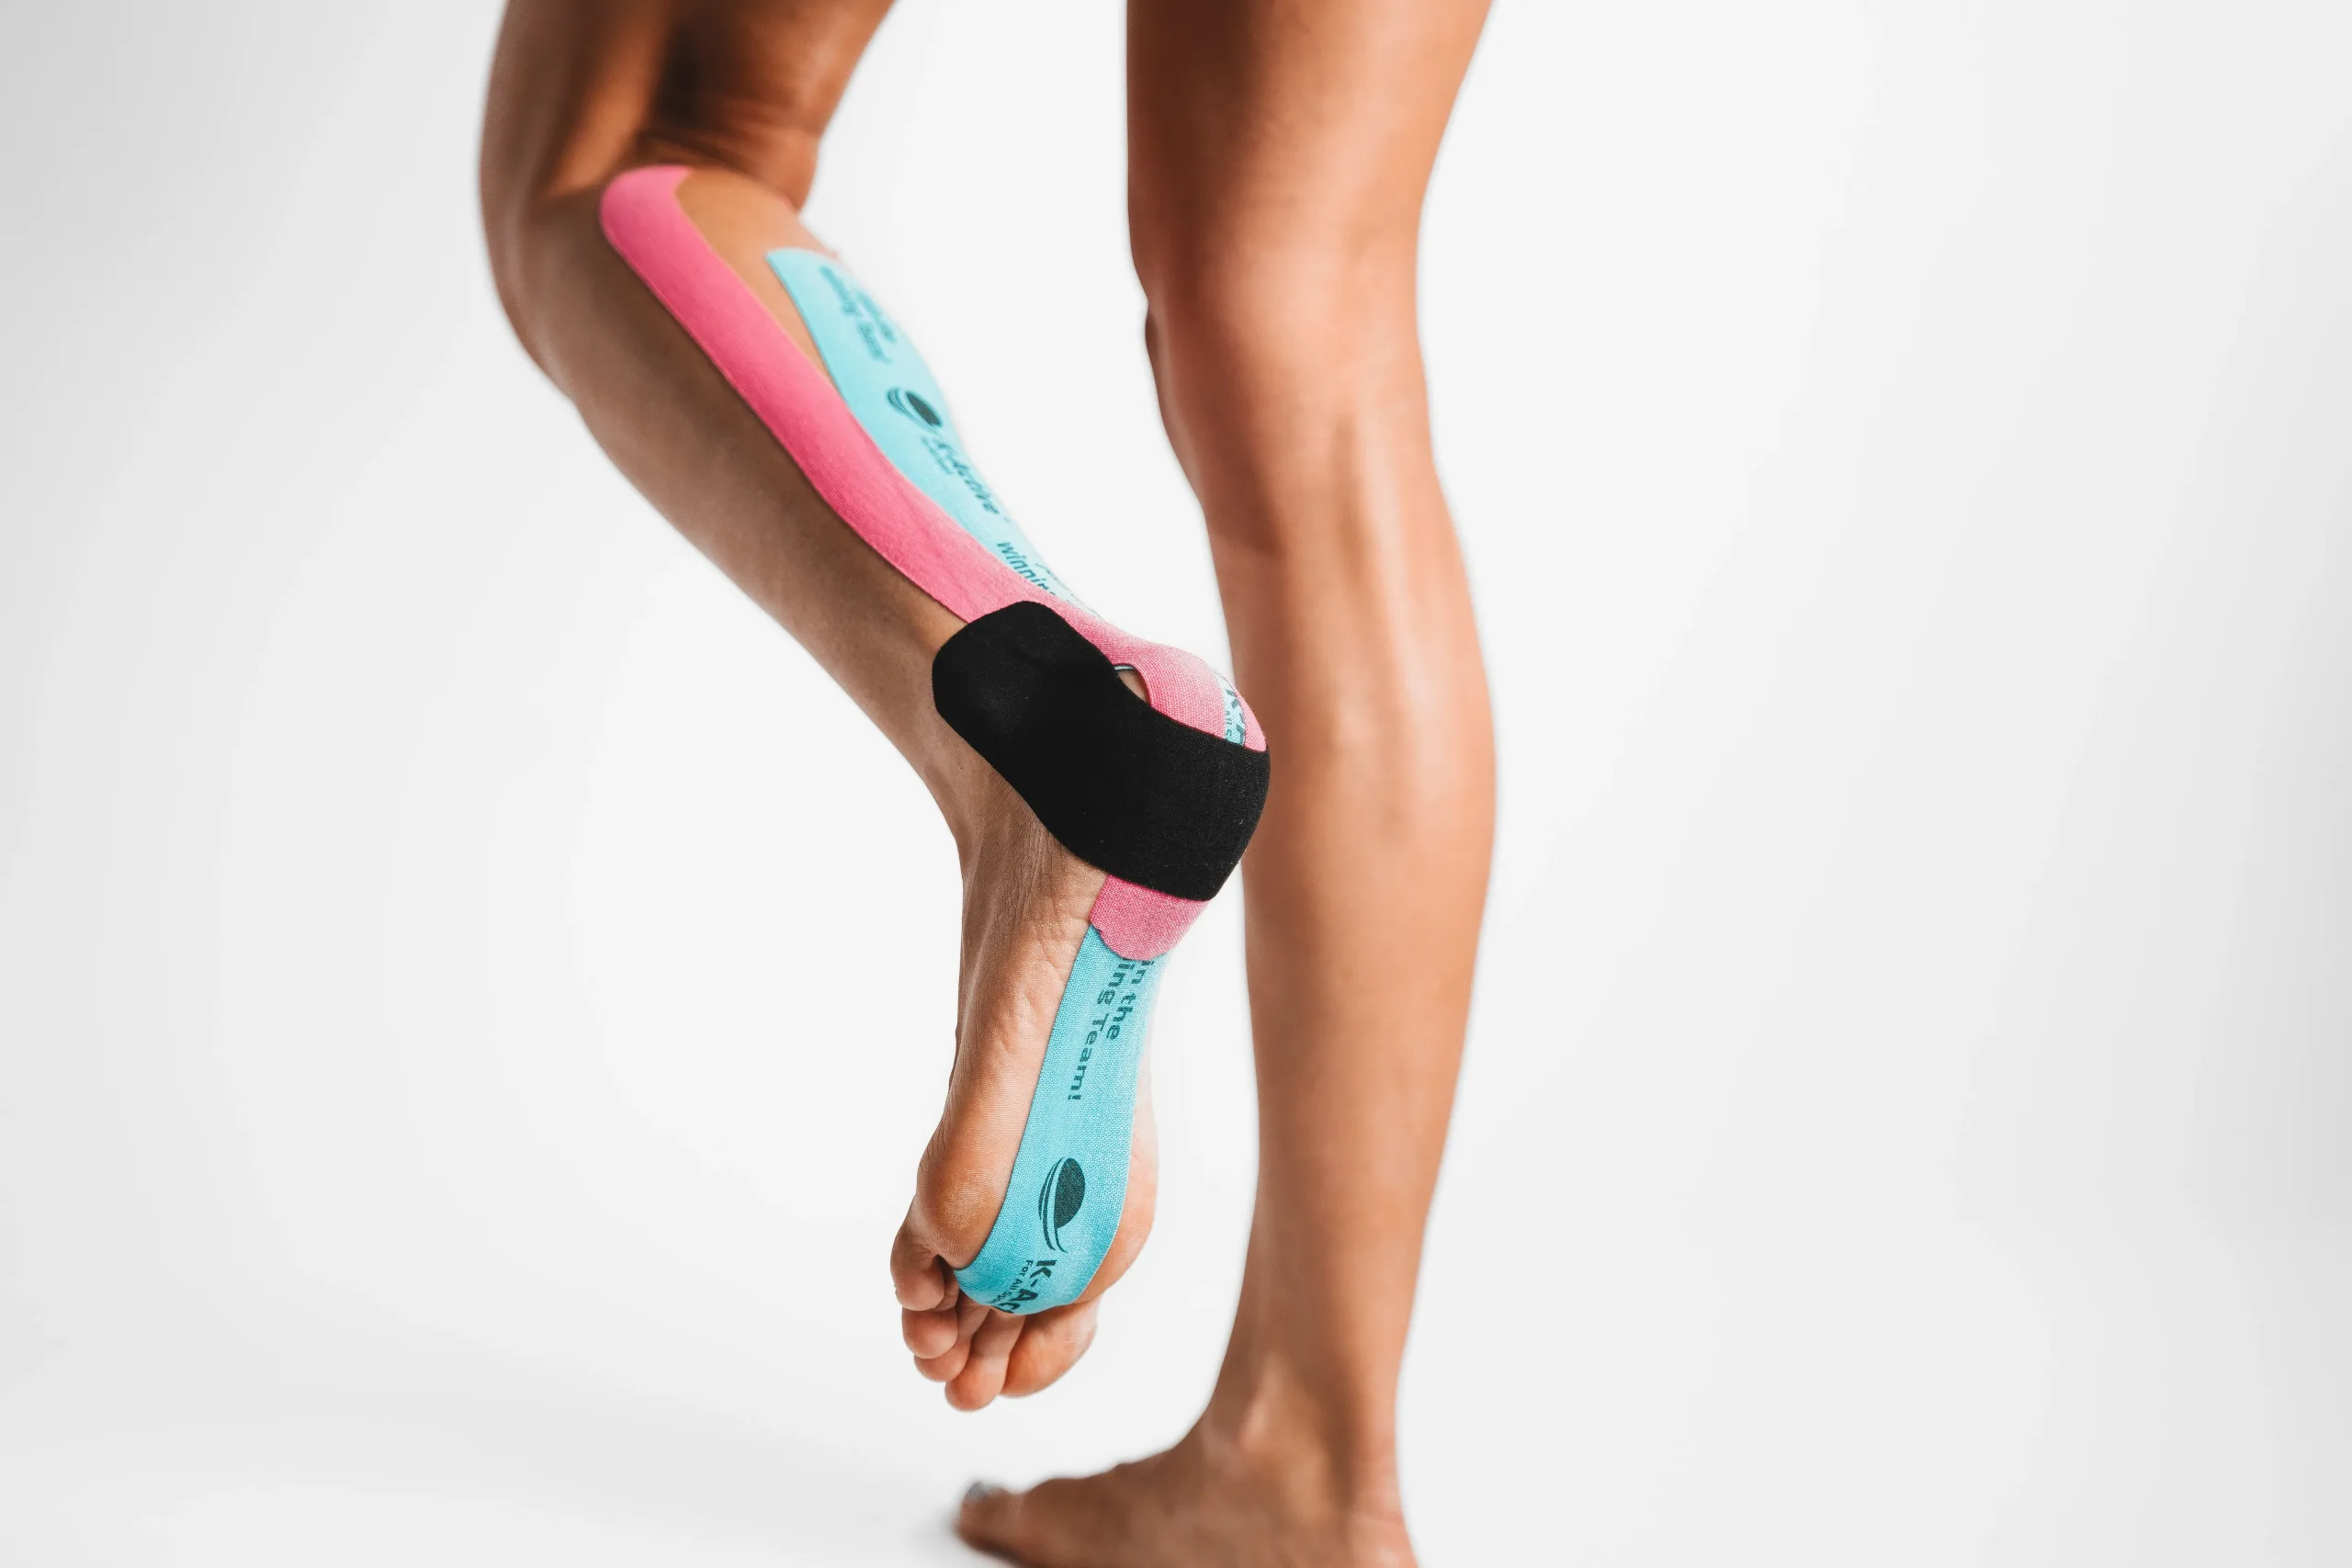
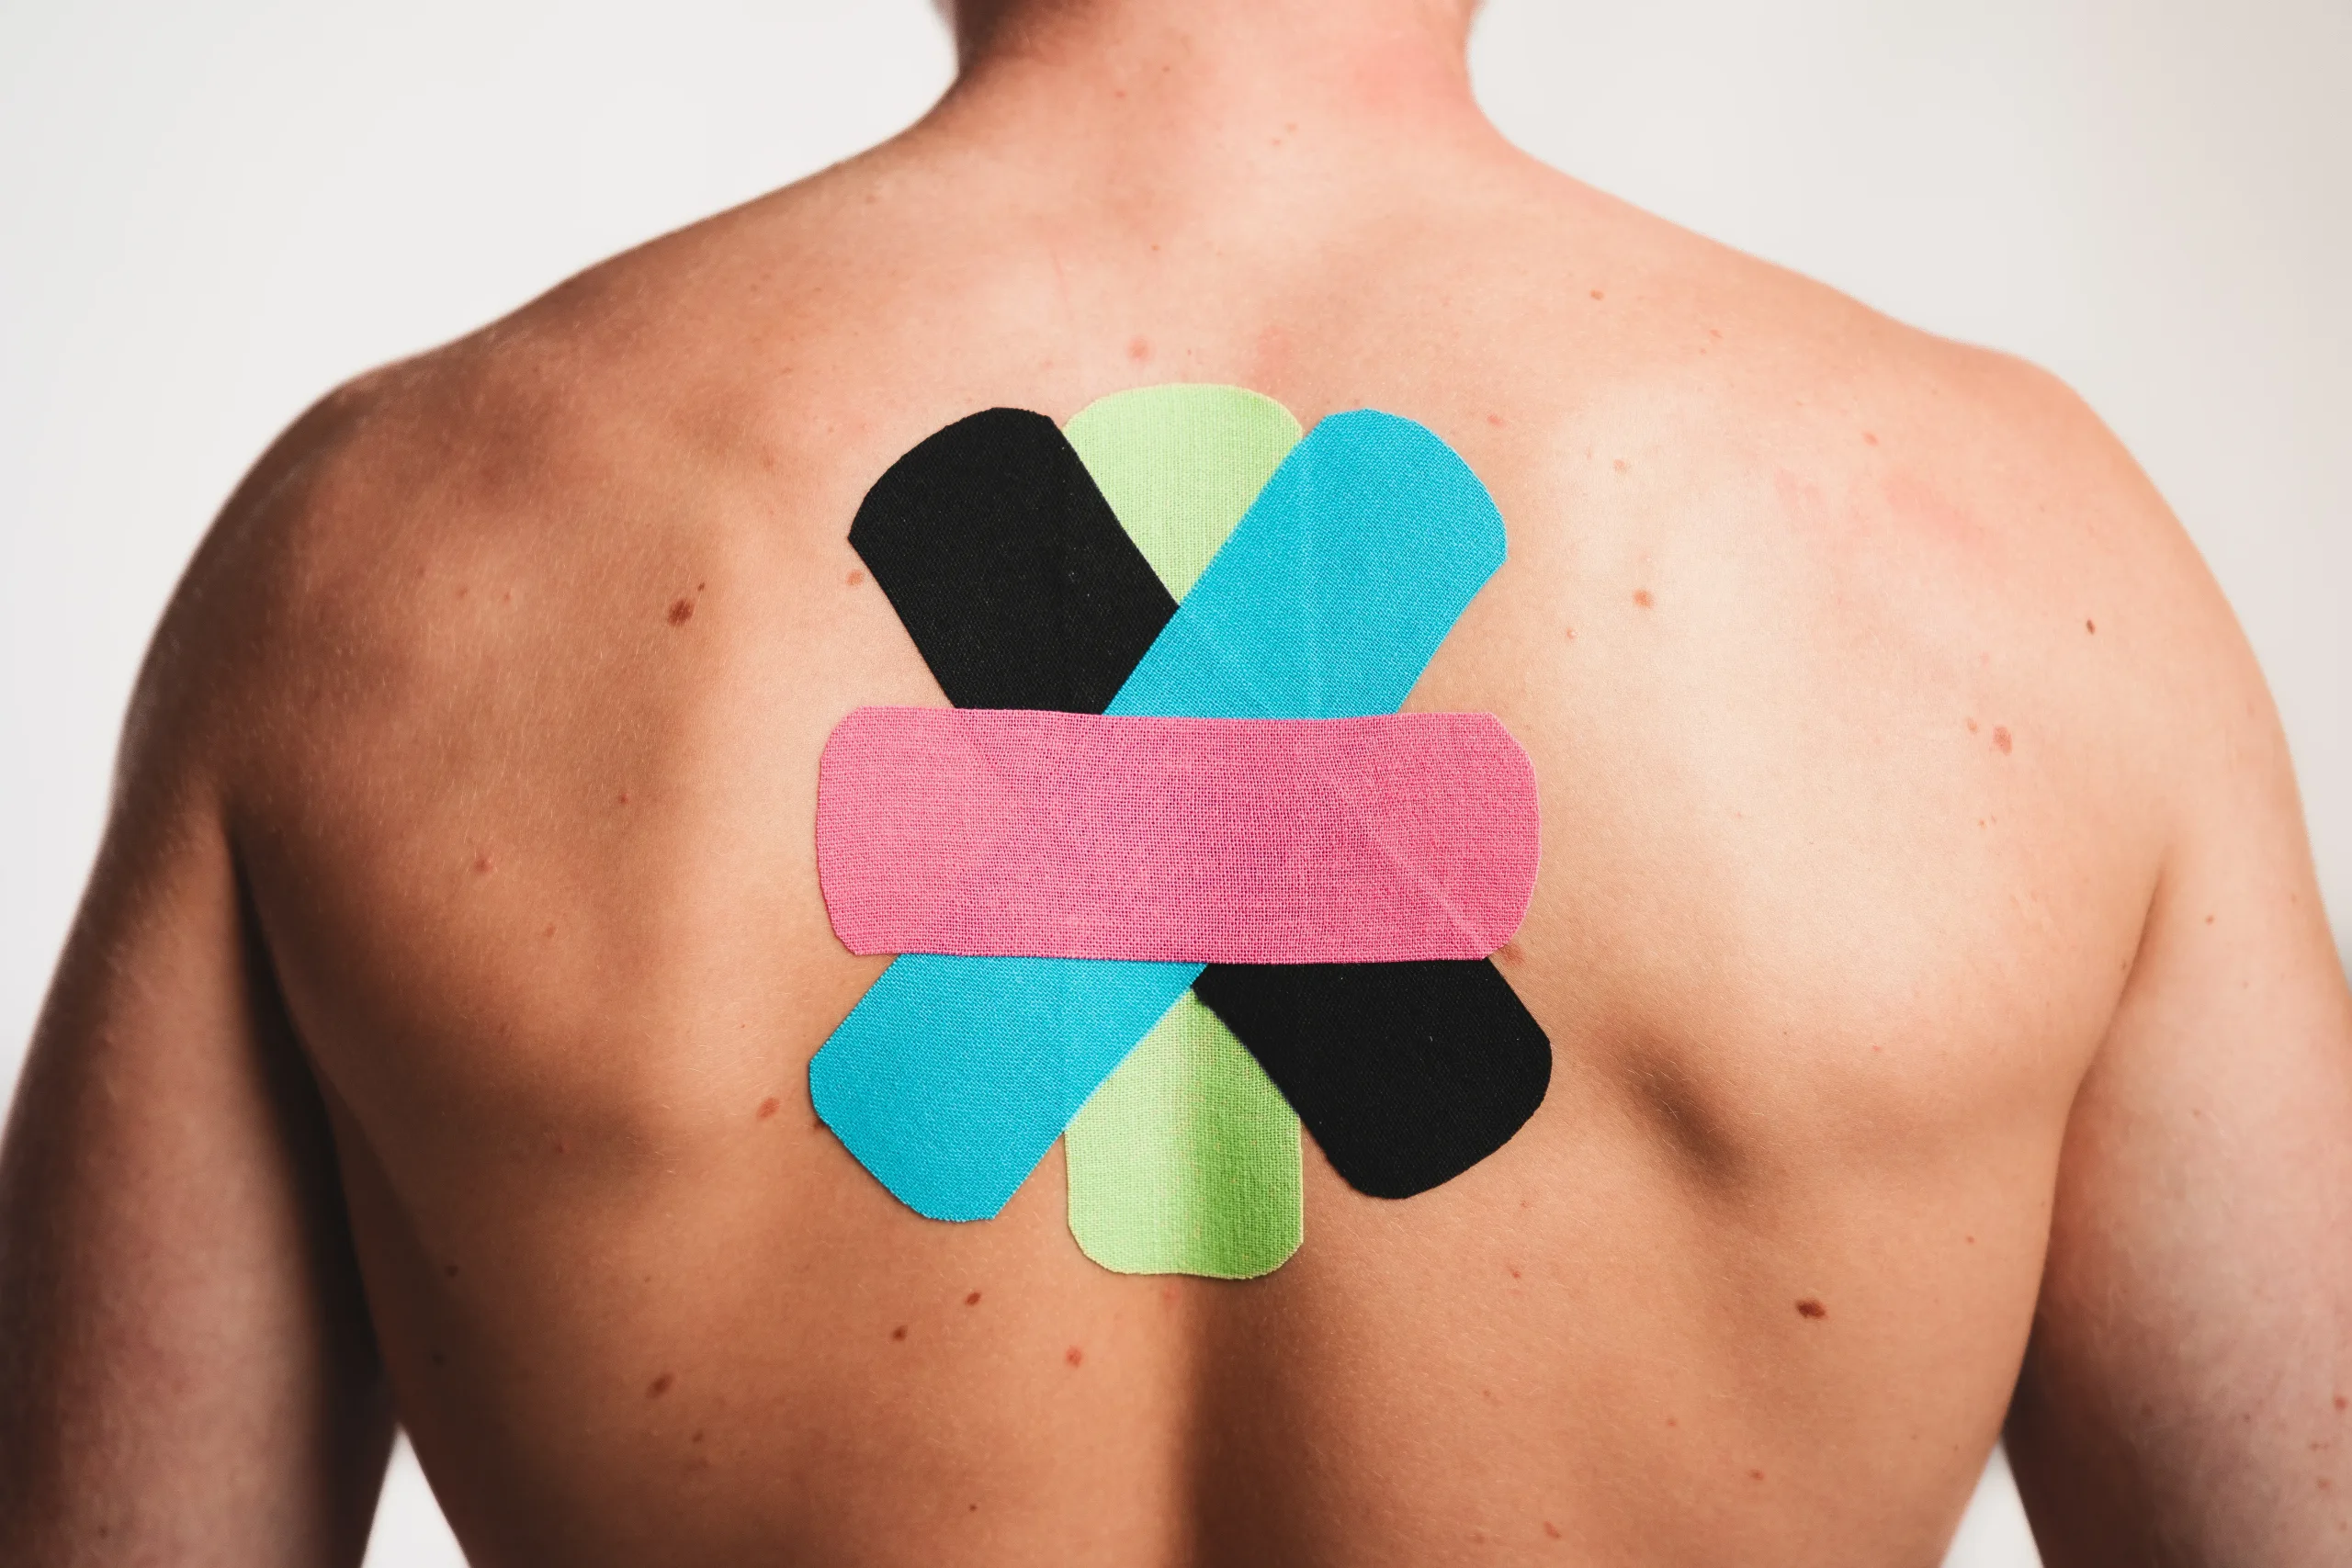
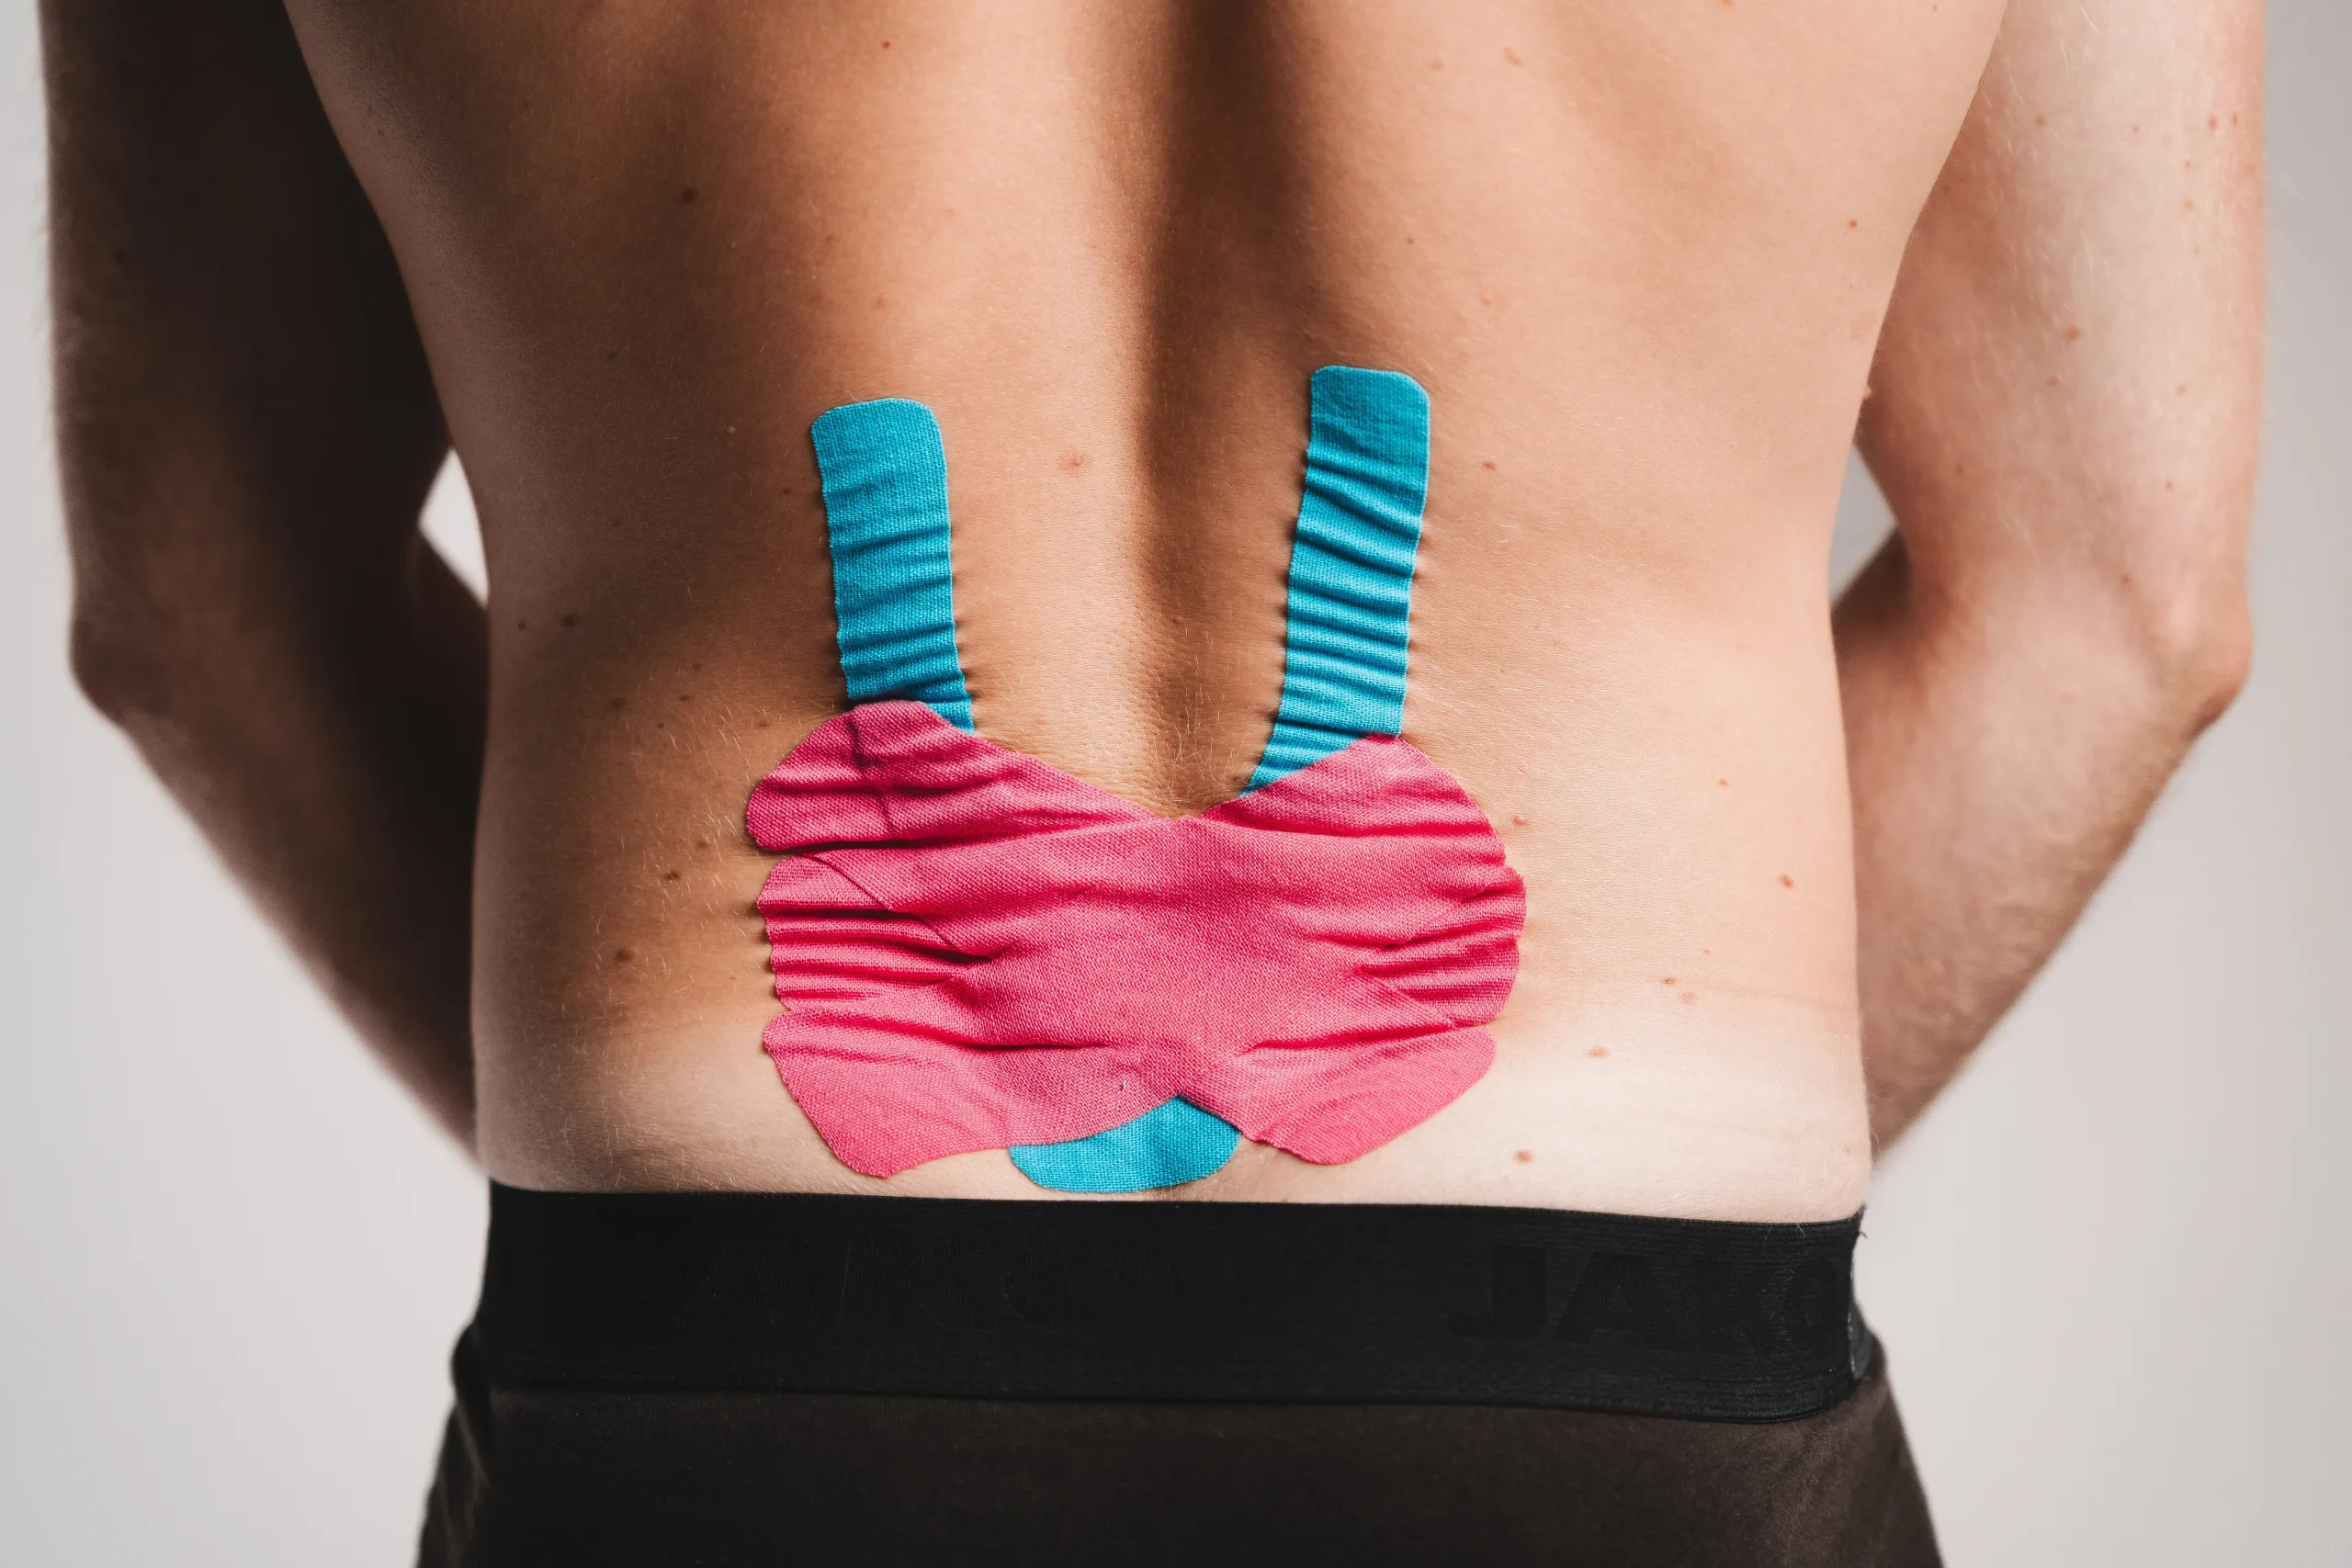
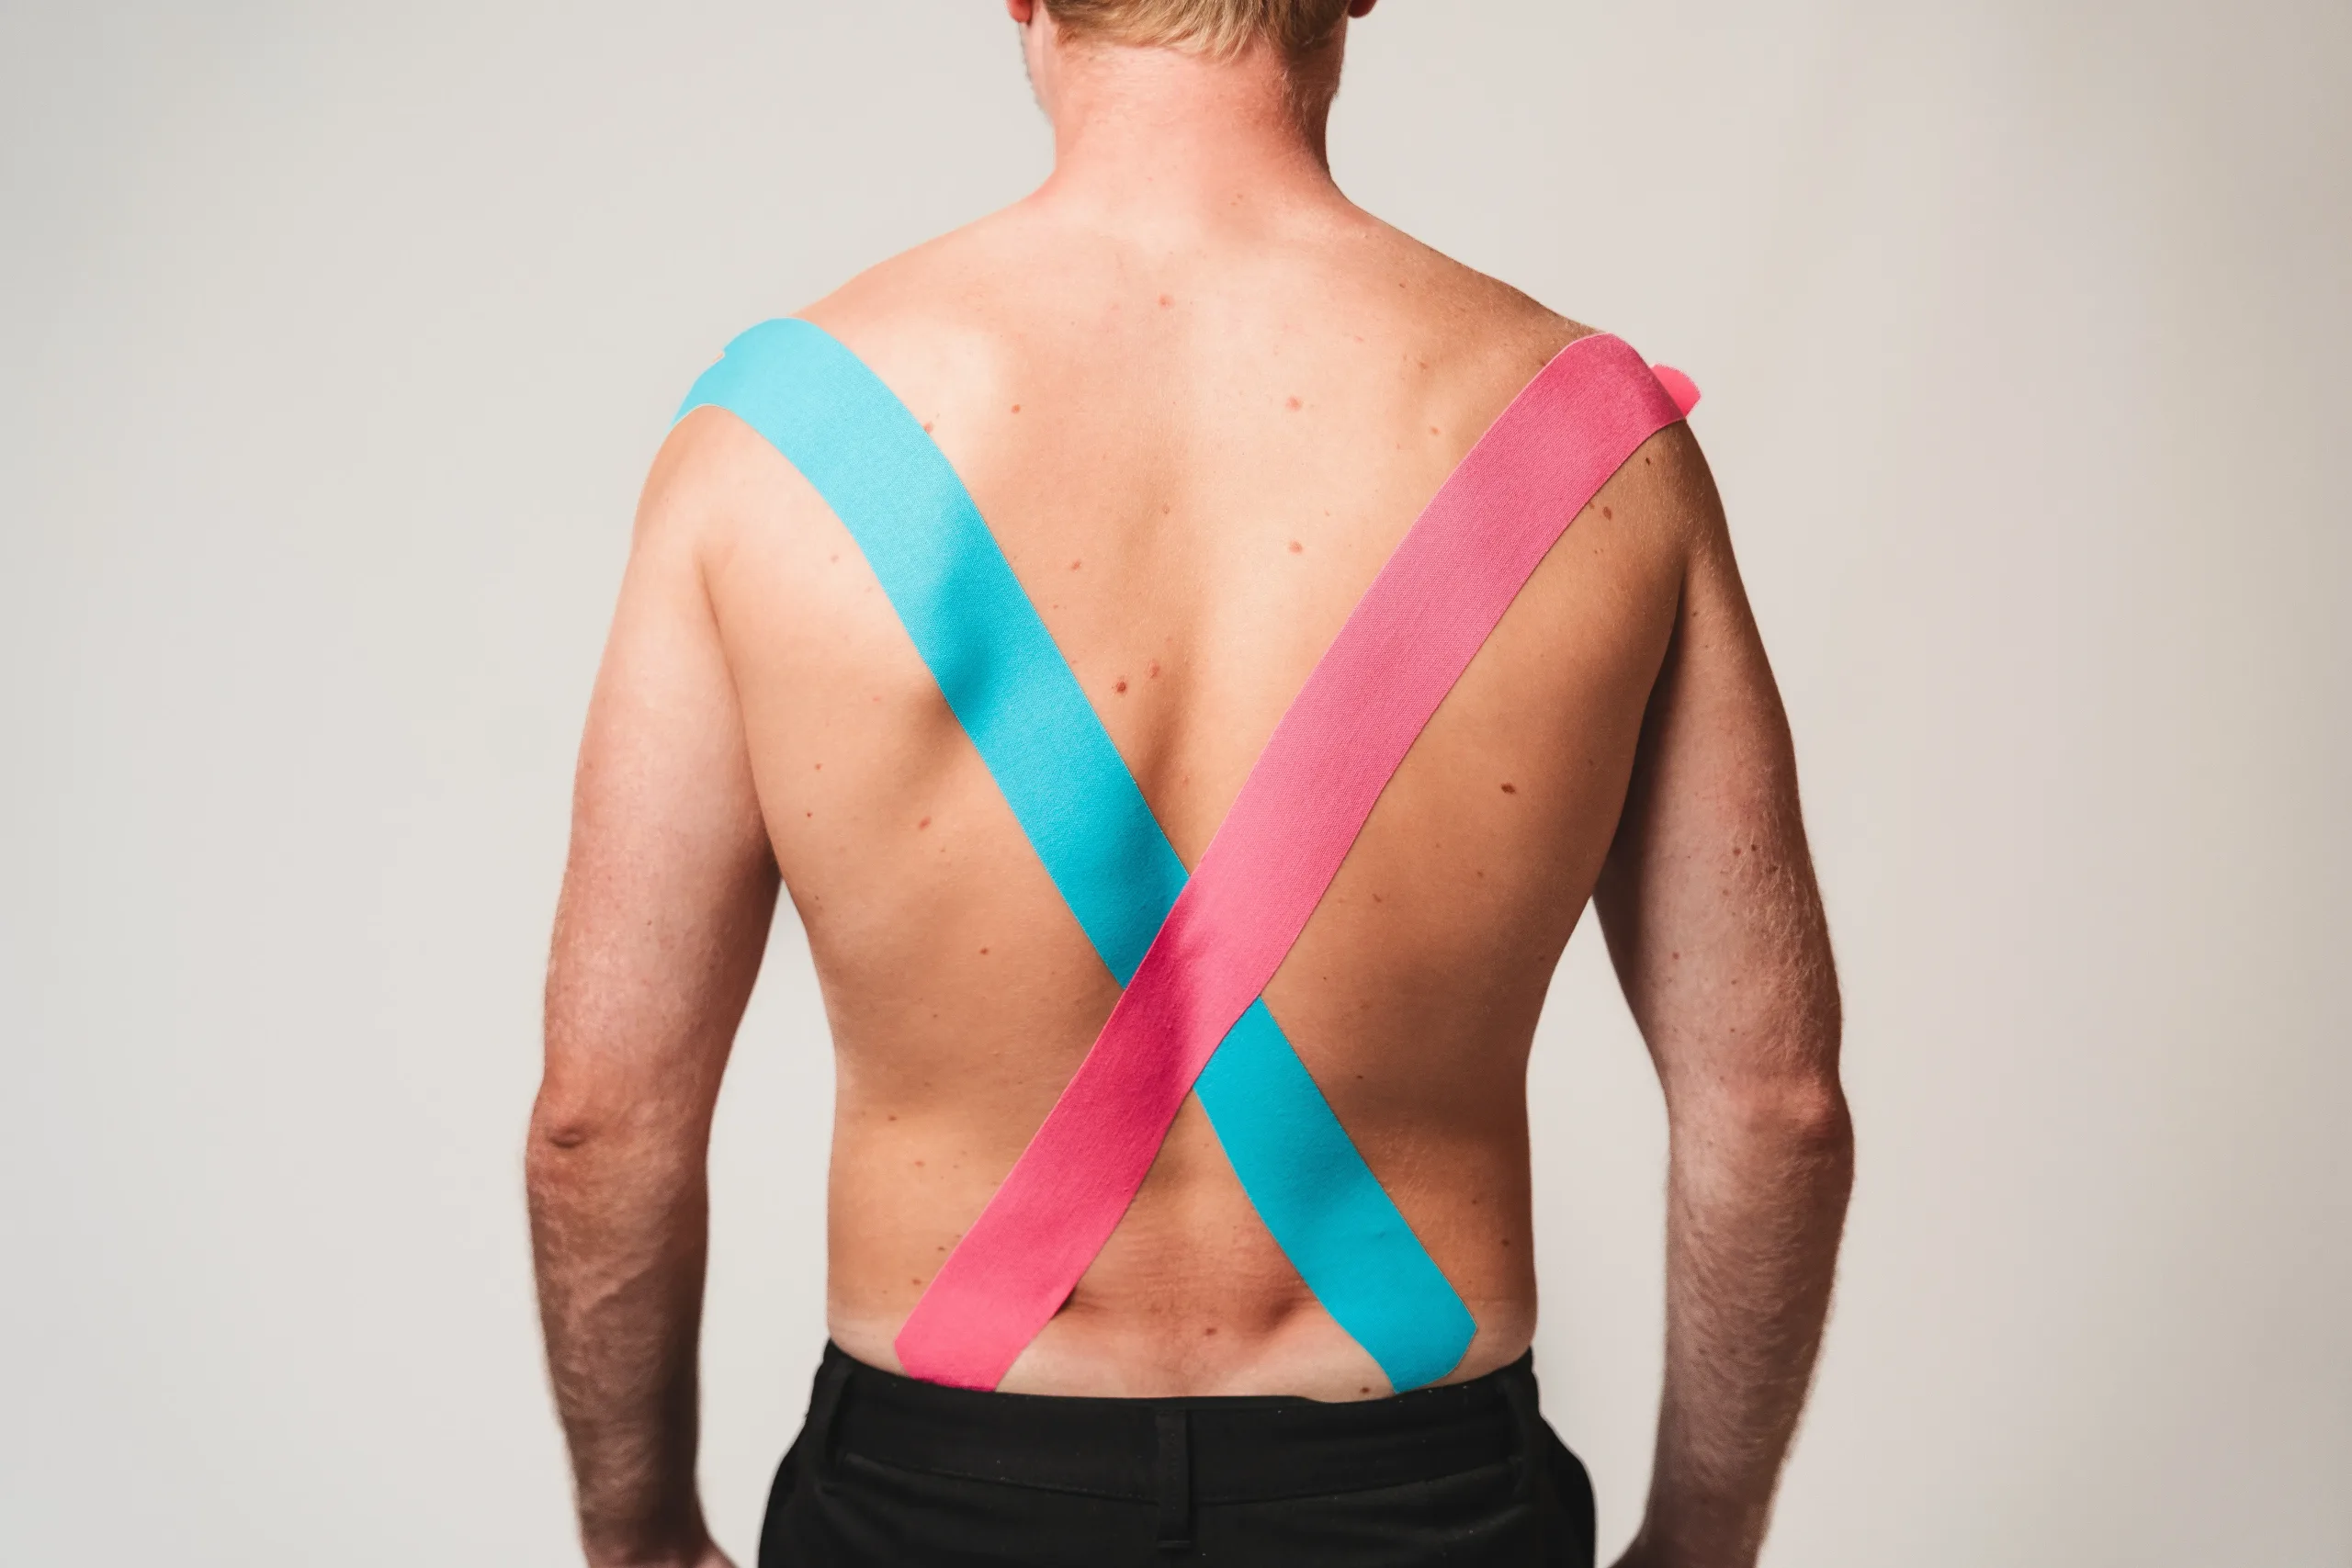
K-Active® Tape applications


Useful tips for our tape tutorials
Careful preparation for the tape application is crucial to ensure that the Kinesiology Tape is fully effective and that the desired results are achieved.
Here are some important tips you should follow befor applying the Kinesiology Tape and during the application:
Preparation
Cleanliness and hygiene: Make sure the skin is clean, dry and free of oils or creams before applying the Kinesiology Tape. A clean skin ensures a better adhesion of the tape.
Skin check: Check the skin for cuts, wounds or irritations. Avoid applying the tape to irritated skin.
Remove hair: For hairy areas of the body, it may be helpful to trim or remove the hair beforehand. This ensures better adhesion of the tape.
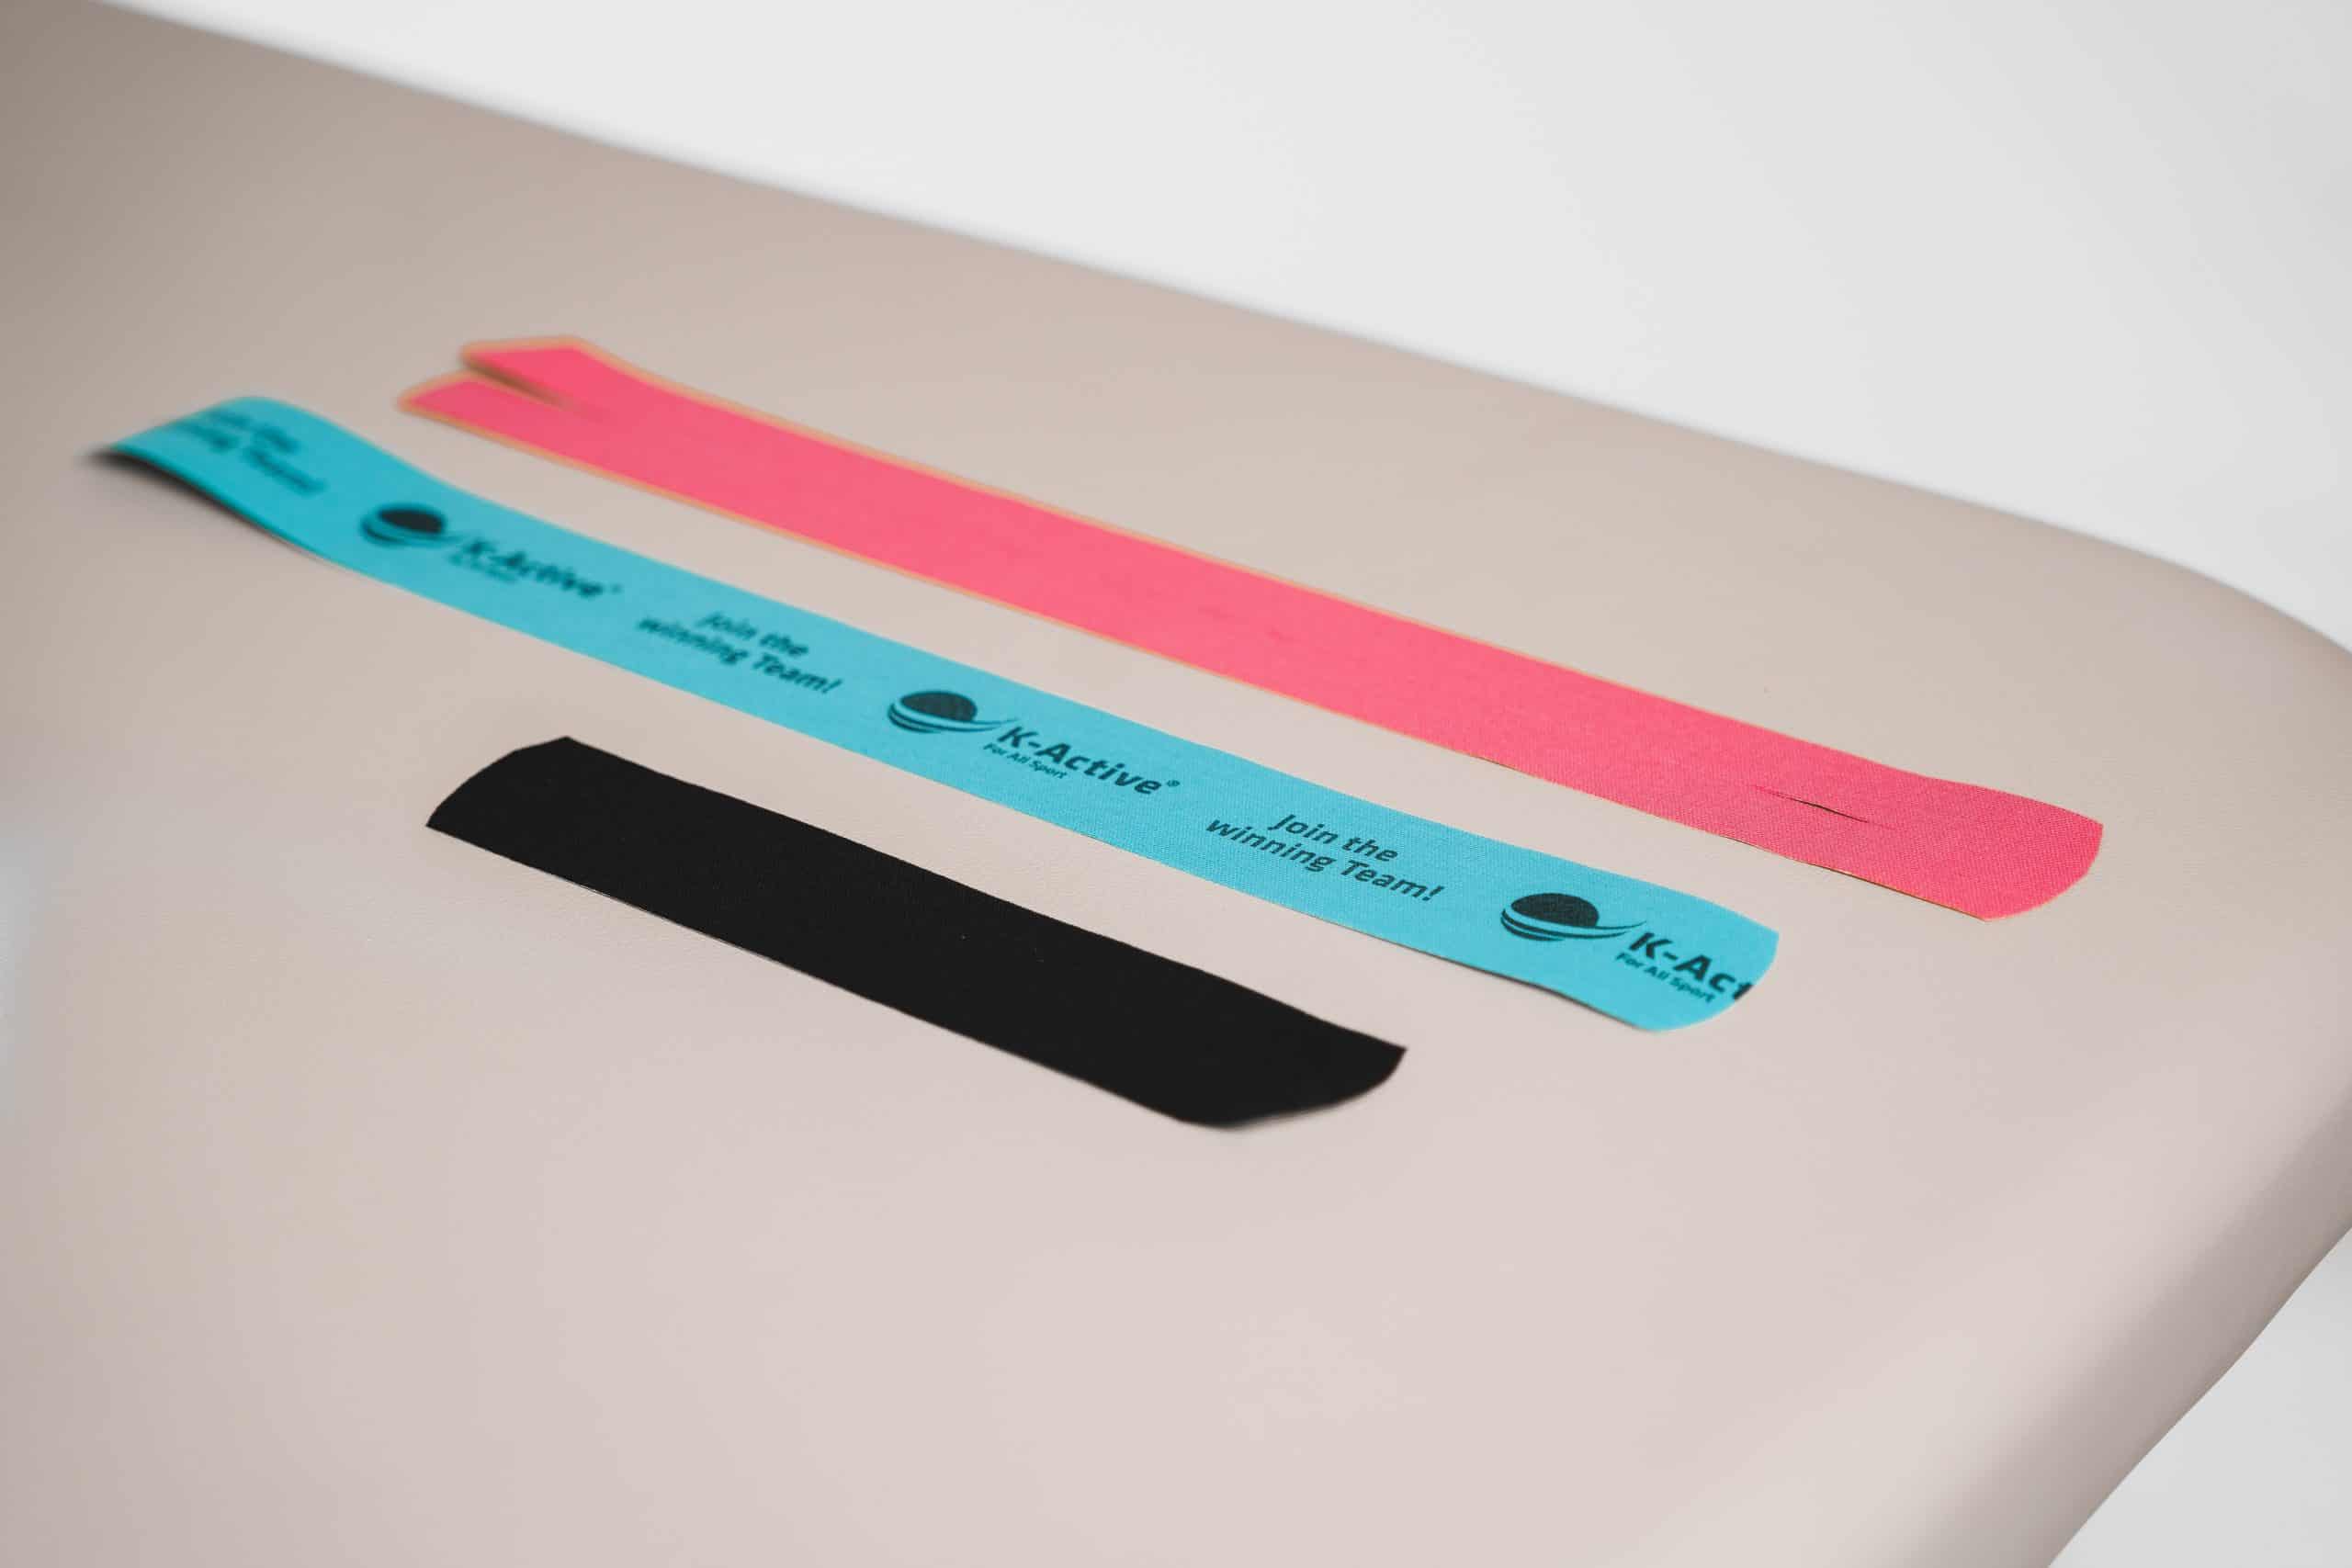
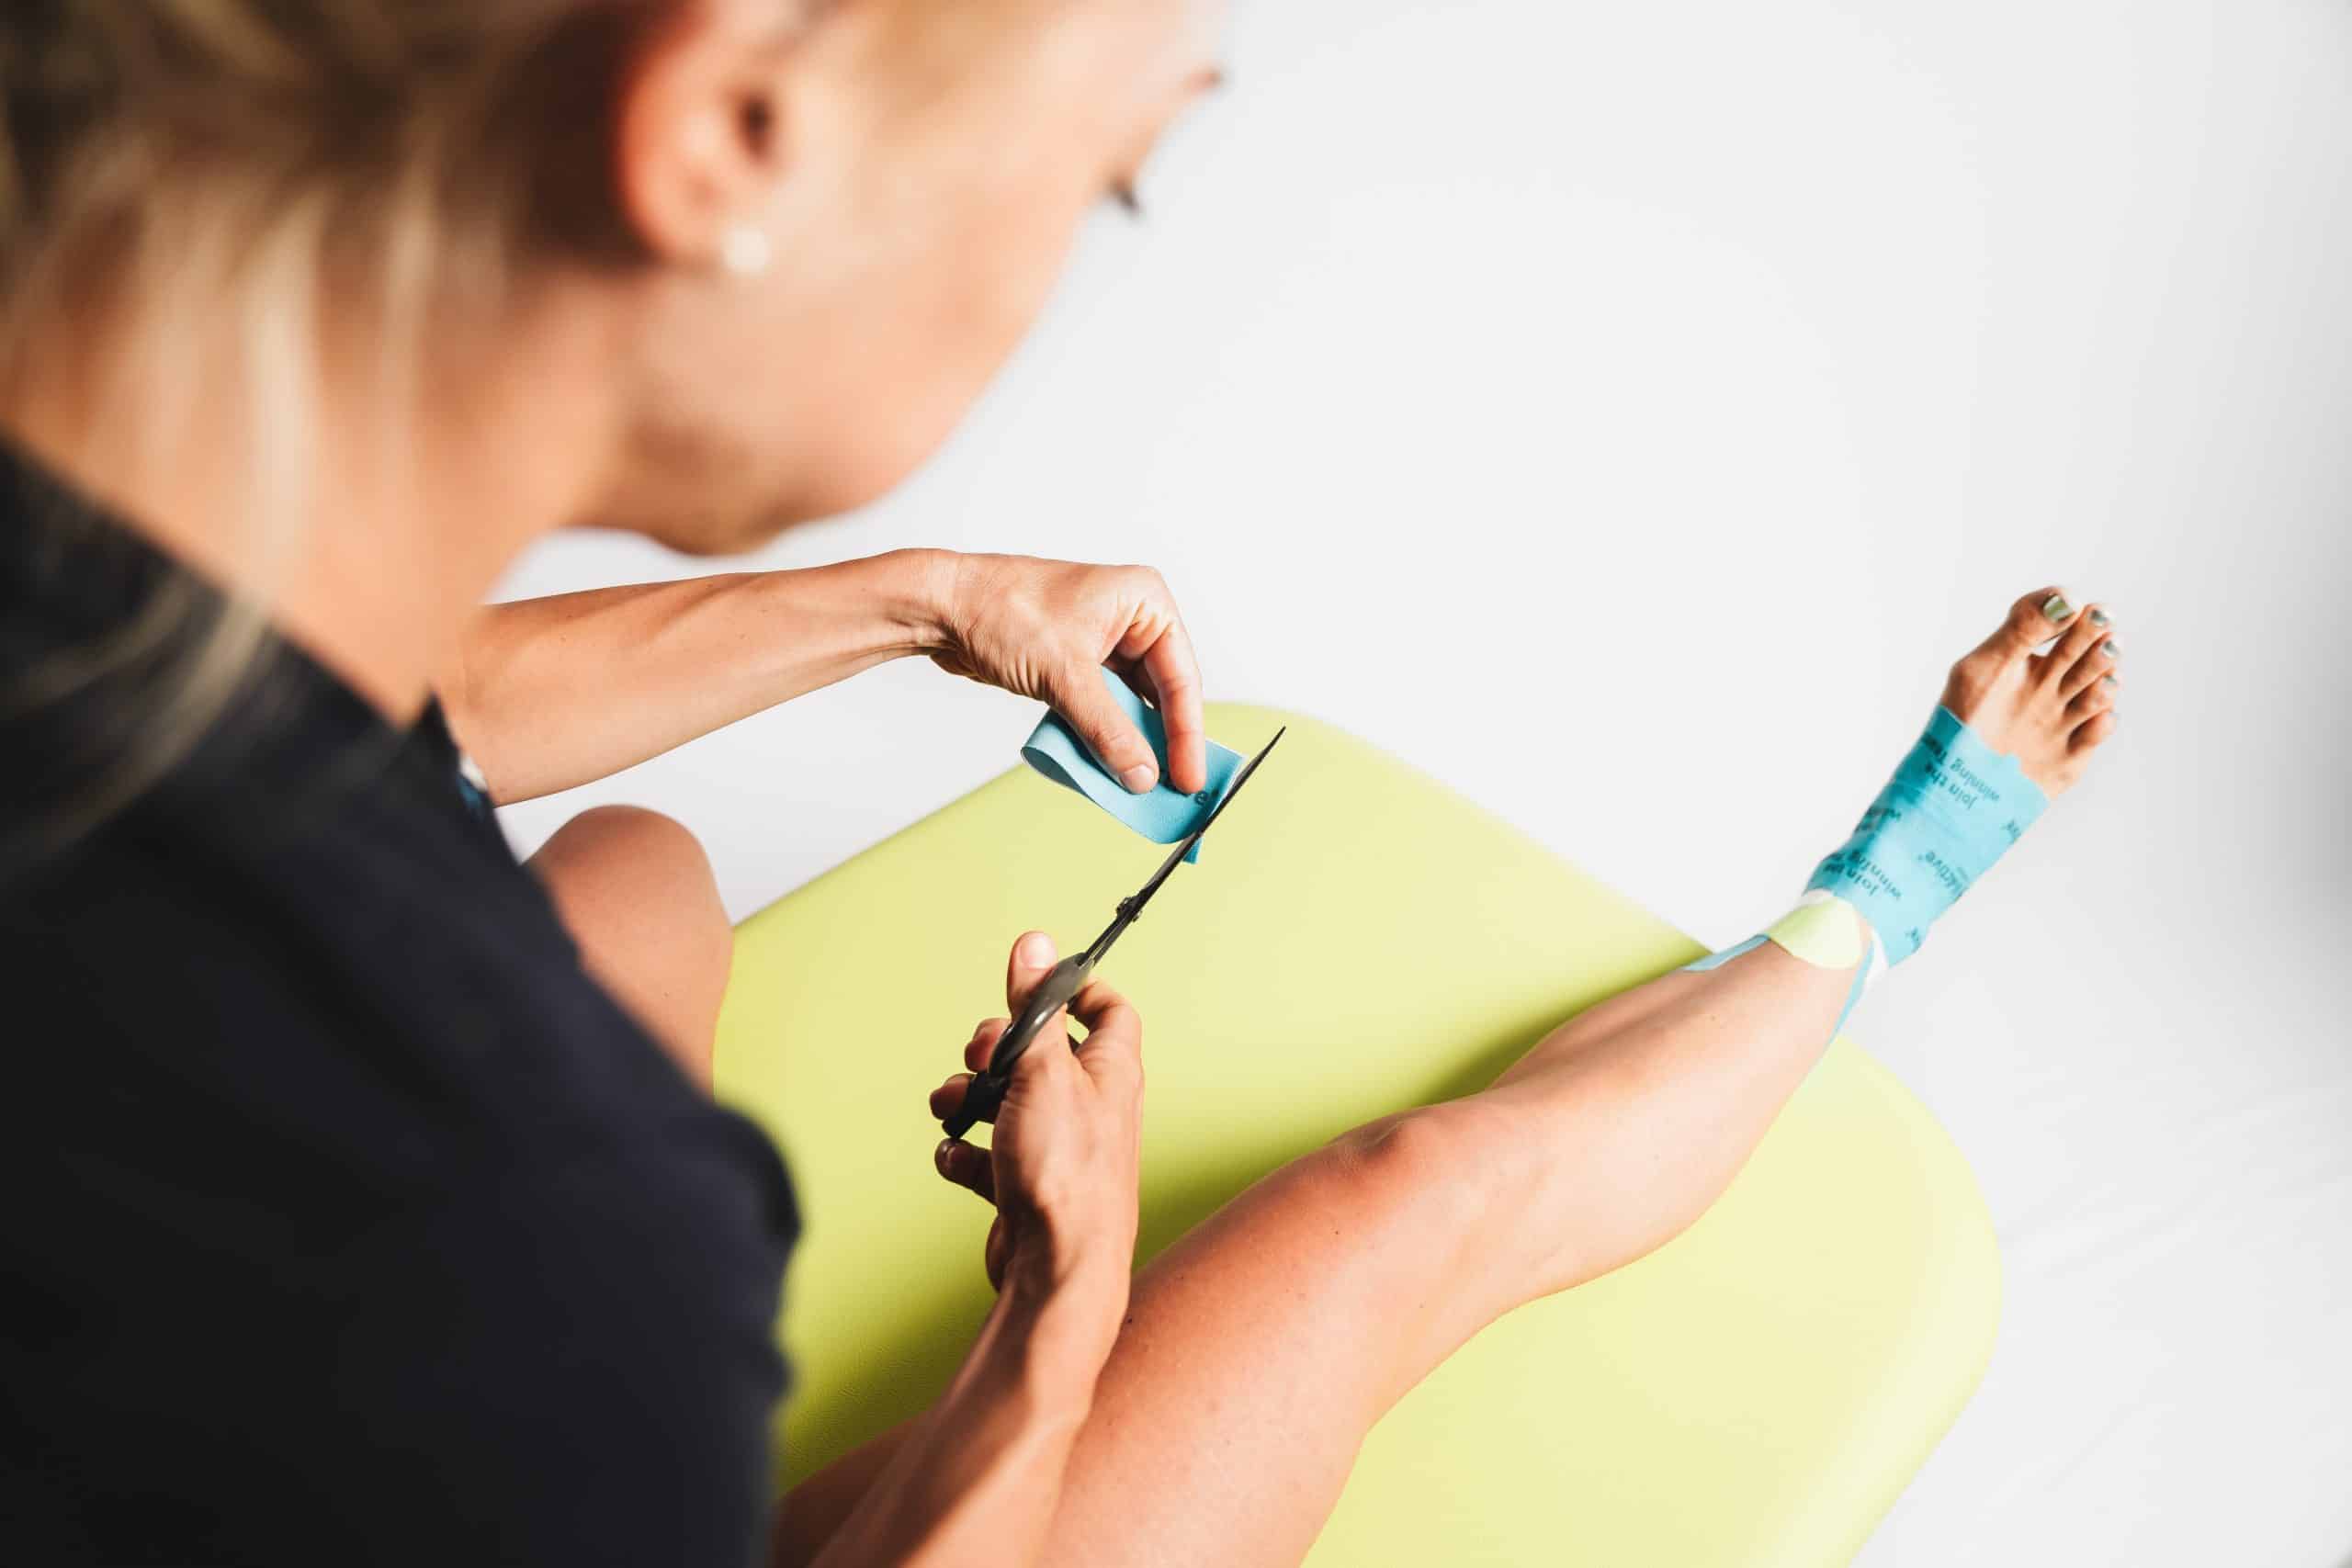
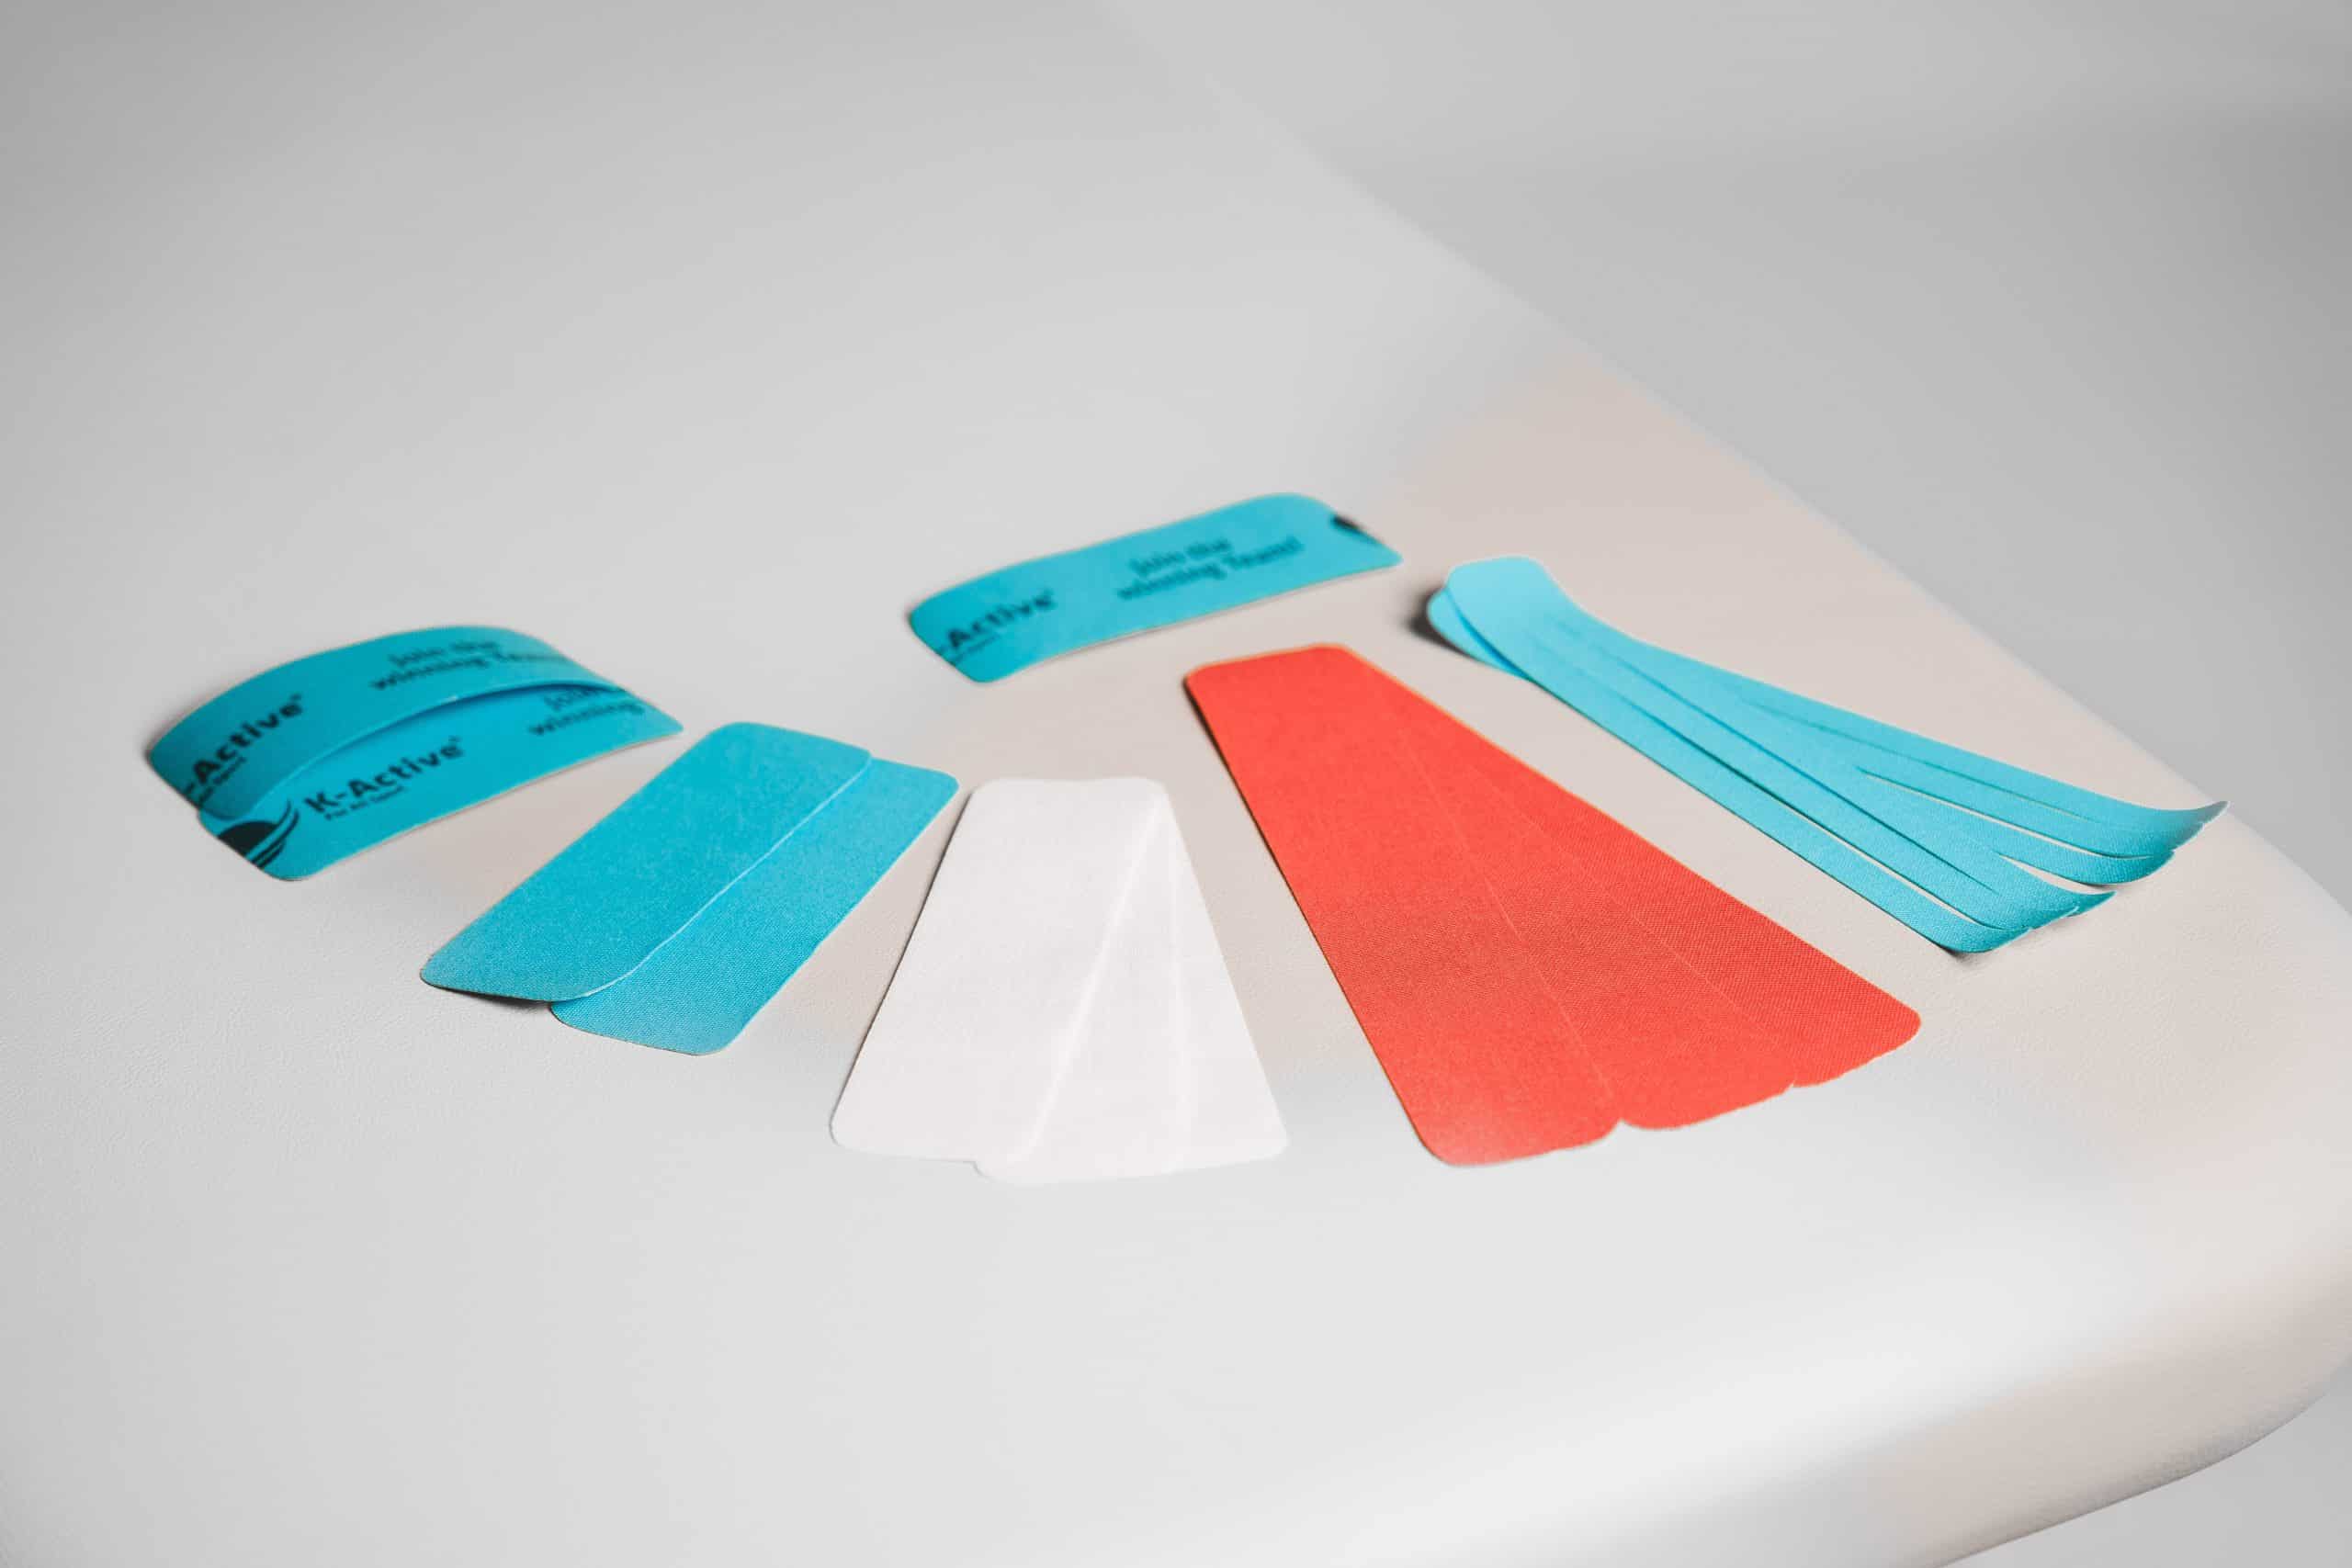
Tape cutting: Cut the required tape strips in advance. Use sharp scissors and make sure the corners are rounded.
Relief of the affected area: Place the affected body part in a comfortable position. Underlays or padding can help provide optimal relief during the application.
During the tape application
Gentle stretching: If necessary, gently stretch the tape to create the desired tension. Make sure the stretch is comfortable and does not feel too tight.
Avoid wrinkles: Make sure the tape is always smooth and without wrinkles on the skin. Wrinkles could affect adhesion and cause discomfort.
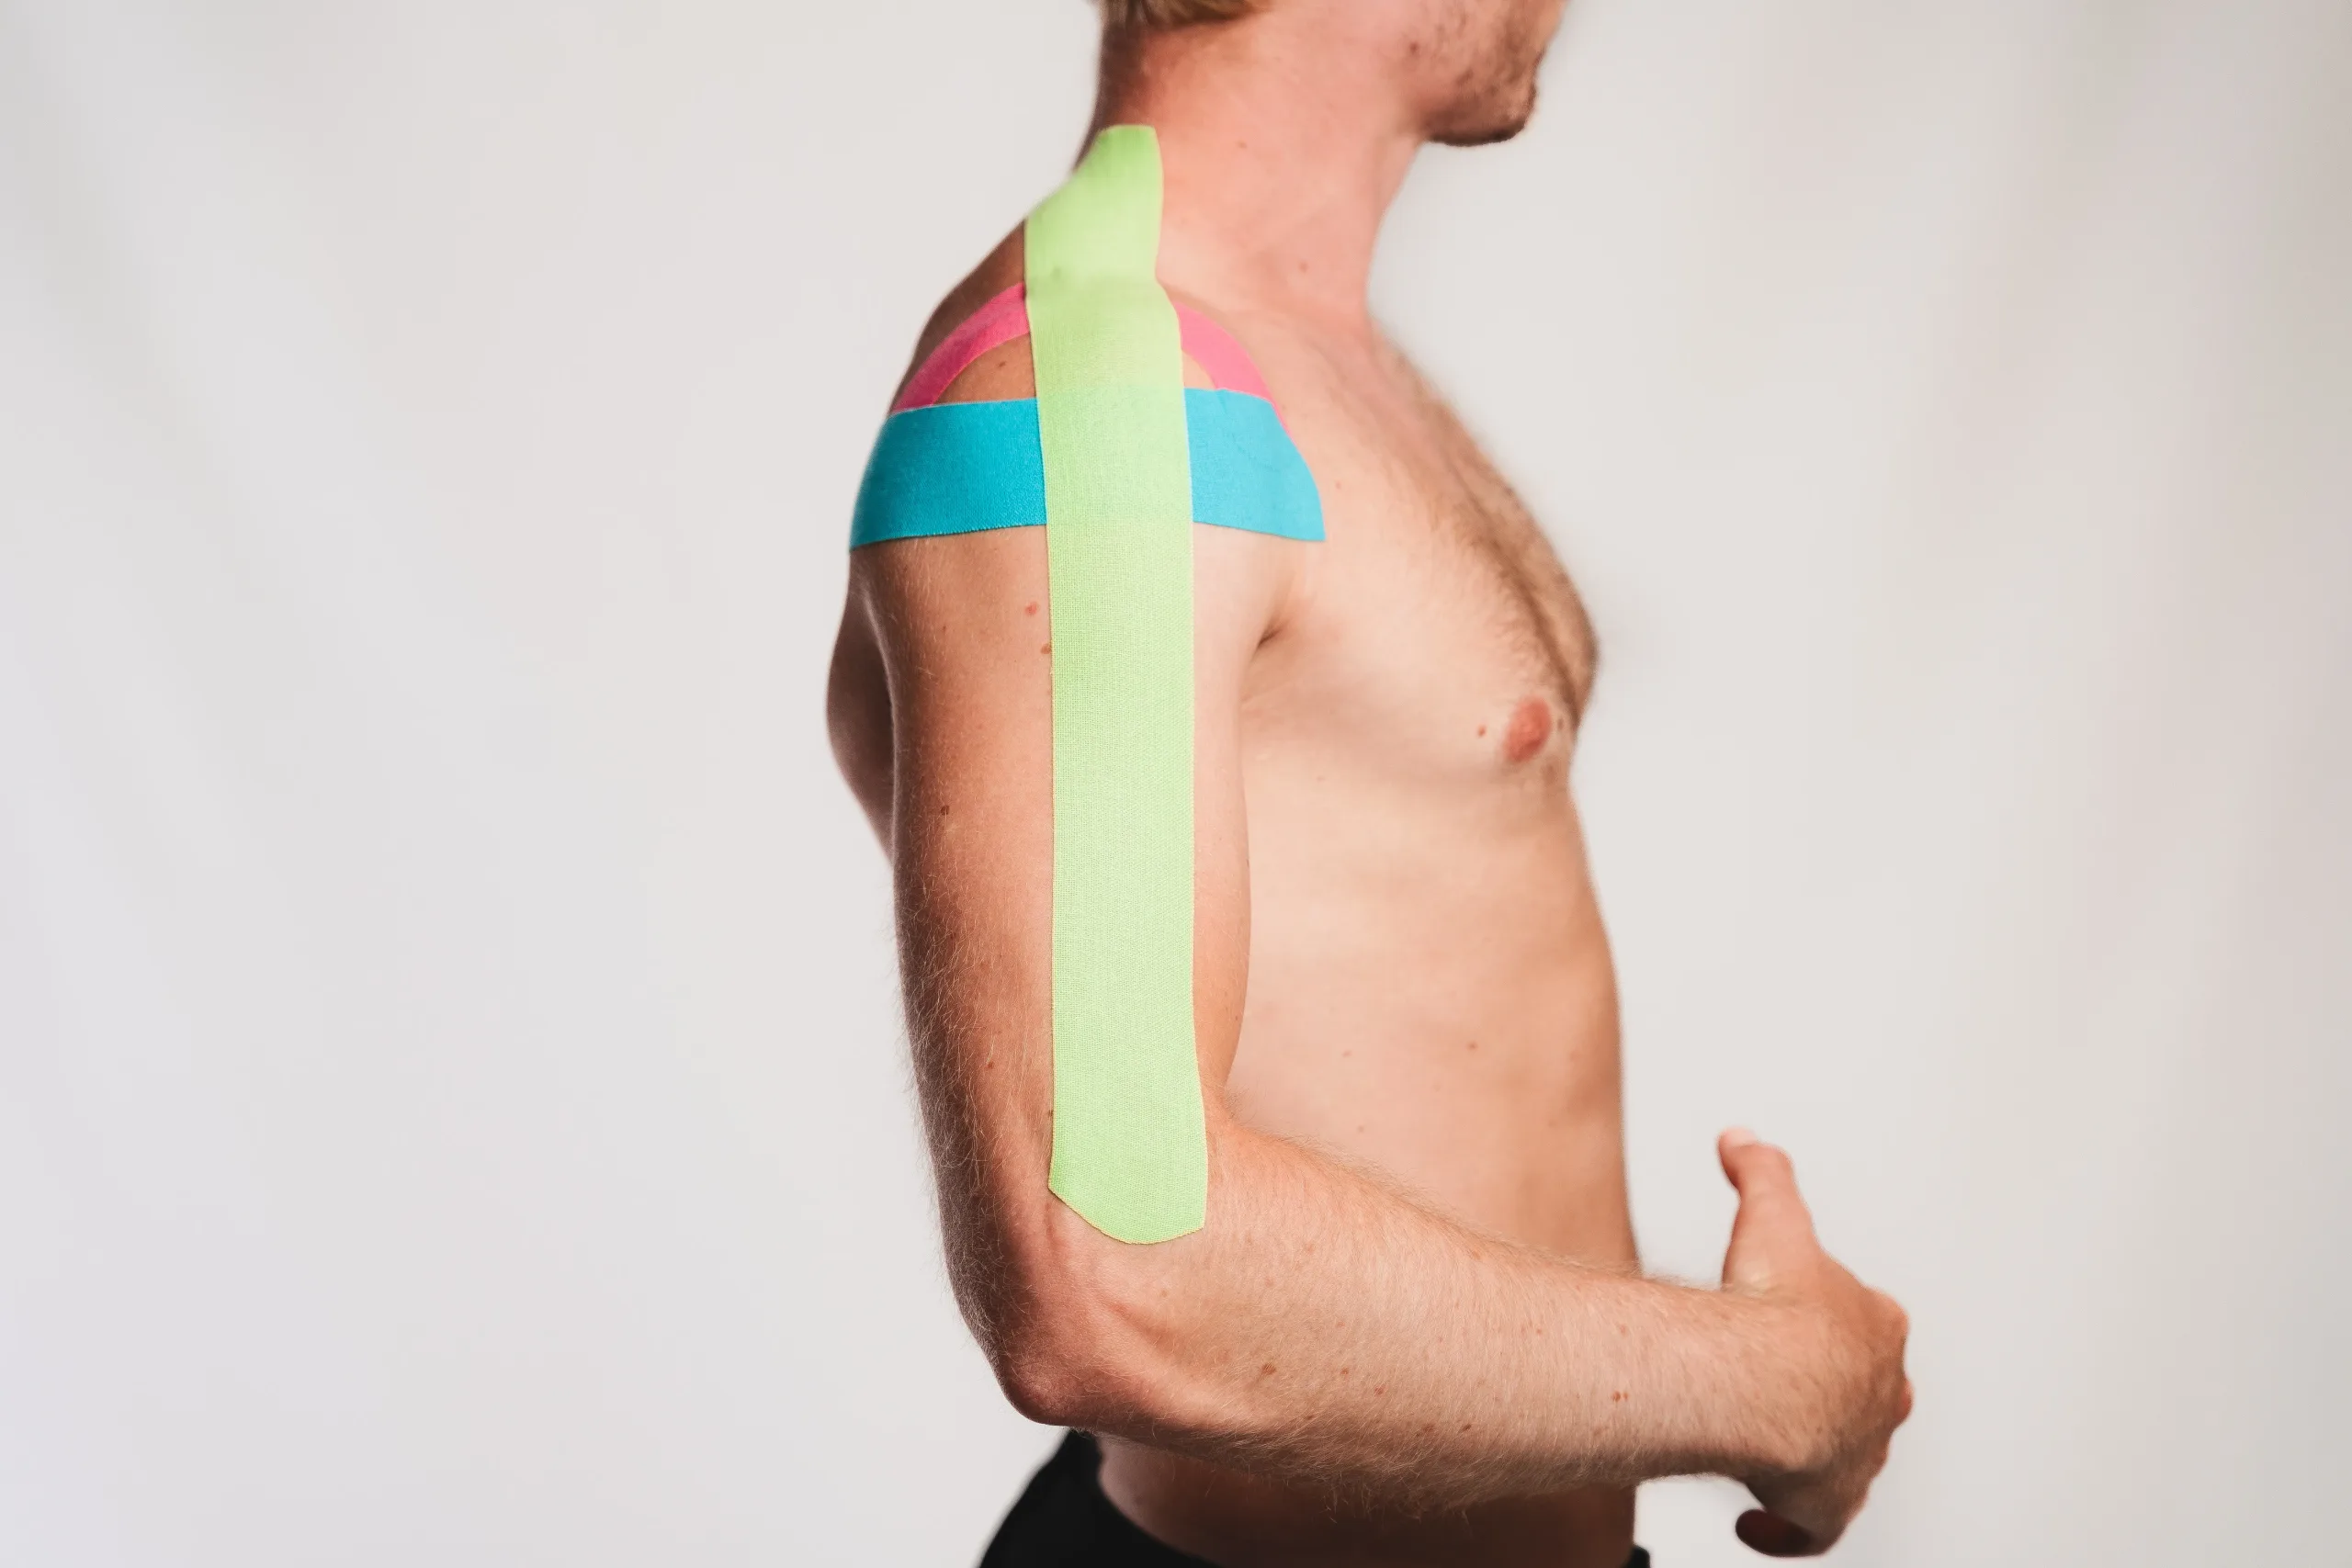
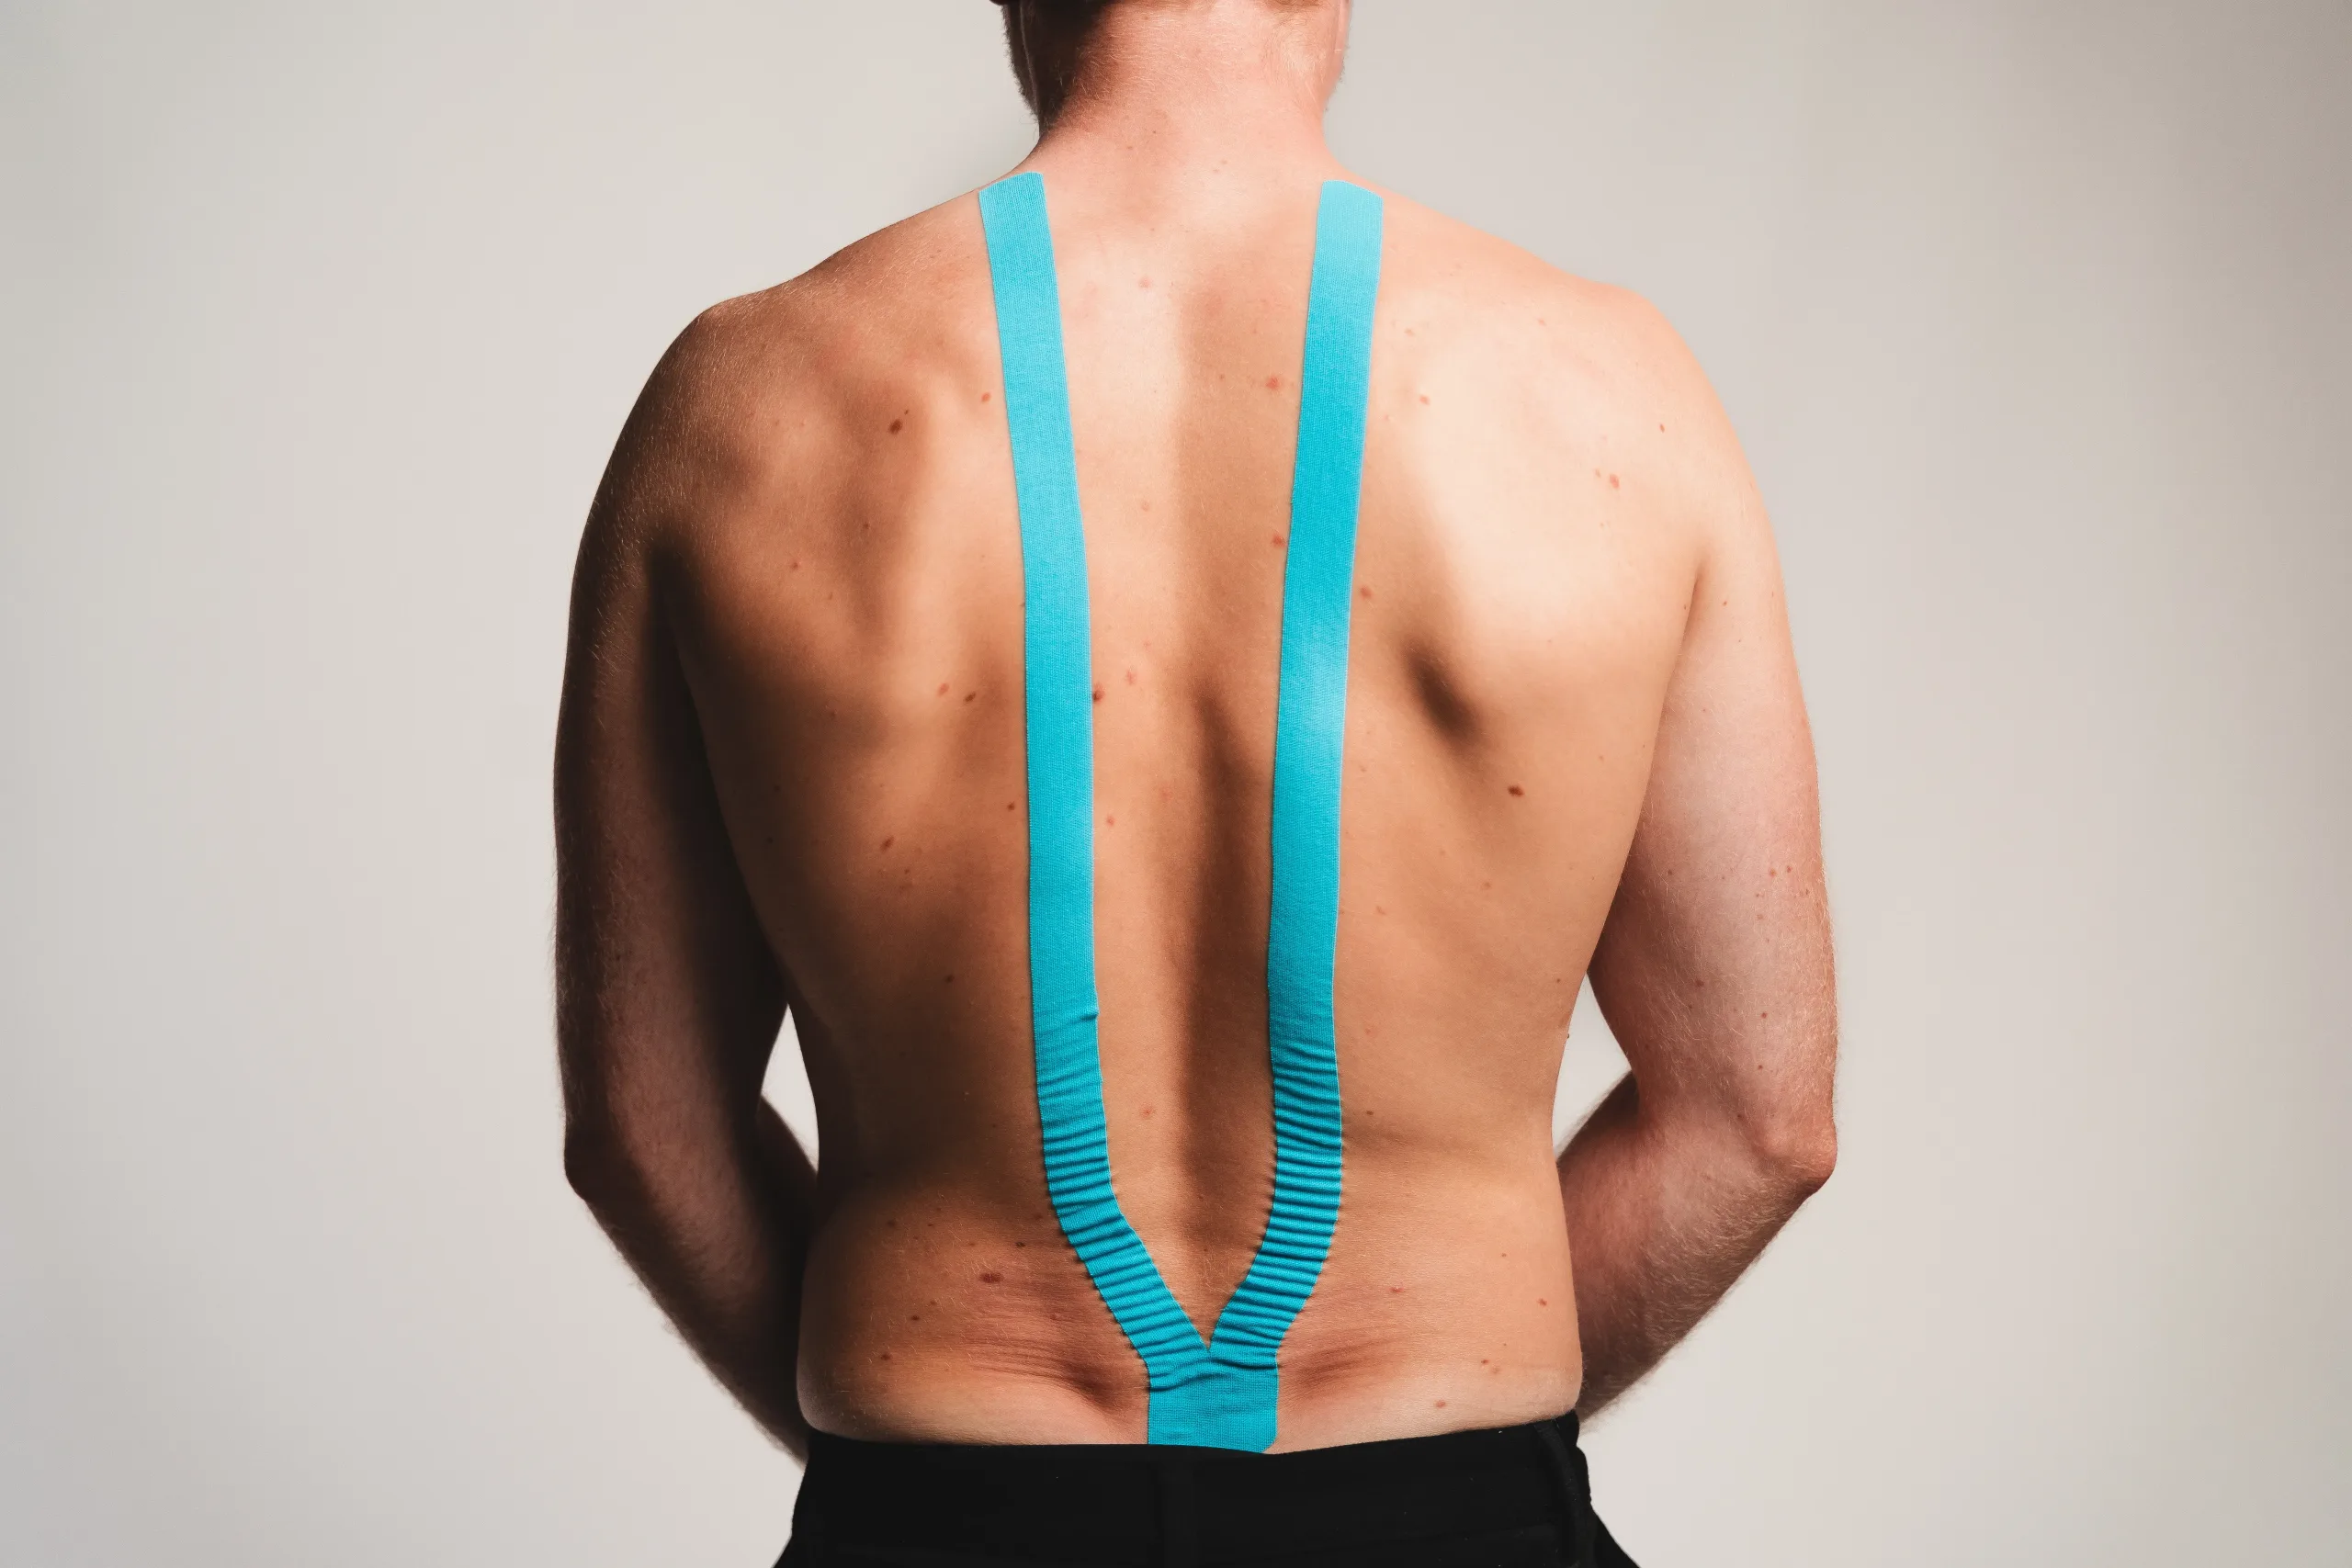
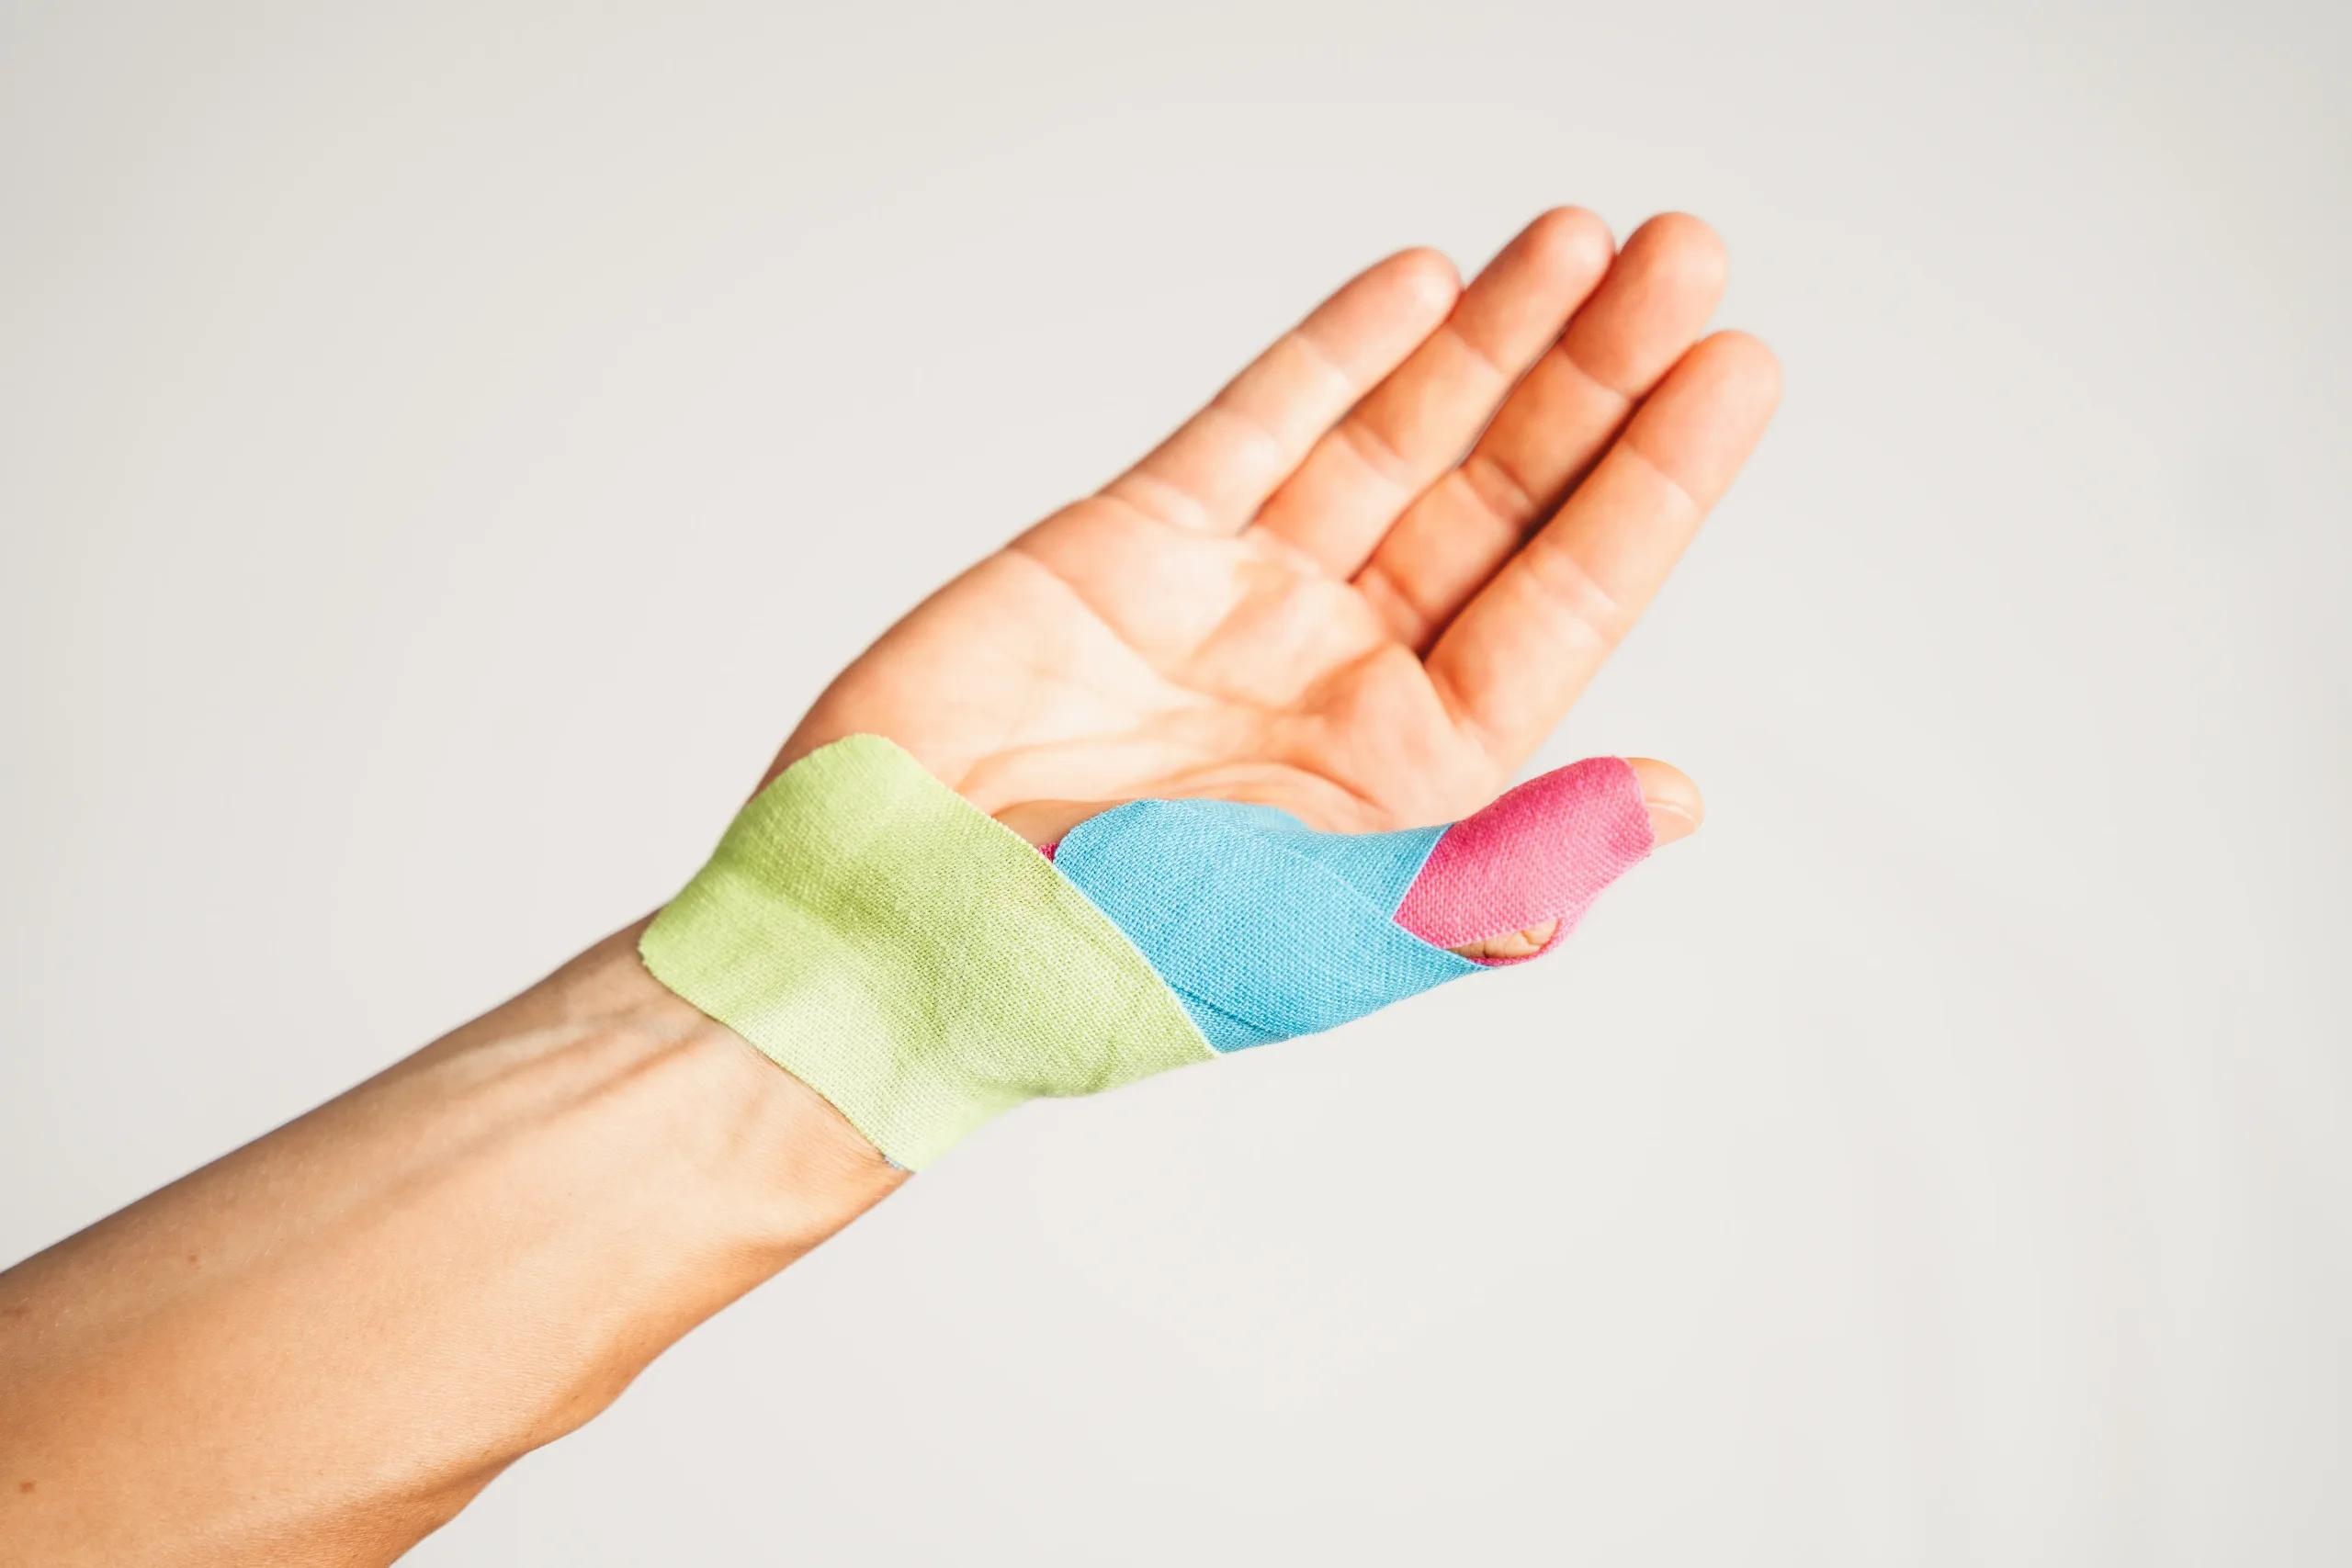
Correct positioning: Place the tape according to our instructions. Proper positioning is critical to provide the intended support or stabilization. Avoid excessive stretching to prevent skin irritation or discomfort.
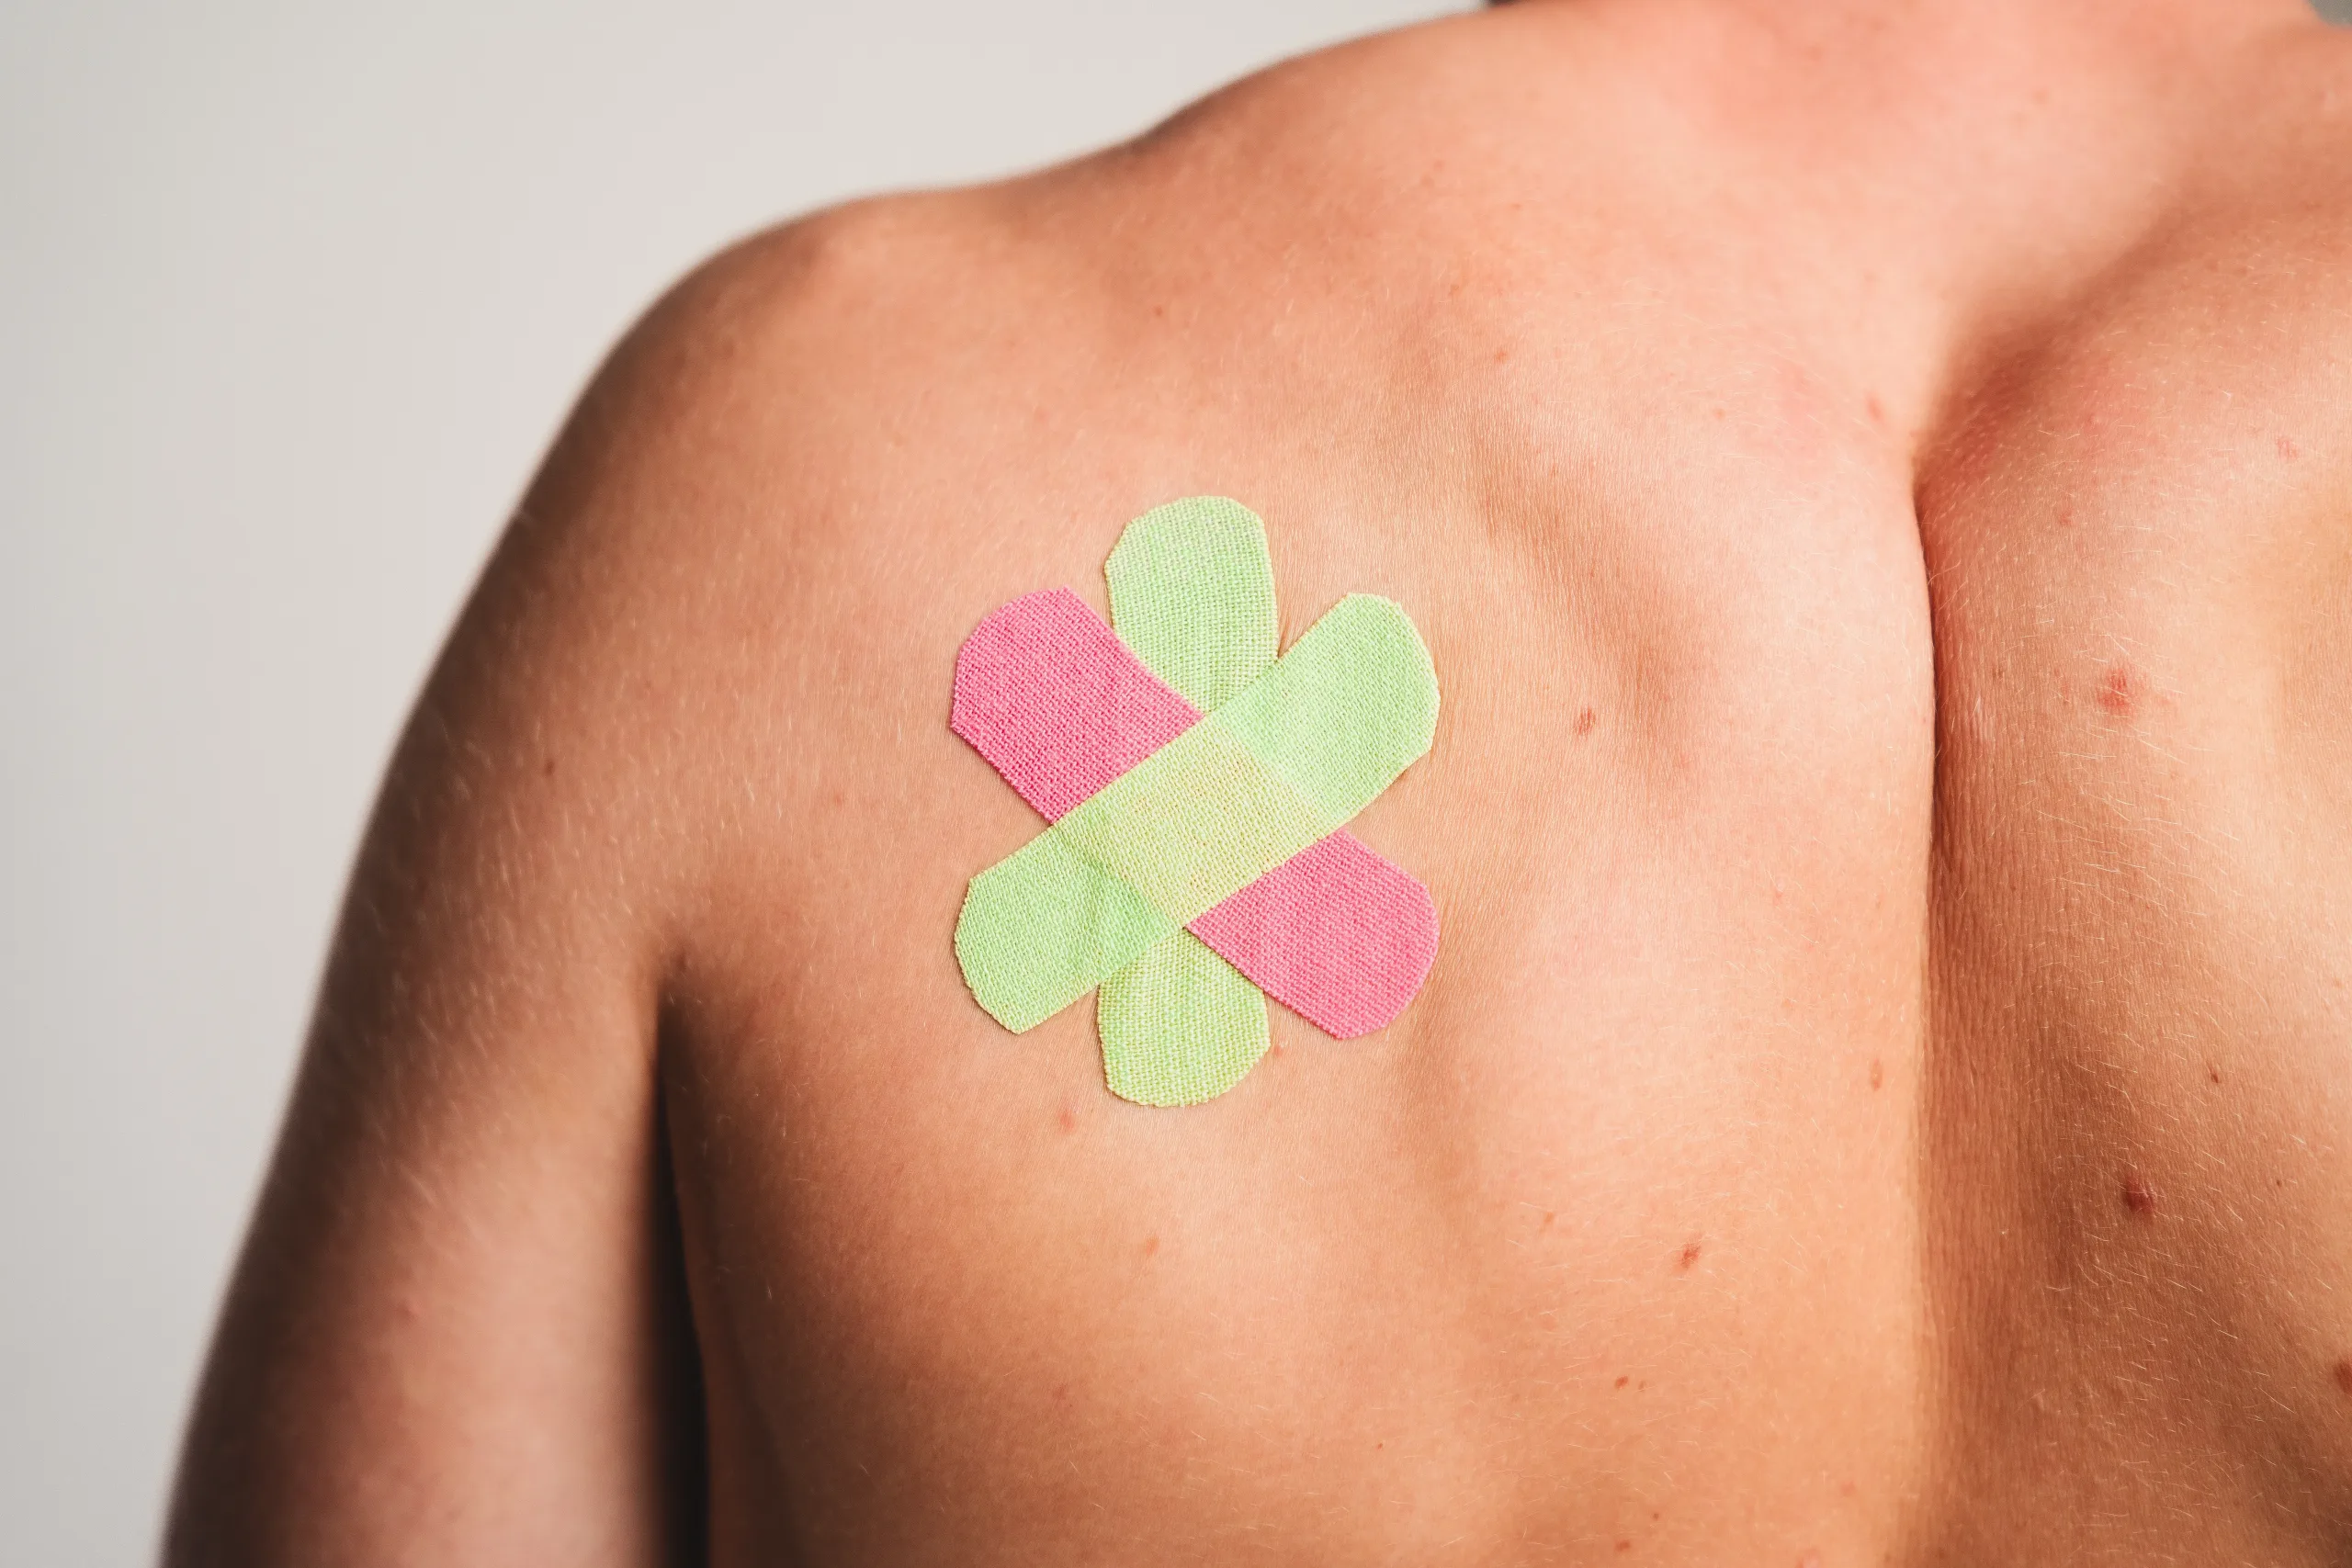
Rub the edges: Make sure that the edges of the tape adhere well to prevent unintentional peeling. Gently rub the edges of the attached tape to ensure optimal adhesion.
Overlapping: If using multiple strips of tape, you can slightly overlap the ends. Make sure the overlap adheres firmly by gently rubbing over the edges.
Removing the release paper
Before applying the tape to the skin, it is critical to follow the instructions below:
- Tear protective paper: start by slightly tearing the protective paper (release paper) on the back of the tape strip. This will make it easier to peel off the paper later.
- Preparing the Tape: Gently pull the tape apart to prepare it for application. Make sure it remains smooth and free of wrinkles.
- Roll protective paper: Roll the release paper in the direction of the tape ends. This prevents unwanted sticking or wrinkling of the tape during application.
- Grid lines as orientation: Use the grid lines on the release paper as an orientation guide. You can fold the tape along these lines to better position it before application. This makes application easier and allows for more precise placement.
Ligament technique

Hold the release paper in the center of your hands and grab the outer edge. Then tear the release paper at the side.

Pull the release paper strongly to tear it completely open in the middle.

Remove the release paper on both sides up to the ends. Then pull the two ends outward with your thumbs and stretch the tape.
Muscle technique

Take the kinesiology tape between your hands, place it on the outer edge at the level of the base and tear it laterally.

Use a strong pull to tear the release paper completely in the middle of the base.

Peel the paper off in the area of the two reins in the direction of the incision.
K-Active® Tape applications
Useful tips for our tape tutorials
Careful preparation for the tape application is crucial to ensure that the Kinesiology Tape is fully effective and that the desired results are achieved.
Here are some important tips you should follow befor applying the Kinesiology Tape and during the application:
Preparation
Cleanliness and hygiene: Make sure the skin is clean, dry and free of oils or creams before applying the Kinesiology Tape. A clean skin ensures a better adhesion of the tape.
Skin check: Check the skin for cuts, wounds or irritations. Avoid applying the tape to irritated skin.
Remove hair: For hairy areas of the body, it may be helpful to trim or remove the hair beforehand. This ensures better adhesion of the tape.
Tape cutting: Cut the required tape strips in advance. Use sharp scissors and make sure the corners are rounded.
Relief of the affected area: Place the affected body part in a comfortable position. Underlays or padding can help provide optimal relief during the application.
During the tape application
Gentle stretching: If necessary, gently stretch the tape to create the desired tension. Make sure the stretch is comfortable and does not feel too tight.
Avoid wrinkles: Make sure the tape is always smooth and without wrinkles on the skin. Wrinkles could affect adhesion and cause discomfort.
Correct positioning: Place the tape according to our instructions. Proper positioning is critical to provide the intended support or stabilization. Avoid excessive stretching to prevent skin irritation or discomfort.
Rub the edges: Make sure that the edges of the tape adhere well to prevent unintentional peeling. Gently rub the edges of the attached tape to ensure optimal adhesion.
Overlapping: If using multiple strips of tape, you can slightly overlap the ends. Make sure the overlap adheres firmly by gently rubbing over the edges.
Removing the release paper
Before applying the tape to the skin, it is critical to follow the instructions below:
- Tear protective paper: start by gently tearing the protective paper (release paper) on the back of the tape strip. This will make it easier to peel off the paper later.
- Prepare Tape: Gently pull the tape apart to prepare it for application. Make sure it remains smooth and free of wrinkles.
- Roll protective paper: Roll the release paper in the direction of the tape ends. This prevents unwanted sticking or wrinkling of the tape during application.
- Grid lines as orientation: Use the grid lines on the release paper as an orientation guide. You can fold the tape along these lines to better position it before application. This makes application easier and allows for more precise placement.
Ligament technique
Hold the release paper in the center of your hands and grab the outer edge. Then tear the release paper at the side.
Pull the release paper strongly to tear it completely open in the middle.
Remove the release paper on both sides up to the ends. Then pull the two ends outward with your thumbs and stretch the tape.
Muscle technique

Take the kinesiology tape between your hands, place it on the outer edge at the level of the base and tear it laterally.

Use a strong pull to tear the release paper completely in the middle of the base.

Peel the paper off in the area of the two reins in the direction of the incision.

